This post may contain affiliate links. As an amazon associate, I earn from qualifying purchases. See my full Disclosure Policy for details.

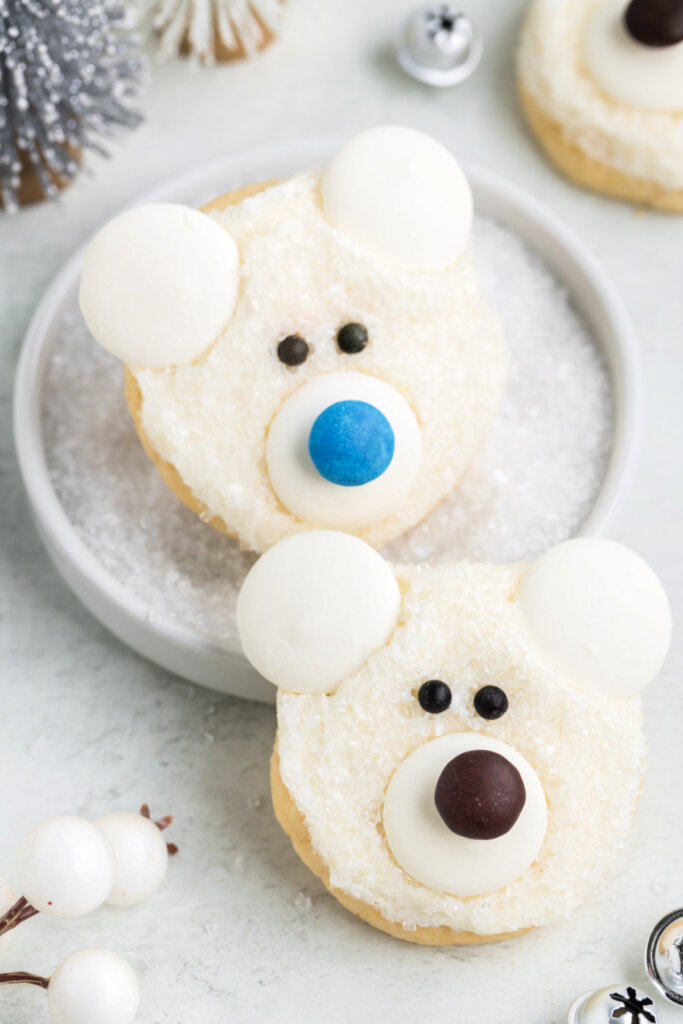
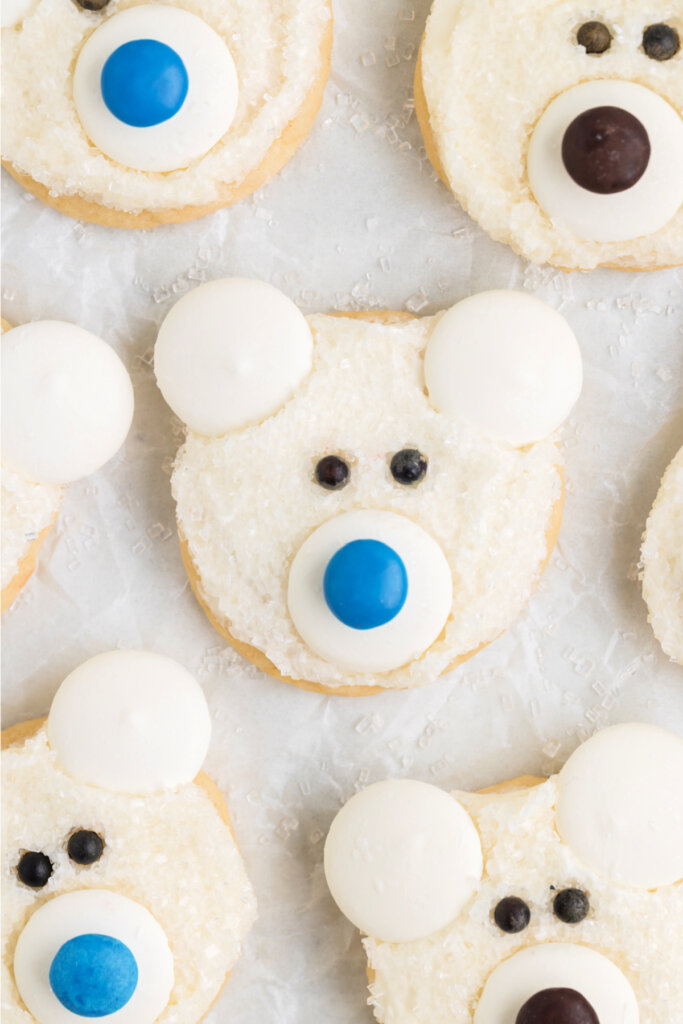
These Polar Bear Face Cookies are a winter wonder! Learn how to make these cute and delicious treats for your next holiday gathering.
Pin this now to find it later
Pin ItAdorable Polar Bear Face Cookies for Your Holiday Table
When it comes to homemade Christmas cookies, the options are endless, but there’s something extra special about adorable Polar Bear Face Cookies that bring a touch of winter magic to your holiday spread.
These homemade Christmas cookies are not only a delight to look at but also easy to make, perfect for those seeking both festive flair and simplicity in their holiday baking.
Winter Cookies with a Festive Twist
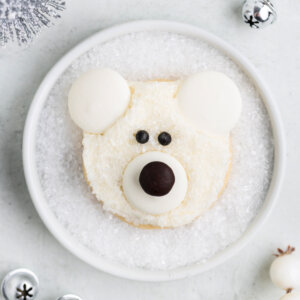
The charm of winter cookies lies not only in their taste but also in their decorative appeal. Polar Bear Face Cookies capture the essence of the season with their snowy white fur, cute faces, and endearing features. They’re the ideal addition to your cookie platter, adding a touch of whimsy and creativity.
Easy and Homemade Christmas Cookies
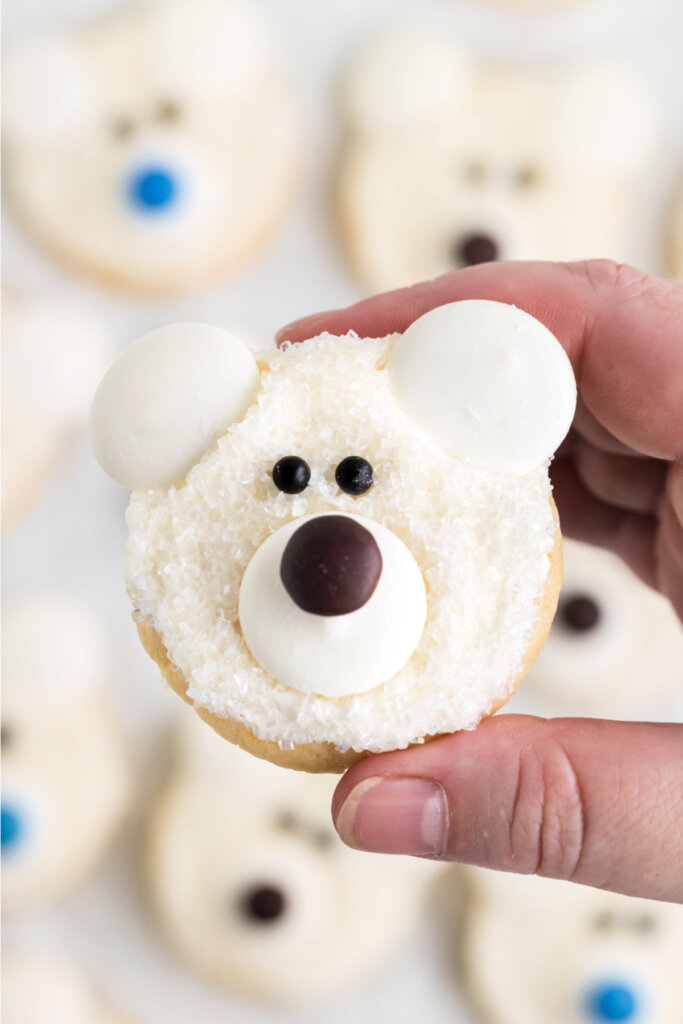
While the end result is impressive, these decorated Christmas cookies are surprisingly easy to assemble. With the help of our recipe, you can create homemade Polar Bear Face Cookies that look like they came straight from a bakery. The recipe combines the convenience of a cake mix with simple decorating techniques, making it accessible even to novice bakers.
Decorated Delights for Your Holiday Gathering
Whether you’re hosting a Christmas party or looking for a fun baking project to enjoy with family and friends, these decorated Christmas cookies are a wonderful choice. They’re a delightful way to bond with loved ones during the holiday season while crafting edible masterpieces that will leave everyone in awe.
If you’re in search of charming Christmas cookies that are easy to make and fun to decorate, Polar Bear Face Cookies should be at the top of your list. They embody the festive spirit of the season and are a delightful addition to any holiday gathering. Give them a try, and watch as your guests’ faces light up with joy and admiration.
Polar Bear Face Cookies: Ingredients & Substitutions
To make homemade Christmas Cookies, you will need …
Ingredients
For the Cookies
- white cake mix – You can use vanilla cake mix instead of white cake mix and vanilla extract. I tested this recipe with Betty Crocker white cake mix.
- vegetable oil
- large eggs
- vanilla extract
For the Frosting
- unsalted butter
- cream cheese – Use full-fat brick-style cream cheese for the frosting, as whipped cream cheese in tubs contains too much water and can cause frosting to become runny.
- powdered sugar
- vanilla extract
- a pinch of salt
Decorations
- white sanding sugar – to make the bears look cute and fuzzy. If you prefer, you can use sweetened shredded coconut instead of sanding sugar for the polar bear fur. Just apply a bit of frosting to the melting wafers to make them stick.
- round white melting wafers – for the ears and muzzle. I tested this recipe with Sweetshop Melt’Ems melting wafers. For best results, I suggest using larger wafers like Sweetshop Melt’Ems or Wilton Brand. I experimented with Ghirardelli white melting wafers, but they proved too small for the ears and muzzle.
- black nonpareils – for the eyes. Be aware that some nonpareils may bleed in the refrigerator, so consider adding the nonpareil eyes just before serving to avoid any color bleeding.
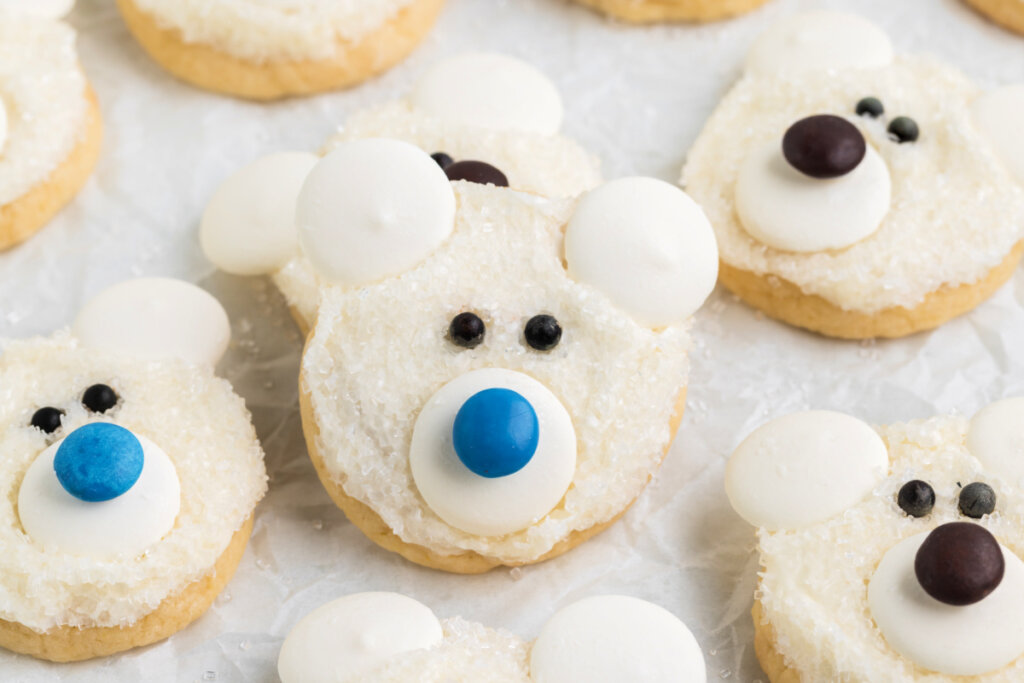
- blue or brown M&Ms – for the noses.
How to make Polar Bear Face Cookies
For the Cookies
Would you like to save this?
- Preheat your oven to 350°F. Line three large cookie sheets with parchment paper and set them aside.
- In a large bowl, mix together the white cake mix, vegetable oil, eggs, and vanilla extract until the mixture is smooth and free of flour streaks.
- Use a tablespoon to scoop out balls of cookie dough onto the parchment-lined sheets. Ensure there’s at least 1 ½ inches of space between each ball.
- Bake for 7-9 minutes or until the cookie edges are set. Let the cookies cool on the sheets before transferring them to a wire rack to finish cooling.
For the Frosting
- In a large bowl, beat the butter and cream cheese until they become light and fluffy.
- Scrape the sides of the bowl, then beat in the powdered sugar, vanilla extract, and a pinch of salt. Continue beating until the mixture is smooth and fluffy.
Assembly
- Place the white sanding sugar on a small plate and set it aside.
- Generously frost the cooled cookies.
- Gently press each frosted cookie into the sanding sugar to create a furry appearance.
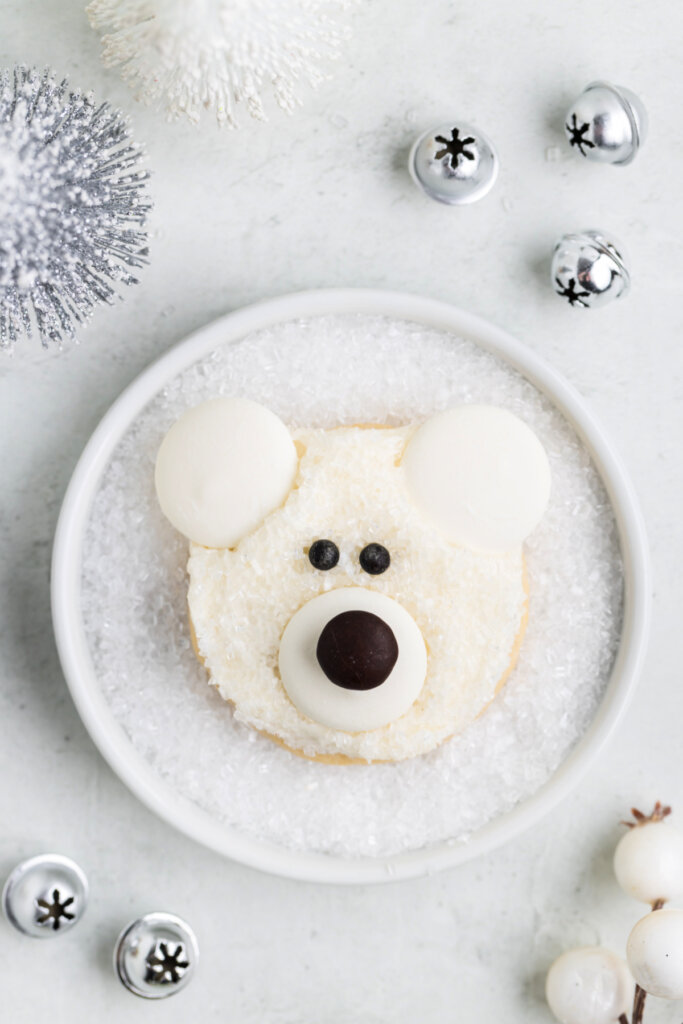
- Press two melting wafers into the top of each cookie to form the ears.
- Place one melting wafer in the lower third of each cookie to make the muzzle.
- Attach a small amount of frosting to one side of an M&M and use it to create the nose on the muzzle.
- For the eyes, put two black nonpareils above the muzzle.
- Allow the frosting to set for 20-30 minutes before serving.
Polar Bear Face Cookies: FAQs
Store any leftover Polar Bear Face Cookies in an airtight container in the refrigerator for up to five days. Ensure the frosting hardens before stacking them, as it contains cream cheese and requires refrigeration.
Yes, you can prepare these decorated Christmas cookies ahead of time for a party. Just be cautious about adding the nonpareil eyes if you plan to store them in the refrigerator, as some brands may bleed in cold storage. Consider adding the eyes just before serving to maintain their vibrant appearance.
Absolutely! Polar Bear Face Cookies are a great project for involving kids in the kitchen. They’ll have a blast helping with the frosting and decorating, and the results are sure to be both delicious and adorable.
To ensure the polar bear faces look their best, use a cookie scoop or measuring spoon to portion the dough accurately. This helps maintain proper face proportions in the cookies.
Polar Bear Face Cookies are perfect for holiday gatherings, winter-themed parties, or any event where you want to bring a touch of festive charm and deliciousness to the table.
Yes, you can get creative with the colors! While these cookies are designed to look like polar bears, you can adapt the frosting and decorations to fit various themes or seasons. For example, you can use colored sanding sugar for different fur shades or change the nonpareil colors for different eye expressions.
Yes, you can freeze these cookies if needed. Once they are fully decorated and the frosting has set, place them in an airtight container, separating layers with parchment paper, and freeze. Thaw them in the refrigerator before serving.
Other recipes you may enjoy
Polar Bear Face Cookies
Would you like to save this?
Equipment
Ingredients
For the Cookies
- 1 box white cake mix, 15.25 ounces
- ½ cup vegetable oil
- 2 large eggs
- 1 teaspoon vanilla extract
For the Frosting
- ½ cup unsalted butter, at room temperature
- 4 ounces cream cheese, 1/2 a block, at room temperature
- 1 ½ cups powdered sugar
- ½ teaspoon vanilla extract
- a pinch of salt
Decorations
- ½ cup white sanding sugar
- 84 round white melting wafers
- 56 black nonpareils
- 28 blue and/or brown M&Ms
Instructions
For the Cookies:
- Preheat your oven to 350°F. Line three large cookie sheets with parchment paper and set them aside.
- In a large bowl, mix together the white cake mix, vegetable oil, eggs, and vanilla extract until the mixture is smooth and free of flour streaks.
- Use a tablespoon to scoop out balls of cookie dough onto the parchment-lined sheets. Ensure there's at least 1-1/2 inches of space between each ball.
- Bake for 7-9 minutes or until the cookie edges are set. Let the cookies cool on the sheets before transferring them to a wire rack to finish cooling.
For the Frosting:
- In a large bowl, beat the butter and cream cheese until they become light and fluffy.
- Scrape the sides of the bowl, then beat in the powdered sugar, vanilla extract, and a pinch of salt. Continue beating until the mixture is smooth and fluffy.
Assembly:
- Place the white sanding sugar on a small plate and set it aside.
- Generously frost the cooled cookies.
- Gently press each frosted cookie into the sanding sugar to create a furry appearance.
- Press two melting wafers into the top of each cookie to form the ears.
- Place one melting wafer in the lower third of each cookie to make the muzzle.
- Attach a small amount of frosting to one side of an M&M and use it to create the nose on the muzzle.
- For the eyes, put two black nonpareils above the muzzle.
- Allow the frosting to set for 20-30 minutes before serving.
Notes
- Store any leftover cookies in an airtight container in the refrigerator for up to five days. Ensure the frosting hardens before stacking them, as it contains cream cheese and requires refrigeration.
- Be aware that some nonpareils may bleed in the refrigerator, so consider adding the nonpareil eyes just before serving to avoid any color bleeding.
- Use a cookie scoop or measuring spoon to ensure the dough is portioned correctly; this helps maintain proper face proportions in the cookies.
Nutrition
Nutrition information is automatically calculated, so should only be used as an approximation.