This post may contain affiliate links. As an amazon associate, I earn from qualifying purchases. See my full Disclosure Policy for details.

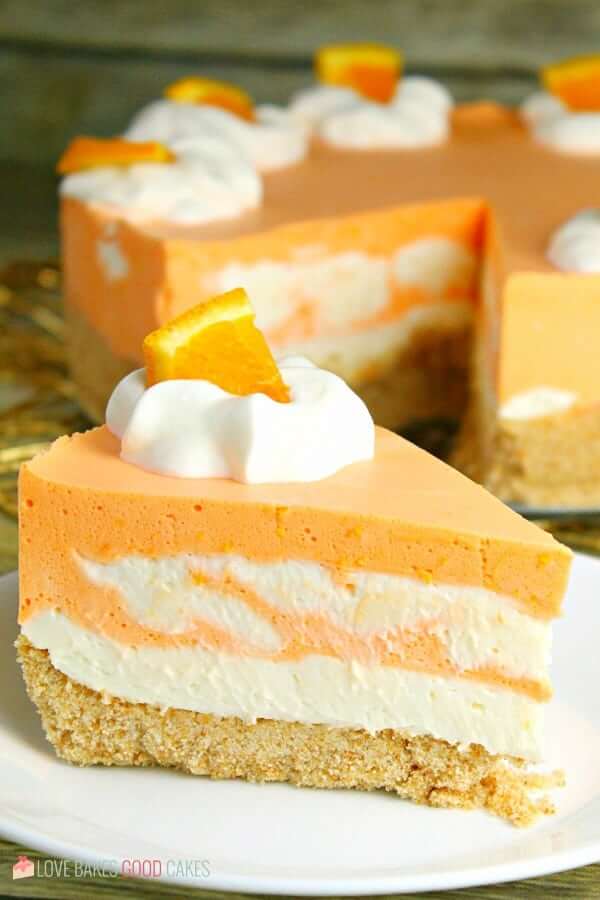
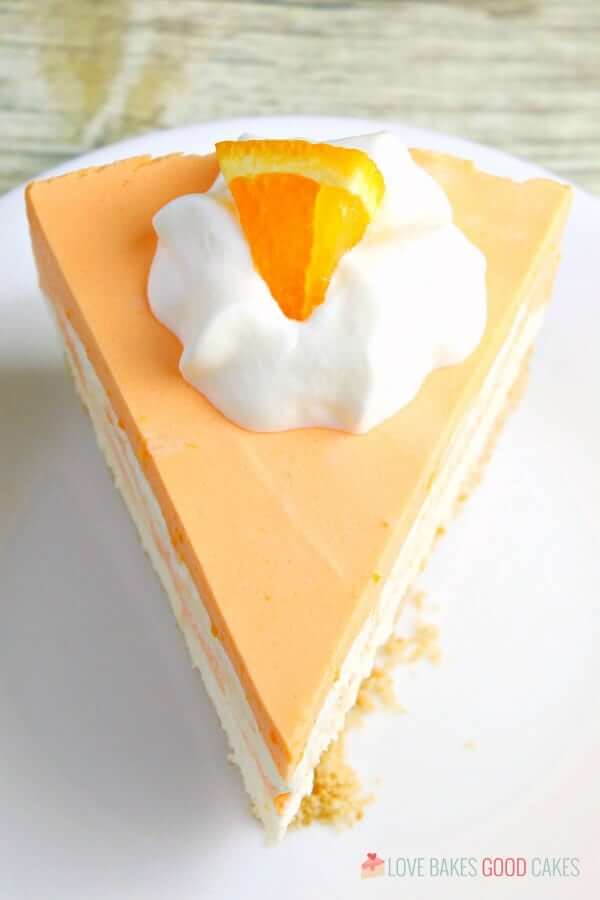
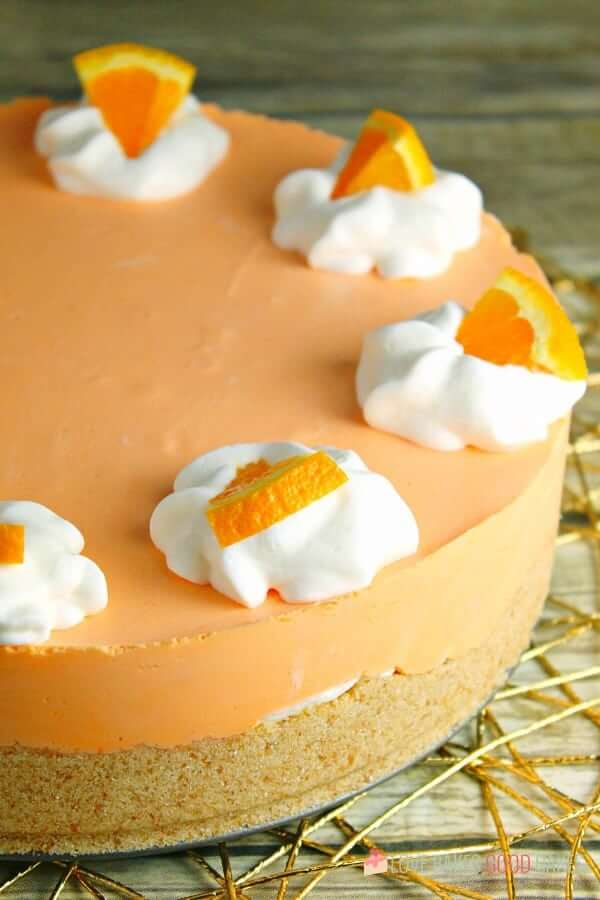
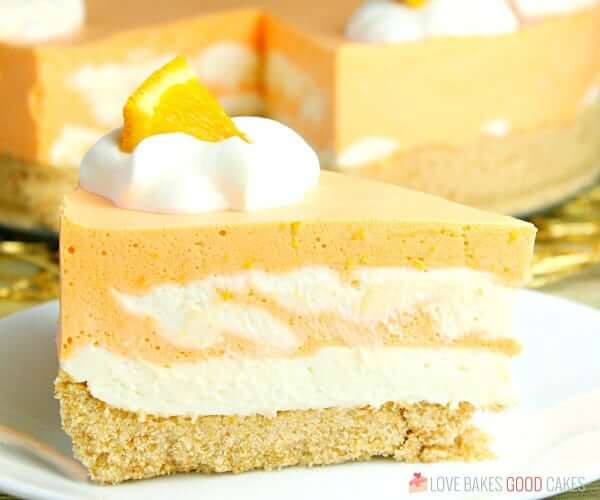
This No-Bake Orange Creamsicle Cheesecake is a nostalgic bite of bright orange and creamy vanilla, reminiscent of those long-gone summer days of your childhood.
Pin this now to find it later
Pin ItNo-Bake Orange Creamsicle Cheesecake
As much as I love a good classic cheesecake, I also appreciate the ease of a no-bake cheesecake. I have quite a few variations on my blog (you’ll find them linked below). Today, I’m adding this No-Bake Orange Creamsicle Cheesecake to the dessert file!
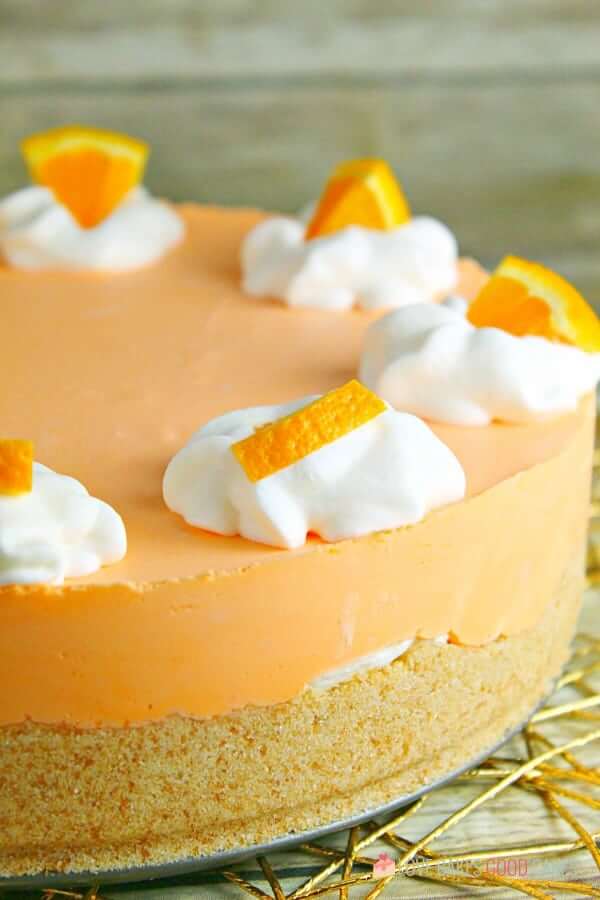
This Orange Creamsicle Cheesecake combines a childhood favorite – creamsicles, along with the creamy, dreamy cheesecake. You couldn’t ask for a better pairing. Especially since this is a no-bake treat!
I know summer is mostly over for everyone else (not in Phoenix!), but this isn’t one of those desserts that needs to be limited to a certain time of the year – it’s perfect any time!
Let it chill
It’s best to make this cheesecake the day before you want to serve it so it has time to set up completely. You will need at least 4 hours of chill time, but 6-8 hours is better. Overnight is the best amount of time in my opinion.
How to make No-Bake Orange Creamsicle Cheesecake
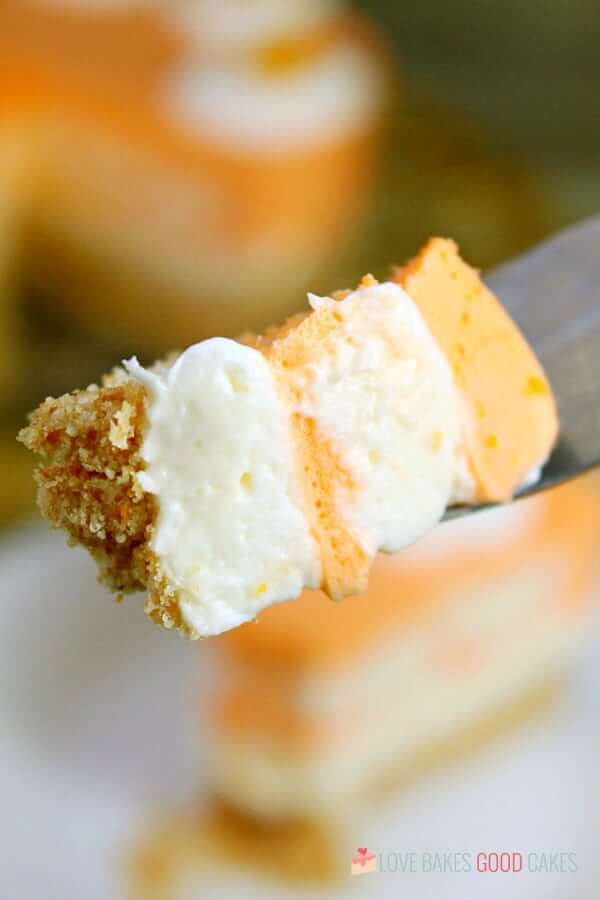
For this cheesecake, you will start with a cookie crumb base. You’ll need to let it chill out in the fridge for about 30 minutes or so. Next, you’ll mix up the no-bake cheesecake, then the orange mixture. You’ll add a whipped cream mixture to both the cheesecake and orange mixture before layering them both into the prepared crust. The No-Bake Orange Creamsicle Cheesecake will have to hang out in the fridge again for about 8 hours, or overnight, to set up completely.
Although it sounds complicated, I assure you it’s not!
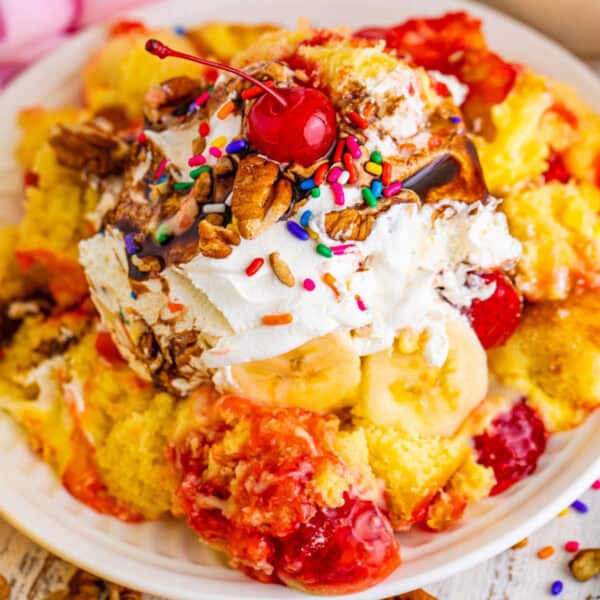
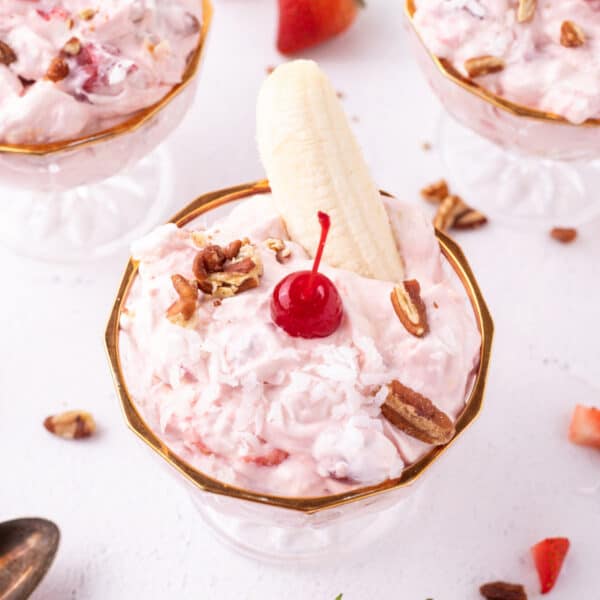
Other recipes you may enjoy
Would you like to save this?

No-Bake Orange Creamsicle Cheesecake
Would you like to save this?
Equipment
Ingredients
- 12 ounces vanilla wafers
- 1 ½ cups granulated sugar, divided
- 4 tablespoons unsalted butter, melted, 1/2 stick
- 2 packages cream cheese, softened to room temperature, 8 oz. each
- 2 cups heavy cream
- 1 box orange jello, 3 oz.
- 1 cup boiling water
- ½ cup powdered sugar
- ½ teaspoon vanilla extract
- Zest of one orange
Instructions
- Pulse vanilla wafers in a food processor until it resembles crumbs. Add 1/2 cup granulated sugar and melted butter, pulsing to combine.
- Spray a 9-inch springform pan generously with cooking spray and press mixture into the bottom of the pan and slightly up the sides. Chill in the freezer for at least 30 minutes.
- In a large mixing bowl, beat together cream cheese and 1 cup granulated sugar with a hand-held mixer until smooth and creamy. Set aside.
- In a separate bowl, whisk together orange jello and boiling water until dissolved and set aside.
- In a separate medium bowl, whip heavy cream, vanilla extract, confectioners sugar, and orange zest until stiff peaks form. Combine half of the whipped cream mixture with the orange jello mixture and the other half with the cream cheese mixture.
- Alternate spreading each mixture into the pan, starting with the cream cheese mixture and ending with whipped cream. Chill in the fridge for at least 4 hours or overnight before serving.
Notes
- You may be able to enjoy your cheesecake at the 4-hour minimum chill time – but I think 8 hours to overnight is better.
Nutrition
Nutrition information is automatically calculated, so should only be used as an approximation.

I also cut some sugar out of the recipe but do we let the jello cool or put cream in while hot..
This was delicious! Thank you.
Can you make this in a 9X13 glass pan instead of springboard?
I’ve never tried it, but I’m going to guess yes. Your layers may be thinner, but it’ll still be just as delicious!
Thank you for asking this question because I was curious, too. Did you try it? I was also curious if it could be made in another type of pan.
I tried this recipe in small ramikens using mini wafers. When I made the crust, I realized that it was enough to serve five people. As for the orange filling, it remained watery than soft because I used a whole box of orange Jello and added whipped cream to the jelly. To save this, I scooped some orange jelly into one half of the whipped cream mixture. It was a bit wasteful, but the method turned out great! Next time, I should reduce the amount of ingredients for mini cheesecakes.
I’ve made this a few times but my crust always crumbles & falls away even though I’m following recipe. Should I add more butter to the vanilla wafers?
You can try that to see if it helps.
I added more butter but only after having the same problem. After putting the cookie mixture in the pan and spreading it around, I laid Saran Wrap on the crumbs then pressed an 8” spring pan on top of it. It did an excellent job of forming the crumbs and helped form the sides!! Perfect!
Great cheesecake! So refreshing and yummy! I would add 1 stick of butter instead of the 4 tbs it’ll make the crust set better! Otherwise fantastic, thank you! My family loved it!
This no bake Creamsicle cheese cake has become a staple in our house. Everyone loves it and I am going to bring it to my Christian Book Club Meeting this month. Spring is in the air and it is perfect as the sprint time desserts.
Thank you for this new dessert
I halved the sugar in this recipe and it was still very sweet. I didn’t put any sugar in the crust, and half the sugar everywhere else. I can’t imagine how sweet this would be when actually following the recipe. If I ever make this again I’d cut even more sugar out. Tastes like an Orange Julius.
Made this for my sister’s birthday as she loves both cheesecake and anything Creamsicle. It was perfect! I just made another today using 1/2 cup raspberry jelly and 1/2 cup boiling water with sugar free raspberry jello. I also used monk fruit in place of sugar and decorated with fresh raspberries. Worked perfectly. For the person who found the 2 different textures hard to work with, I took a bit of the cream cheese and combined it with the jello part to even things out a bit. You could also refrigerate it a bit while leaving the cheese mixture at room temperature for a more even texture. I actually piped rings with the jello part, and it was so pretty when we cut it. 🙂
This was a wonderfully light refreshing cheesecake. A little time consuming to prepare, but worth every minute. I will definitely make again. May try it with lemon also.
Well, I’m a bit dissappointed The instructions are vague. I found the jello mix to be extremely runny and it made the spreading of the 2nd cream cheese layer nearly impossible, rather like a toddler splashing in the kiddie pool. It also did not set very hard, even overnight. I recommend a quarter less sugar, and 2t3 the cookies for the crust, too.
That happened to me the first time I made it too. The trick I found was to put my jello mixture in the fridge to help it cool quickly, not solidify, just cool. Once cool add the whip cream mixture to it. Big difference! I decided to freeze mine after putting it all together and it was divine 😍 Everyone loved it!
This happened to me too! Maybe the instructions should say to cool the jello mixture before adding the whipped cream mixture to it. You know for the less experienced. Lol. It’s at overnight in the fridge and it was still too loose to cut into. I put it in the freezer for a couple of hours and it really helped… The flavor is amazing and everybody loved it.