This post may contain affiliate links. As an amazon associate, I earn from qualifying purchases. See my full Disclosure Policy for details.
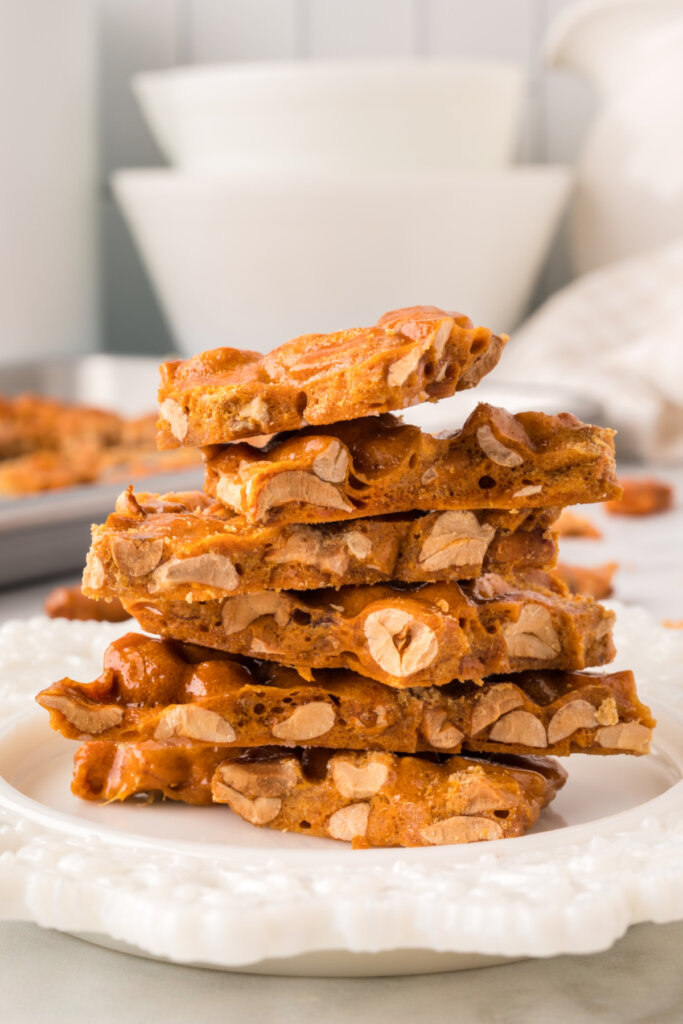
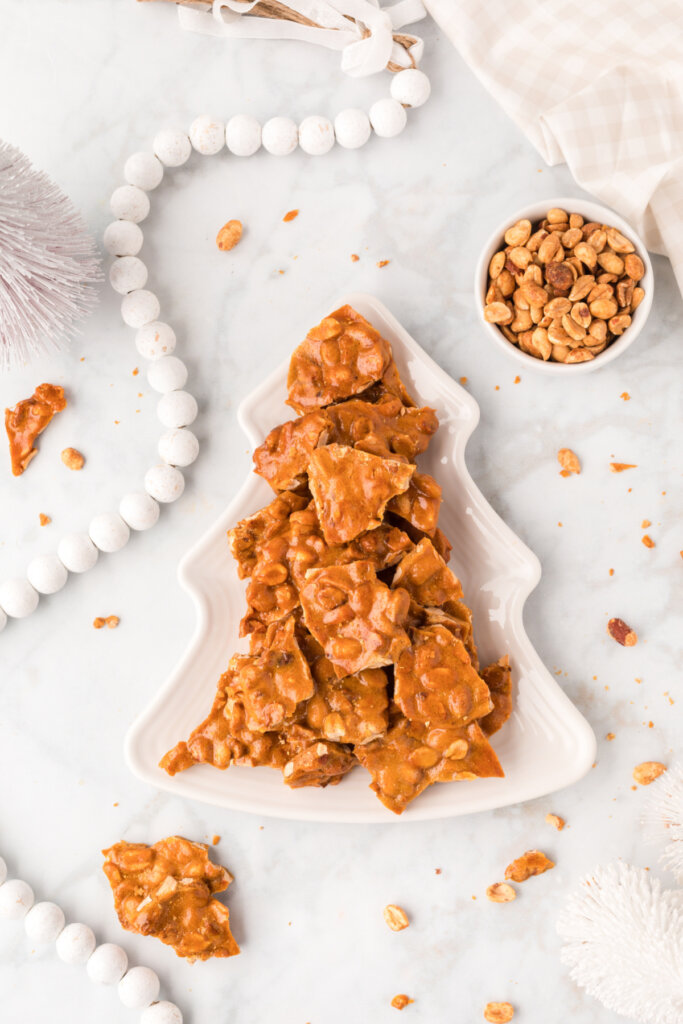
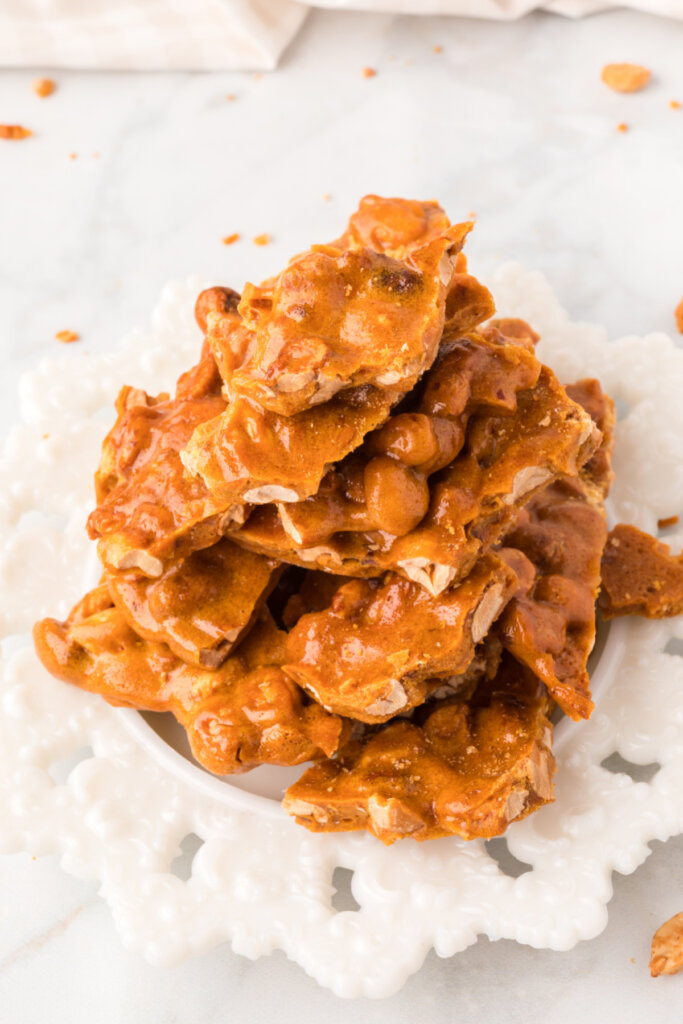
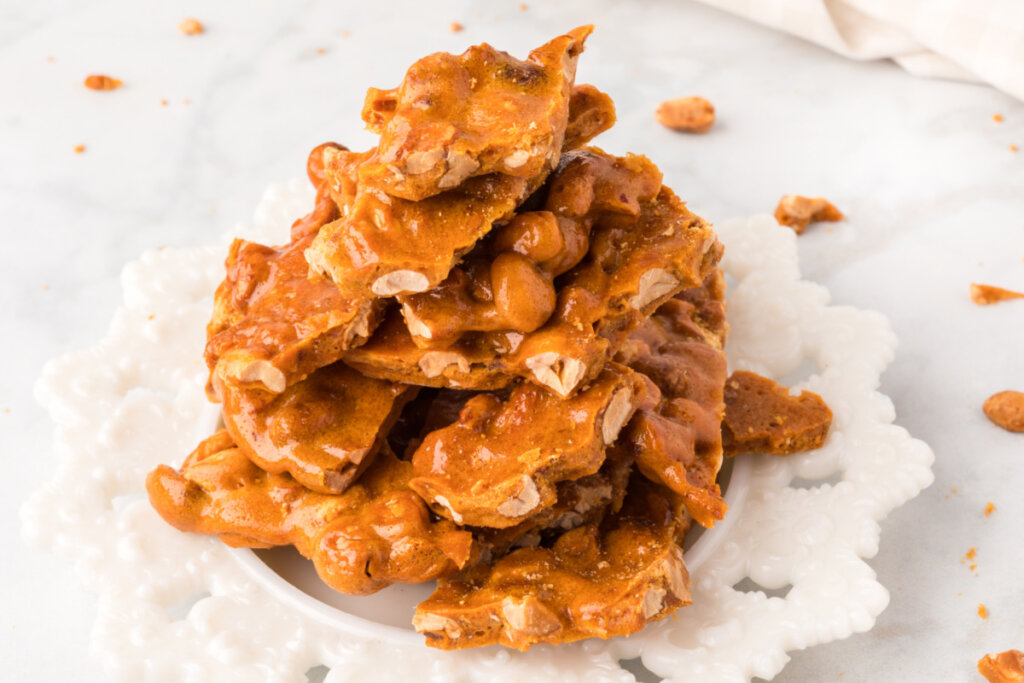
Microwave Peanut Brittle is a sweet, salty, and crunchy treat often enjoyed during the holiday season. No candy thermometer is needed!
Pin this now to find it later
Pin ItMicrowave Peanut Brittle
Christmas wouldn’t be Christmas without at least one batch of this easy-to-make Microwave Peanut Brittle. It’s one of those things I make every year, and my oldest son would tell you that this is one of his favorite Christmas treats along with my Soft Sugar Cookies!
All of you know by now that I like easy – and it doesn’t get much easier than this microwave version! I love that I don’t need a candy thermometer for this recipe – because really, who has one of those things anyway?!
I love including some of this homemade brittle on our cookie trays along with a few other holiday favorites like Peanut Butter Balls, Oreo Truffles, Peppermint Meringues, Rocky Mountain Snowdrops, and Slow Cooker Chocolate Candy. This old-fashioned tasting recipe is always a hit wherever we share it.
Peanut Brittle: Ingredients & Substitutions
Ingredients
- granulated sugar – use cane or beet sugar because they melt the best.
- light corn syrup – this helps keep the sugar from crystalizing and making your brittle gritty or grainy.
- salted peanuts – minus the shells, obviously.
- butter – used for flavor and helps make the candy easier to chew. You can use salted or unsalted.
- vanilla extract – for the best flavor, use the real stuff, not imitation.
- baking soda – this is what creates air bubbles in your candy, giving it a porous and delicate texture. Without it, your candy will be hard and chewy.
- Butter a baking sheet and set it aside.
2. Combine the sugar and corn syrup in a large microwave-safe bowl; microwave on HIGH for 4 minutes.
3. Stir in the peanuts and butter; microwave for an additional 3 minutes or until the mixture turns a caramel color.
Would you like to save this?
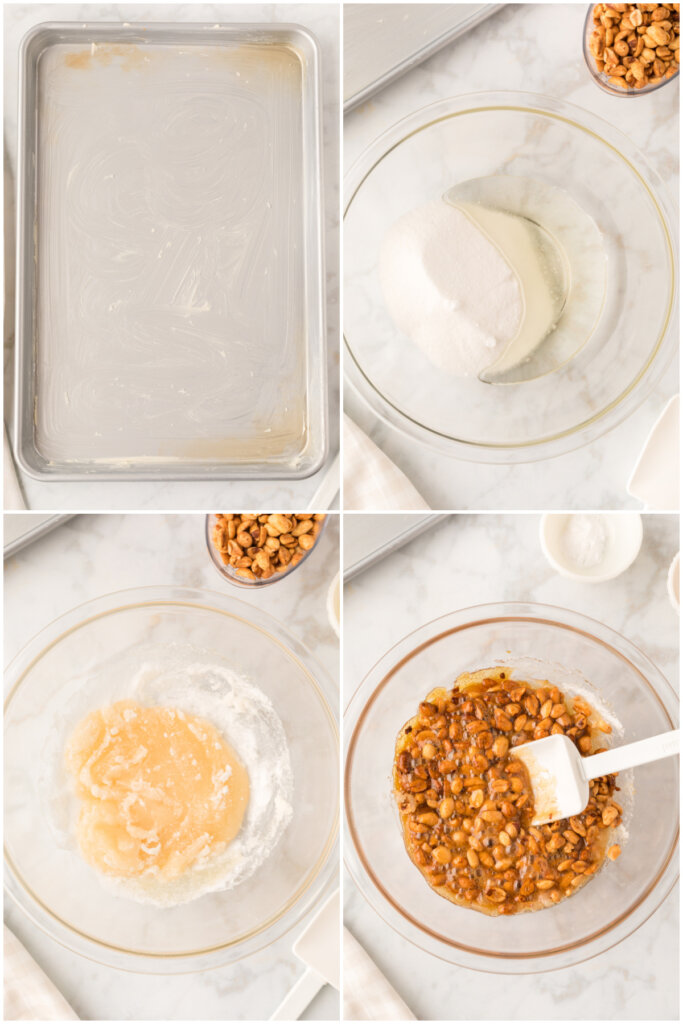
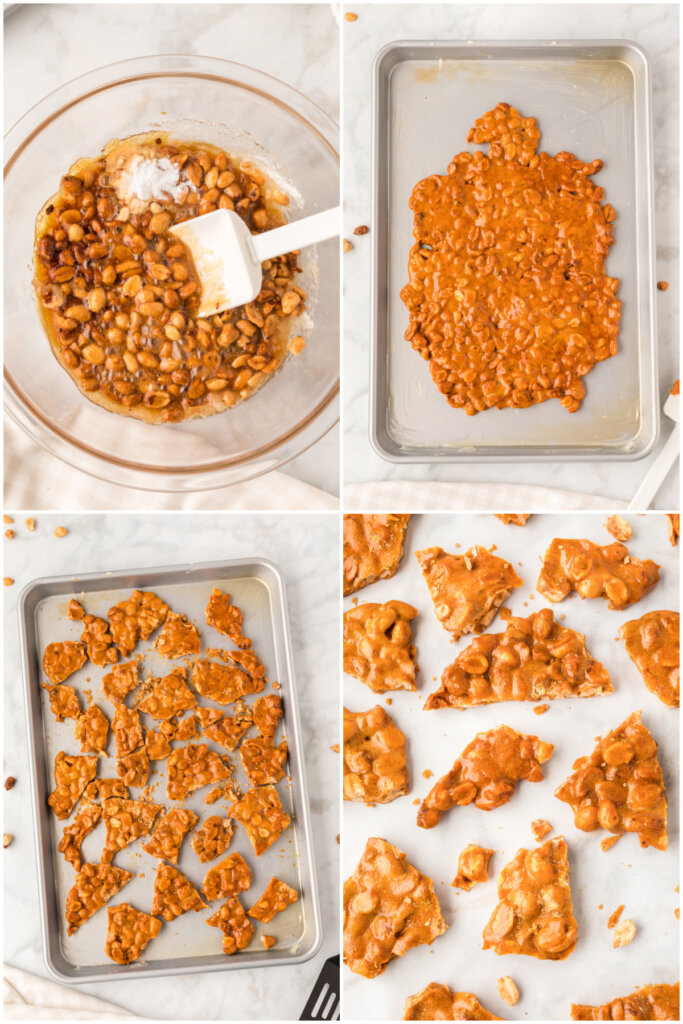
4. Add the vanilla and baking soda – working quickly to mix and spread the mixture onto the prepared baking sheet.
5. Let the candy stand until cool, and it hardens. Break into pieces.
Microwave Peanut Brittle FAQs
You didn’t cook it long enough. Unfortunately, there is no going back to fix this.
It will start to harden as soon as you mix the baking soda in which is why you’ll need to work quickly to get it spread. It should be completely hardened in about 30-45 minutes.
Stored in an airtight container at room temperature, it should be good for up to 6-8 weeks. I would NOT refrigerate it since the moisture from the fridge will cause the brittle to soften and be chewy.
Yes! Store it in an airtight freezer-safe container with wax paper between the layers for up to 3 months. Defrost it on the countertop for a few hours when you’re ready to enjoy it.
Recipe Tips
- Note that microwave ovens are different. You may need to adjust your time slightly. Keep an eye on your brittle and watch the color. You don’t want it too pale and you don’t want it too dark.
- Once the brittle has cooled, break it with your hands by bending it slightly. If you’re having trouble, you can use a kitchen mallet or other small heavy object to break it into pieces.
- Be sure to grease your baking sheet very well with butter. This will help determine how easy getting the final candy off the pan is.
- The sugar will be VERY HOT when making this recipe. Please take caution when handling it as not to burn yourself.
Other recipes you may enjoy
Microwave Peanut Brittle
Would you like to save this?
Equipment
- Silicone Pot Holder Trivet Mats – Hot Pads Spoon Rest, Multipurpose Trivet for Hot Dishers Heat Resistant Food Grade Silicone Set of 4
Ingredients
- 1 cup granulated sugar
- ½ cup light corn syrup
- 1 cup salted peanuts
- 1 tablespoon butter
- 1 teaspoon vanilla extract
- 1 teaspoon baking soda
Instructions
- Butter a baking sheet and set it aside.
- Combine the sugar and corn syrup in a large microwave-safe bowl; microwave on HIGH for 4 minutes.
- Stir in the peanuts and butter; microwave for an additional 3 minutes or until the mixture turns a caramel color.
- Add the vanilla and baking soda – working quickly to mix and spread the mixture onto the prepared baking sheet.
- Let the candy stand until cool, and it hardens. Break into pieces.
Notes
- Note that microwave ovens are different. You may need to adjust your time slightly. Keep an eye on your brittle and watch the color. You don’t want it too pale and you don’t want it too dark.
- Once the brittle has cooled, break it with your hands by bending it slightly. If you’re having trouble, you can use a kitchen mallet or other small heavy object to break it into pieces.
- Be sure to grease your baking sheet very well with butter. This will help determine how easy getting the final candy off the pan is.
- The sugar will be VERY HOT when making this recipe. Please take caution when handling it as not to burn yourself.
Nutrition
Nutrition information is automatically calculated, so should only be used as an approximation.
Originally published on December 17, 2013. Updated on January 8, 2022.



I pour mine onto my silicon pan liners. It never sticks, and clean-up is very easy.
I have been making this recipe with cashews for decades and it never disappoints.