This post may contain affiliate links. As an amazon associate, I earn from qualifying purchases. See my full Disclosure Policy for details.

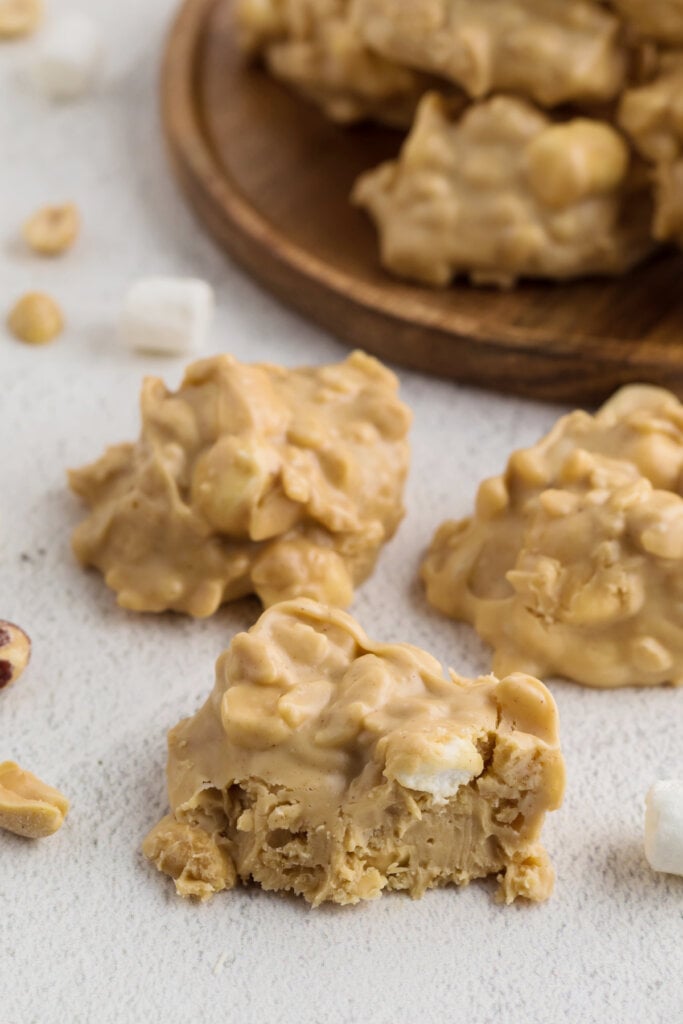
These Rocky Mountain Snowdrops, aka Avalanche Cookies, are an easy no-bake cookie perfect any time you want a quick, peanut buttery treat.
Pin this now to find it later
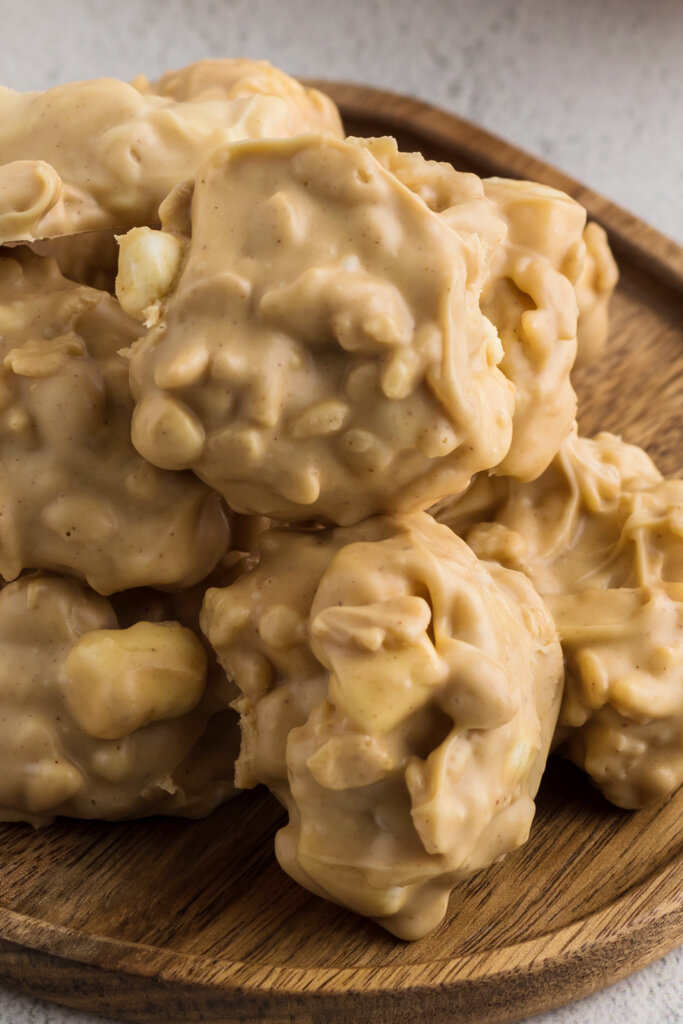
Pin ItAvalanche Cookies
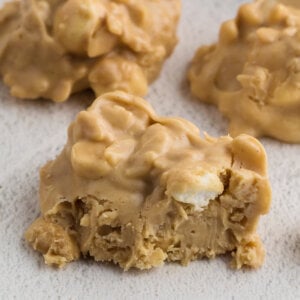
Although these Rocky Mountain Snowdrops or Avalanche Cookies are called “cookies,” I feel like they’re more of a candy. Call them whatever you like. They’re still delicious and addicting either way.
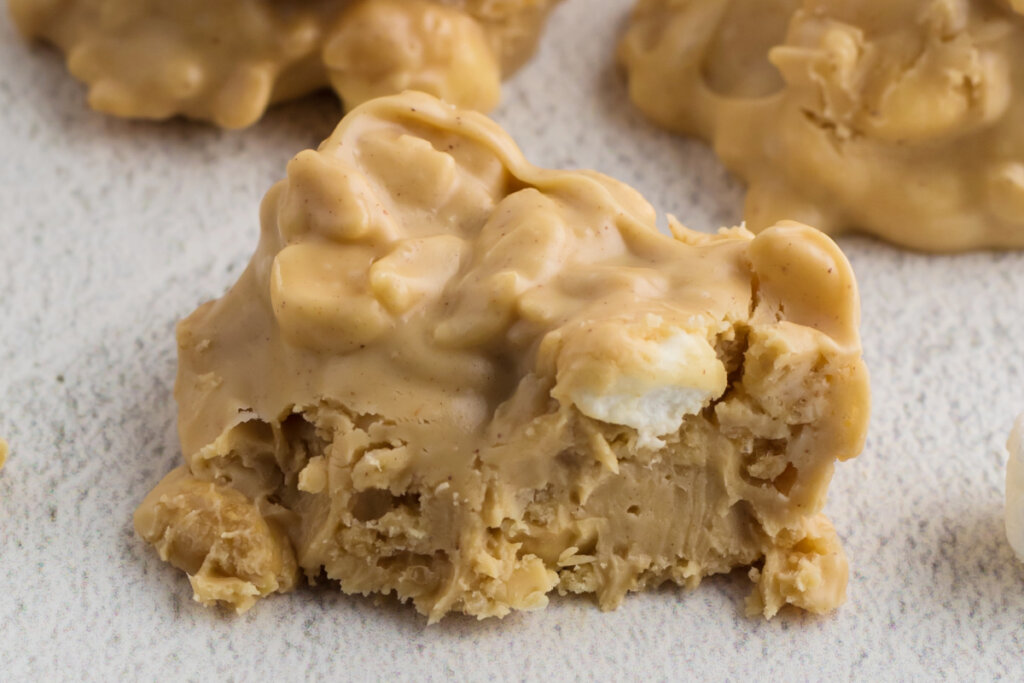
For this recipe, white chocolate is melted and mixed with creamy peanut butter, rice cereal, mini marshmallows, and dry roasted peanuts. Then it is dropped into mounds and left to harden. They’re a peanut butter lover’s delight!
This dessert recipe is so quick and easy. You can even let the kids help!
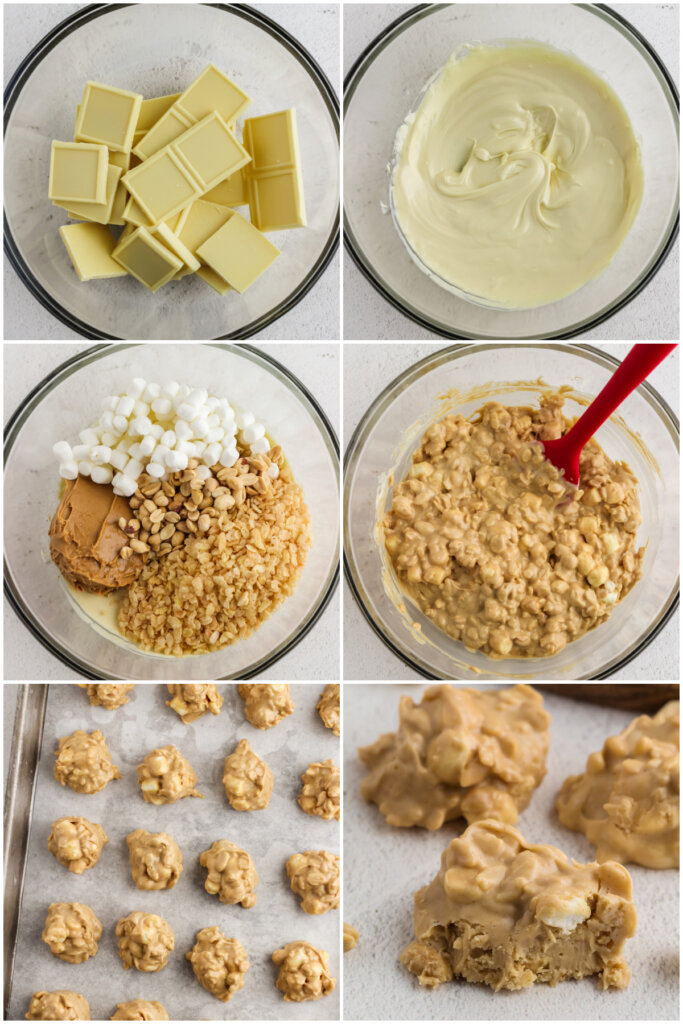
How to make Rocky Mountain Snowdrops No-Bake Cookies
- Melt the chocolate. Remove from the heat and allow the chocolate to cool slightly.
- While the chocolate is still warm and melted but not hot, mix in the peanut butter, cereal, marshmallows, and peanuts until well combined.
- Drop the mixture by 2-tablespoons onto wax or parchment paper and allow the cookies to cool completely before serving.
Avalanche Cookies Variations
- add mini chocolate chips to the mixture. Or add some on top of the cookies. Or do both!
- making these for the holidays? Add some festive sprinkles on top!
- use Cap’n Crunch Peanut Butter Cereal in place of the Rice Krispies cereal. You can crush the cereal slightly if you prefer smaller pieces.
- omit the peanuts and substitute extra cereal.
- instead of peanut butter, try your favorite nut butter. Nutella or Biscoff Cookie Butter are other great options.
Rocky Mountain Snowdrops FAQs
If eaten within 5-7 days, no, they do not need to be refrigerated. However, if you would like to enjoy them longer, you can refrigerate them for up to 10-14 days.
Yes! Once the cookies are completely cooled and set, you can transfer them to an airtight freezer-safe container. Be sure to place parchment paper or wax paper between the layers. They can be store for up to 2-3 months. To use, allow them the sit overnight in the refrigerator or at room temperature until completely thawed.
Stored properly in an airtight container, these cookies are good for about a week at room temperature. Or about two weeks when refrigerated.
Recipe Tips
- Cool the cookies faster by popping them in the fridge.
- If you prefer to use a microwave instead of a double-boiler, microwave on half-power in 30-second increments, stirring between each session, until the chocolate is melted.
- When storing, be sure to use wax paper between the layers to keep the cookies from sticking.
- If you prefer bars or squares, line a 9×9-inch baking dish with wax or parchment paper allowing the edges to overhang. Pour the mixture into the paper-lined pan and allow it to cool completely. Remove the wax or parchment paper with the cooled mixture in it. Remove the paper before cutting it into bars or squares.
- I used white chocolate baking bars for this recipe. However, you can also use white chocolate chips or white melting chocolate. Almond bark can also be used.
- For an easy, no-mess way to measure your peanut butter, line your measuring cup with plastic wrap before adding the peanut butter. When it’s time to add it to the mixture, just plop it in!
Other recipes you may enjoy
Would you like to save this?
Rocky Mountain Snowdrops
Would you like to save this?
Equipment
Ingredients
- 1 pound white chocolate
- ¾ cup creamy peanut butter
- 1 ½ cups Rice Krispies cereal
- 1 ½ cups mini marshmallows
- ½ cup dry roasted peanuts
Instructions
- Line a baking sheet with parchment or wax paper and set it aside.
- Melt the chocolate in a double boiler. Remove it from the heat and allow the chocolate to cool slightly.
- Stir in the peanut butter, cereal, marshmallows, and peanuts until well combined.
- Drop the mixture by 2-tablespoons onto the prepared baking sheet.
- Allow the cookies to cool completely before serving.
Notes
- Cool the cookies faster by popping them in the fridge.
- If you prefer to use a microwave instead of a double-boiler, microwave on half-power in 30-second increments, stirring between each session, until the chocolate is melted.
- When storing, be sure to use wax paper between the layers to keep the cookies from sticking.
- If you prefer bars or squares, line a 9×9-inch baking dish with wax or parchment paper allowing the edges to overhang. Pour the mixture into the paper-lined pan and allow it to cool completely. Remove the wax or parchment paper with the cooled mixture in it. Remove the paper before cutting it into bars or squares.
- I used white chocolate baking bars for this recipe. However, you can also use white chocolate chips or white melting chocolate. Almond bark can also be used.
- For an easy, no-mess way to measure your peanut butter, line your measuring cup with plastic wrap before adding the peanut butter. When it’s time to add it to the mixture, just plop it in!
Nutrition
Nutrition information is automatically calculated, so should only be used as an approximation.


I wonder if I could use Milk Chocolate Chips instead of White Chocolate, which is hard to find.
I didn’t see mentioned anywhere about using Crunchy Peanut Butter instead of Dry Roasted Peanuts.
These sound delicious. I want to try these, but maybe with a few minor substitutions. Thanks !
CAN’T WAIT TO MAKE THEM
YUMMY FOR THE TUMMY 😋😋❤️
I made these but I used Fruity Pebbles instead of Rice Krispie treats. They were really good.