This post may contain affiliate links. As an amazon associate, I earn from qualifying purchases. See my full Disclosure Policy for details.

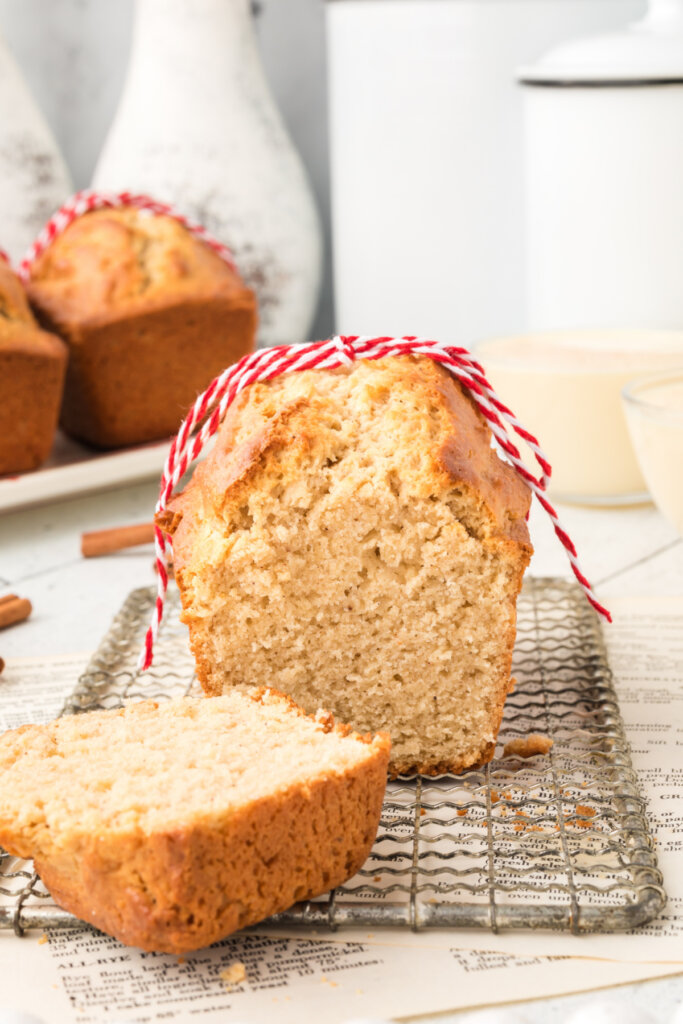
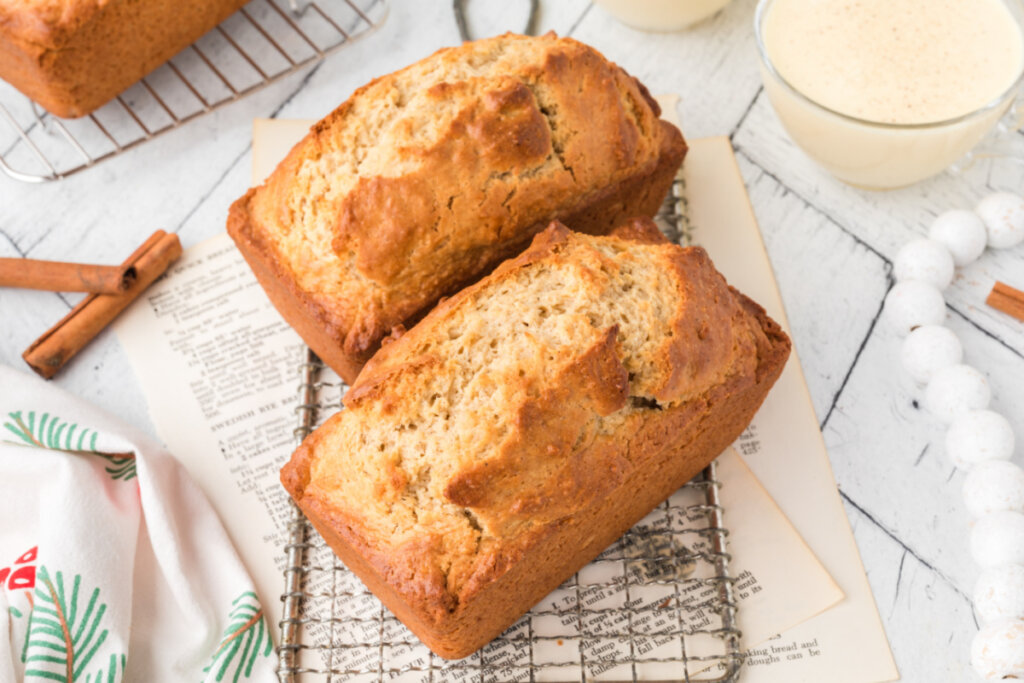
This Holiday Eggnog Bread is the perfect breakfast or dessert for all you eggnog fanatics out there! It’s ready in under an hour and doesn’t require any special ingredients, besides the eggnog, of course!
Pin this now to find it later
Pin ItHoliday Eggnog Bread
Eggnog is a holiday tradition and an important one, y’all!! In fact, I dare say it’s as important as the Christmas trees, Santa-shaped cookies, family time, and of course, the presents.
I kid, but there’s nothing like a mug of eggnog on a cold December night, right?!
And with this Holiday Eggnog Bread, you can have eggnog for breakfast too! Imagine a sweet quick bread with eggnog, rum, and spiced flavors. That’s this delicious dessert.
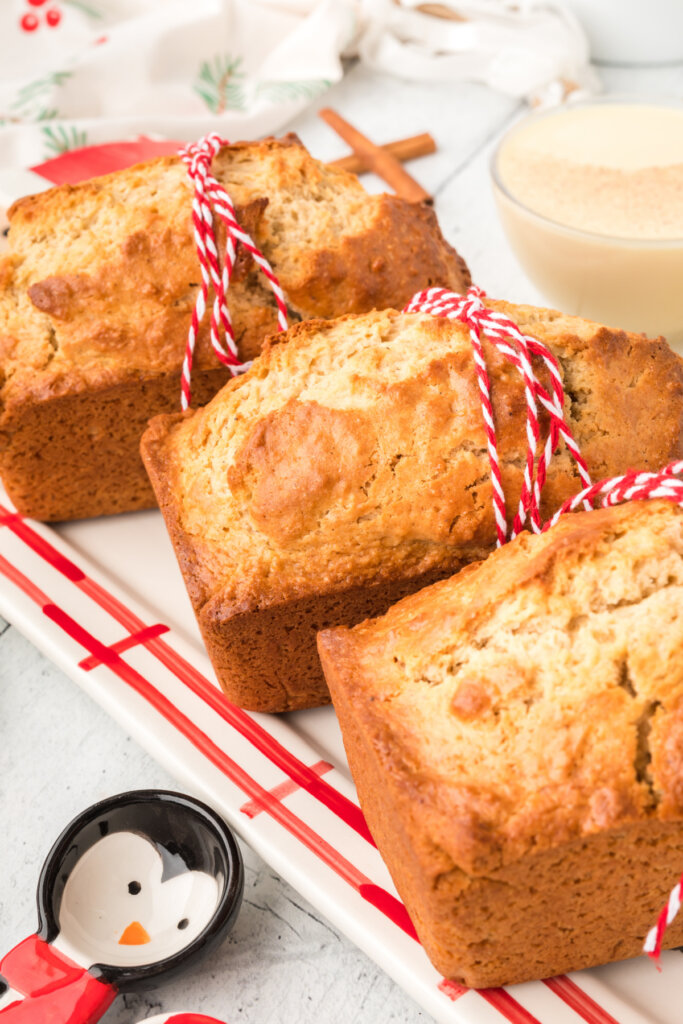
By the way, it’s super easy to make and quick, too. No yeast is needed here or any ingredients you’ll need to seek in obscure parts of the grocery store. It’s perfect for serving up to your favorite people on Christmas morning, but also suits holiday gift bags if you wrap it up!!
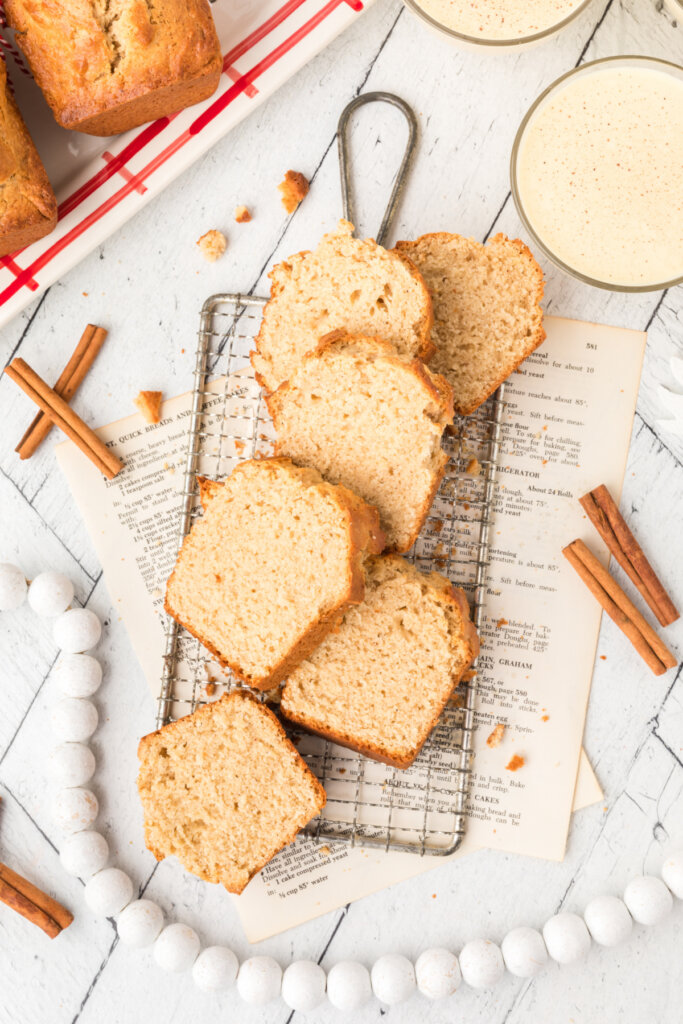
Eat this Eggnog Quick Bread as a snack or dessert during the holidays – or even as breakfast on Christmas morning! I hope you enjoy it!
Holiday Eggnog Bread: Ingredients & Substitutions
For this Holiday Eggnog Bread recipe, you will need …
Ingredients
- all-purpose flour, vanilla extract, granulated sugar, baking powder, salt, butter, and eggs – standard baking ingredients! I won’t list what each one does specifically when used in baking, but for those unfamiliar with the process, they’re all pretty much what you need to make, well, most sweets in the oven.
- cinnamon and nutmeg – these sweet and earthy spices give your Holiday Bread lots of warmth.
- eggnog – I use the Shamrock Farms brand, but I imagine if you can’t find it, any brand you love will do.
- rum extract – a bit of this will provide more warmth and sweetness to your Eggnog Bread and heighten its flavors all around.
How to make Holiday Eggnog Bread
First, prep your utensils and supplies. This means preheating that oven to about 350°F and spraying down three 5x3x2-inch mini baking pans with cooking spray.
Second, create your batter. Grab a large mixing bowl and combine your dry ingredients (flour, sugar, baking powder, salt, cinnamon, and nutmeg). In another mixing bowl, throw together your melted butter, eggs, rum extract, vanilla extract, and, of course, the eggnog. Then stir the wet ingredients into the dry mixture.
Would you like to save this?
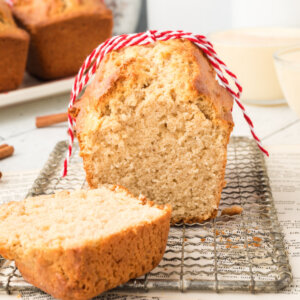
Finally, bake your Holiday Eggnog Bread and enjoy! Divide the batter between the baking pans and let it bake in the oven for 30 to 35 minutes. Use the “toothpick trick” to ensure it’s fully done when you remove them from the oven. And after you let the loaves cool for 10-15 minutes, you’re ready to remove them from the pans and serve ‘em up!!
Holiday Eggnog Bread: FAQs
This is a short recipe (which makes it great for a particularly busy holiday)!! It only takes 10 minutes to prep and 30-35 minutes to bake.
This will give you three 5x3x2-inch loaves!
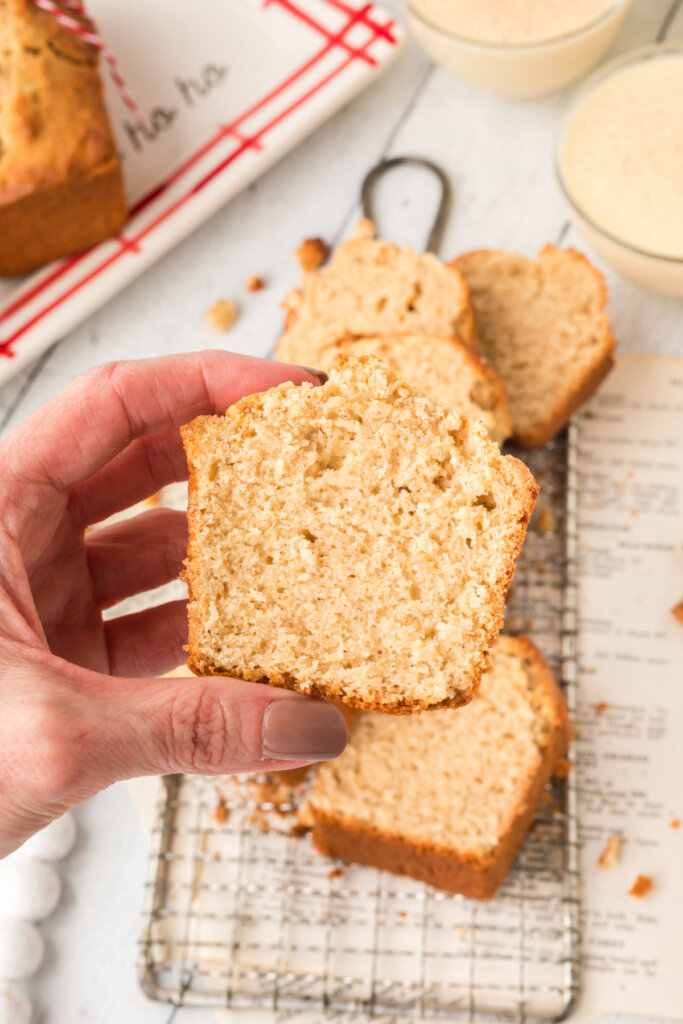
Both will produce a loaf of Holiday Eggnog Bread with the same flavor, but the texture will be much different! If you want a super moist loaf, you’ll want to use the full-fat eggnog.
Store your bread at room temperature in an airtight container or zip-top bag for up to three to four days. For more extended storage, place your loaf in an airtight container and refrigerate it for up to five to seven days.
Yes!! You can add a simple eggnog glaze to your loaves! Mix 1 cup of powdered sugar with 2-3 tablespoons of eggnog, depending on how thick you like your glaze.
This recipe freezes beautifully! However, it’s best to freeze UNGLAZED loaves and glaze them once they have thawed if you want them glazed. Once your loaves have cooled completely, wrap them in a layer of plastic wrap, then a layer of aluminum foil. Place your loaves into a freezer-safe airtight container or zip-top bag and freeze for up to three months. Once you’re ready to enjoy them, allow them to thaw in the refrigerator or at room temperature on the counter.
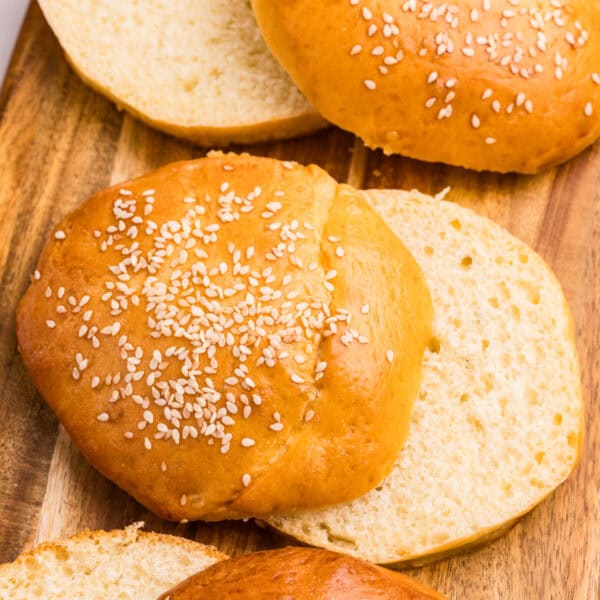
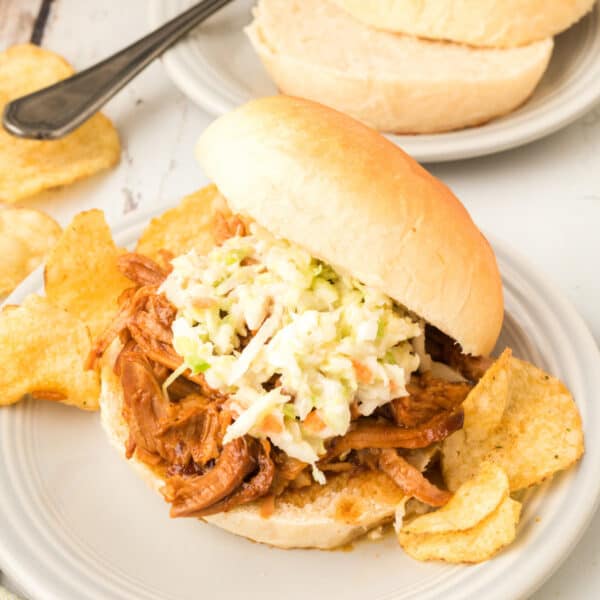
Other recipes you may enjoy
Holiday Eggnog Bread
Would you like to save this?
Equipment
Ingredients
- 2 ¼ cups all-purpose flour
- ¾ cup granulated sugar
- 2 ½ teaspoons baking powder
- ½ teaspoon salt
- ½ teaspoon ground cinnamon
- ½ teaspoon ground nutmeg
- 1 cup eggnog
- ½ cup butter, melted and cooled slightly, 1 stick
- 2 large eggs
- 2 teaspoons vanilla extract
- 2 teaspoons rum extract
Instructions
- Preheat oven to 350°F. Spray three 5x3x2-inch mini baking pans with cooking spray and set aside.
- In a large mixing bowl, combine the flour, sugar, baking powder, salt, cinnamon, and nutmeg. Set aside.
- In a separate mixing bowl, mix the eggnog, melted butter, eggs, vanilla extract, and rum extract until thoroughly combined. Stir the wet mixture into the dry mixture until just combined. Do not overmix.
- Divide the batter between the three baking pans. If using aluminum foil pans, place them on a baking sheet. Bake in the preheated oven for 30-35 minutes or until a toothpick inserted near the center comes out clean.
- Allow loaves to cool for 10-15 minutes before removing them from loaf pans to cool completely.
Notes
- I prefer to use full-fat eggnog for this recipe. It tastes better and yields a better texture/crumb, and helps keep the loaves moist and not dry.
- Store your bread at room temperature in an airtight container or zip-top bag for up to three to four days. For more extended storage, place your loaf in an airtight container and refrigerate it for up to five to seven days.
- You can add a simple eggnog glaze to your loaves! Mix 1 cup of powdered sugar with 2-3 tablespoons of eggnog, depending on how thick you like your glaze.
- This recipe freezes beautifully! However, it's best to freeze UNGLAZED loaves and glaze them once they have thawed if you want them glazed. Once your loaves have cooled completely, wrap them in a layer of plastic wrap, then a layer of aluminum foil. Place your loaves into a freezer-safe airtight container or zip-top bag and freeze for up to three months. Once you're ready to enjoy them, allow them to thaw in the refrigerator or at room temperature on the counter.
Nutrition
Nutrition information is automatically calculated, so should only be used as an approximation.

I just wanted to commend you for writing very CLEAR, CONCISE recipes complete with the amount of persons served. I have seen SO many recipes that don’t put that one thing in! Thank you – your recipes are GREAT!!!
I appreciate the feedback! Thank you so much for visiting! ❤