This post may contain affiliate links. As an amazon associate, I earn from qualifying purchases. See my full Disclosure Policy for details.

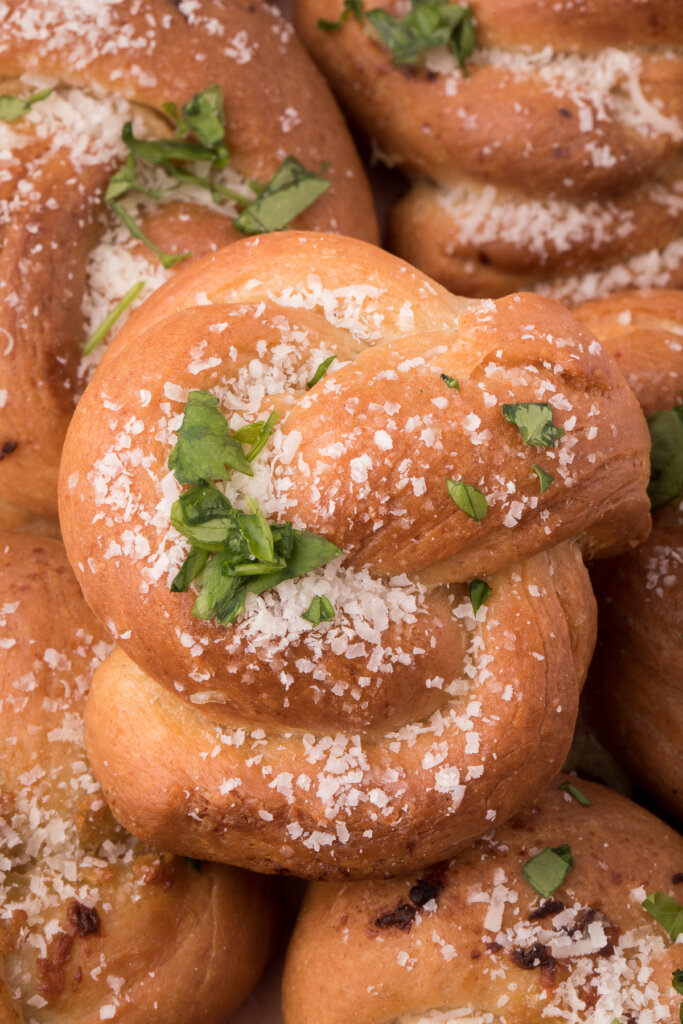
A simple recipe for Garlic Knots gives you a flavorful, savory homemade appetizer! Includes recipes for garlic butter & tomato dipping sauce.
Pin this now to find it later
Pin ItGarlic Knots from Scratch
This simple recipe for Garlic Knots will give you a flavorful, savory homemade appetizer! I’ve also included a recipe for garlic butter, tomato dipping sauce, and more … all so you can have a garlic knot feast if you so choose.
If you’re like me, every time you go out to eat with your family, you look down at your dish and think: “This is great, but how do I make this at home?!” It’s both a bad and good habit of mine, and it recently came up with garlic knots. So, this is your blog post for those of you who have ever wondered how to make garlic knots from scratch!
This recipe may look a little scary since you have to use … dun dun dun … the dreaded yeast! Yeast can be challenging for many of us to work with since it’s so easy to kill. But, I think we’ve all had our experiences ruining bread dough like that.
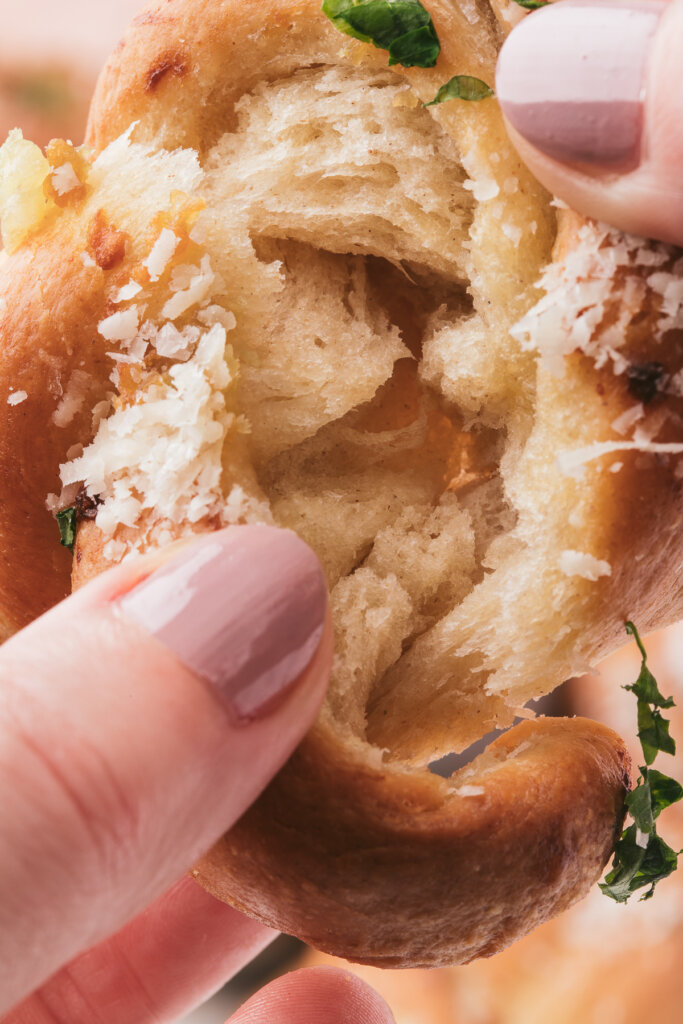
However, you’re essentially making pizza dough to form garlic knots in this recipe, so I assure you, it’s not too awful or hard! It’s easy as pie – or in this case, knots! 😉
Garlic Knots: Ingredients & Substitutions
To make this recipe for Garlic Knots, you will need …
Ingredients
For the bread:
- four – I recommend using bread flour for this recipe, as the resulting knots will be super-soft in texture. However, all-purpose will work in a pinch.
- yeast, warm water – use warm water with your yeast, not hot water! Hot water will kill the yeast, and your dough won’t rise.
- sugar, salt, butter – standard bread-making ingredients. The salt and the sugar especially bring out the other flavors in the bread.
- olive oil – to grease the bread.
Note: Yes, this is essentially pizza dough!!
Would you like to save this?
For the topping:
- parmesan cheese, parsley – these provide a very Italian flavor to your garlic knots when sprinkled on.
- salt – always brings out the flavors of everything else used in a recipe! (Plus, salt is just tasty.)
For the tomato dipping sauce:
- crushed tomatoes – the base of your sauce.
- garlic, oregano (or Italian seasoning) – the other flavors in your sauce. These make the sauce taste like the kind of thing you’d get at a pizza restaurant … except so much better!!
- white wine vinegar – this thins out your sauce.
- sugar – enhances the taste of your sauce.
For the garlic butter:
- butter – well, we can’t have garlic butter without it!
- garlic cloves, crushed – fresh garlic makes garlic butter just mouth-wateringly phenomenal, y’all.
Garlic Knots: FAQs
About eighteen – more than enough for everyone in your family or social circle, I’d imagine!! But I’d make another batch if you’re having a bigger party.
I will admit, this is not a quick recipe. However, it’s not a difficult or labor-intensive one at all!! The prep time is 20 minutes, and the cooking time is 20 minutes. Of course, you’ll need to let the dough rise for 2 hours between those two steps, but that’s totally passive – you don’t have to watch it. (Unless you find that interesting?!)
They’ll last about 2-3 days in the fridge if you use an airtight container. You definitely want to try to eat them all on the same day you make them, though!
Other recipes you may enjoy
Garlic Knots
Would you like to save this?
Equipment
Ingredients
For the bread
- 3 cups bread flour
- 1 packet instant dry yeast
- 2 teaspoons granulated sugar
- 1 teaspoon salt
- ¼ cup butter, melted
- 1 cup warm water
- drizzle of olive oil, for greasing
For the garlic butter
- ½ cup butter
- 4 cloves garlic , crushed
For the topping
- 1 small bunch parsley, finely chopped
- ½ cup Parmesan cheese, grated
- salt, to taste
For the tomato dipping sauce
- 1 can crushed tomatoes, 28 oz.
- 2 cloves garlic, crushed
- 1 tablespoon white wine vinegar
- 2 teaspoons granulated sugar
- 1 teaspoon oregano or Italian seasoning
Instructions
- Add the flour, yeast, sugar, and salt to a large mixing bowl. Mix together with a spoon, then pour in the melted butter and water. Mix together into a rough dough, then (if kneading by hand) turn the dough out onto a lightly floured surface and knead for 10 minutes. Alternatively, leave the dough in the bowl and add it to a stand mixer fitted with the dough hook. Mix on the lowest speed for 5 minutes.
- When the dough is ready, it should be soft and pliable. Form it into a ball, then add it to a bowl lightly greased with oil. Turn the dough over in the oil to coat it, then cover it with cling wrap and leave to rise until doubled in size. This should take about 2 hours.
- Line two baking trays with baking parchment.
- When the dough has doubled in size, turn it out onto a lightly floured surface. Use your hands to form it into a rectangle of approximately 18 inches long.
- Cut the dough into 18 strips.
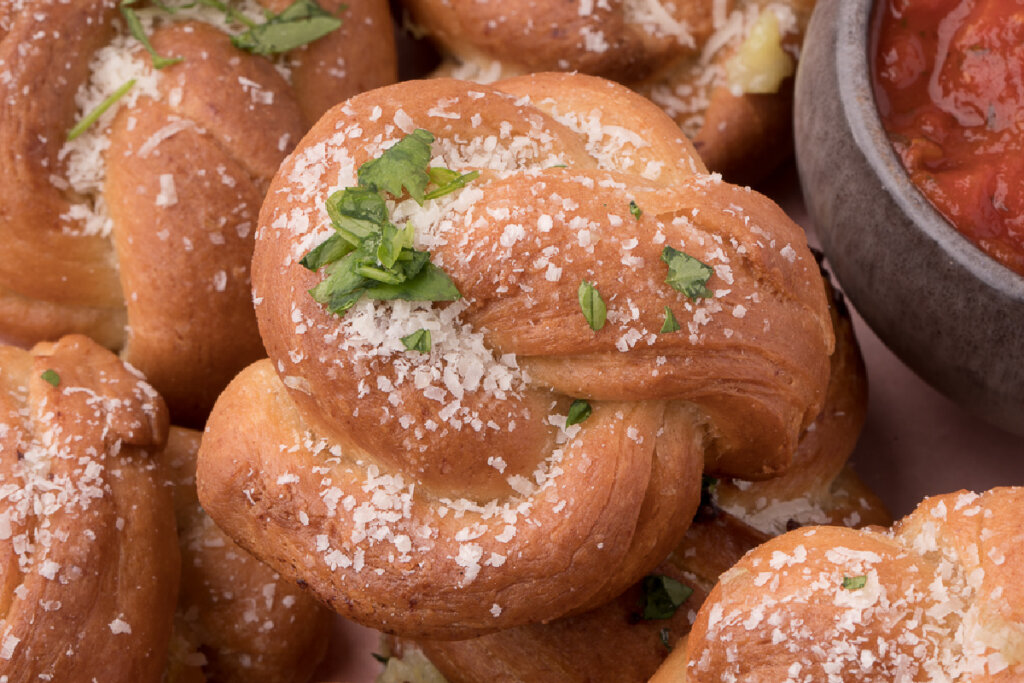
- Take a strip in your hands and roll it into a long rope shape of about 5 inches. Tie it in a knot, tucking the ends underneath. Place on one of the prepared baking trays. Repeat with the rest of the dough.
- Leave the knots to rest for 30 minutes. Preheat the oven to 350ºF.
- While the dough is resting, make the garlic butter. Melt the butter in a small saucepan, then add the crushed garlic.
- After 30 minutes, brush the garlic knots with the garlic butter (you will use about half), then
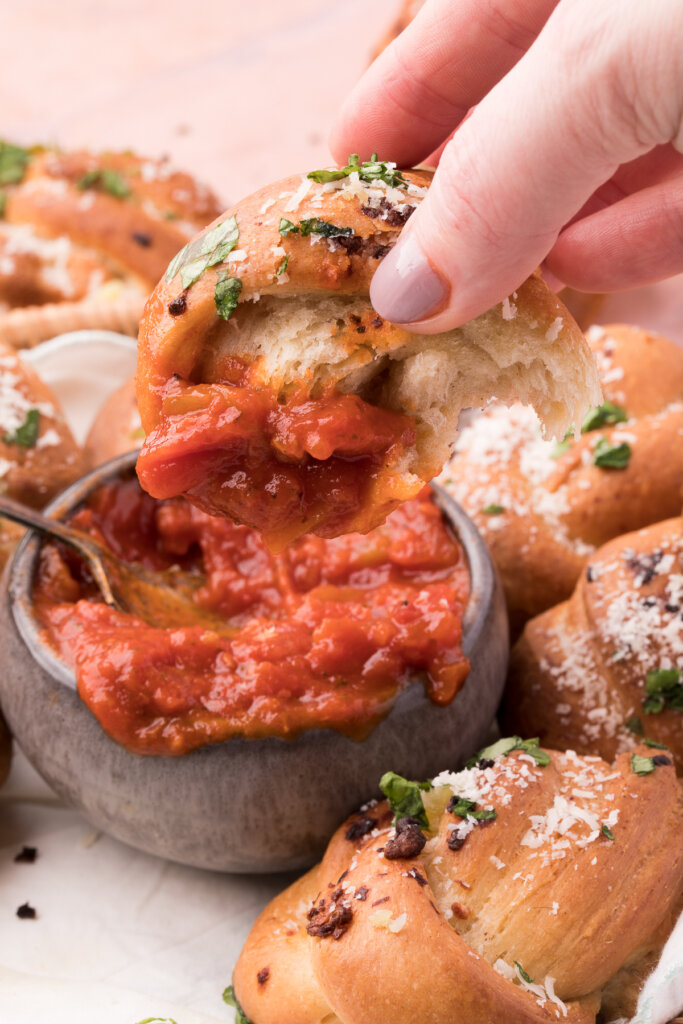
bake in the oven for 20 minutes. - While the garlic knots are baking, you can prepare the tomato dipping sauce. Put the crushed tomatoes, crushed garlic, oregano, white wine vinegar, and sugar into a saucepan. Leave to simmer while the bread is in the oven.
- As soon as the garlic knots are ready, brush them with the remaining butter and scatter over
the Parmesan, chopped parsley, and salt. - Serve the knots immediately alongside the tomato dipping sauce.
Notes
- It’s better to use bread flour for baking bread because the protein content is higher, thus resulting in softer bread. However, this recipe will work with all-purpose flour as well.
- The water should be warm but not hot. Otherwise, it will kill the yeast.
- When brushing the garlic butter onto the bread, try not to add too much garlic as it does tend to burn while the bread is baking in the oven. However, there is enough garlic in the butter to flavor the knots without adding raw garlic to the tops of the bread.
- As with any baked goods, garlic knots are best eaten on the day they are made. However, they will last two days if stored in an airtight container in the fridge. Any leftovers can be reheated in a warm oven for 5 minutes.
Nutrition
Nutrition information is automatically calculated, so should only be used as an approximation.