This post may contain affiliate links. As an amazon associate, I earn from qualifying purchases. See my full Disclosure Policy for details.

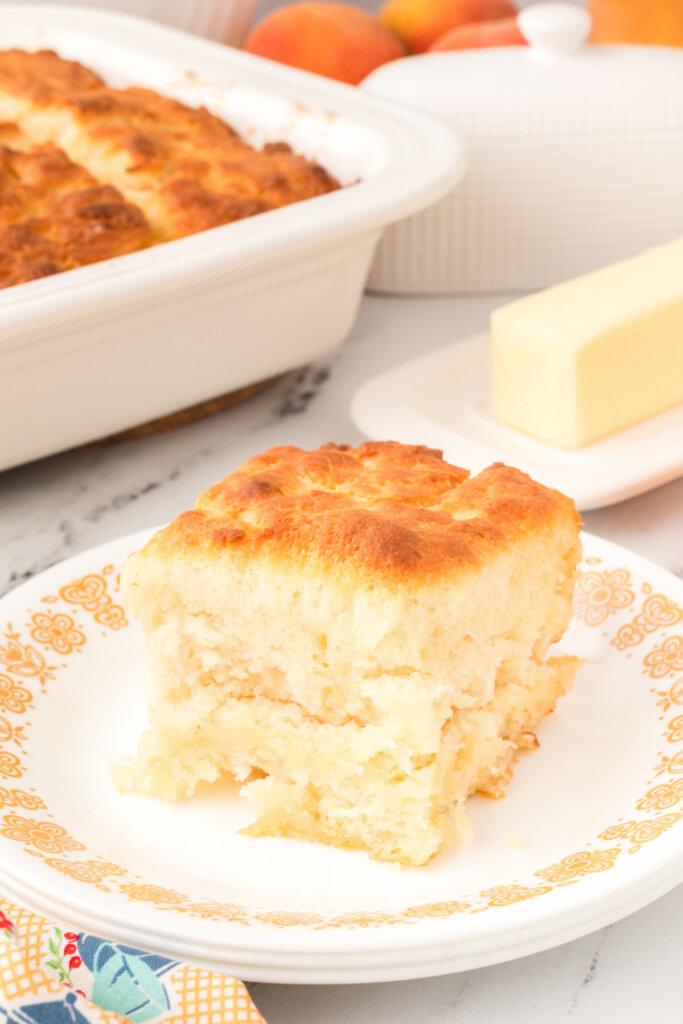
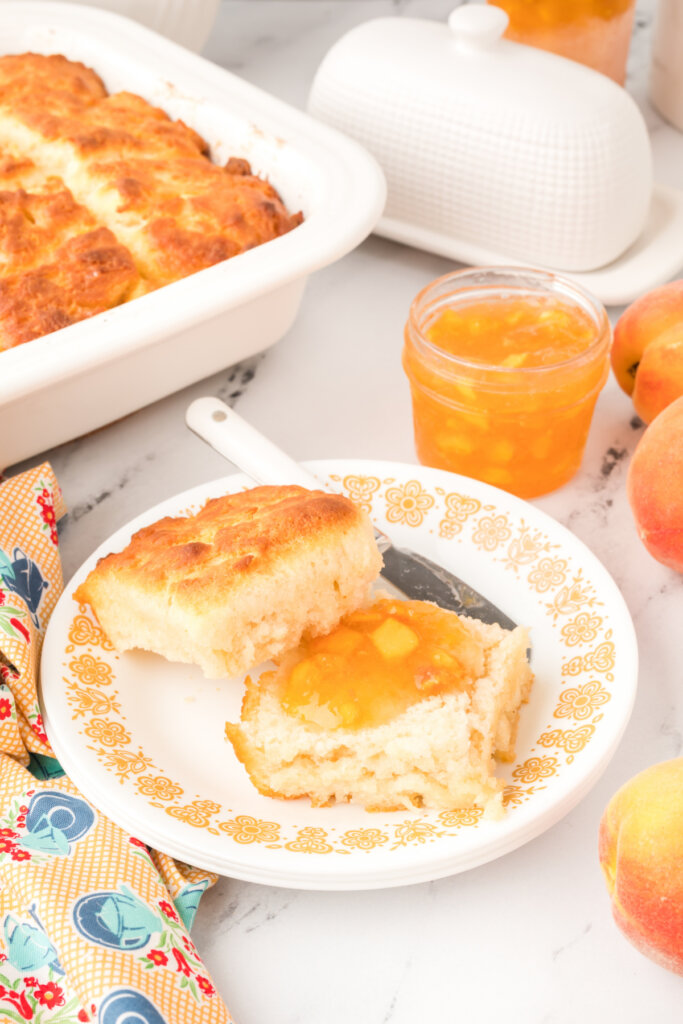
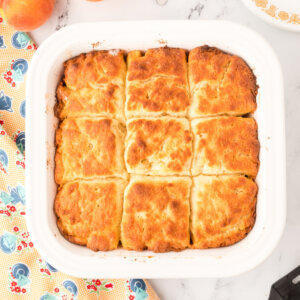
With no rolling or biscuit cutter required, these Butter Dip Biscuits are a cinch to make! Serve them alongside your favorite meals when you need an easy and delicious side dish.
Pin this now to find it later
Pin ItButter Biscuits
Over the years, I’ve created a file of tried and true recipes of things my family loves and things I can make in a pinch …with most of the “emergency recipes” being some sort of bread recipe. After all, we have bread with almost every meal at my house, and I often forget to pick it up at the store (oops).
These Butter Dip Biscuits are at the top of my emergency recipe list. They make an appearance about two or three times a month in the LBGC house!
I always have all the ingredients on hand to make them, so even when I forget other stuff at the store, I’m good to go with this recipe! Y
You’ll love them, too, because they’re delicious, quick, and oh-so-easy to make. No yeast or special ingredients are required.
For an “emergency recipe,” it’s pretty awesome, isn’t it?! Enjoy!!
Butter Biscuits Recipe: Ingredients & Substitutions
For this Butter Dip Biscuits recipe, you will need …
Ingredients
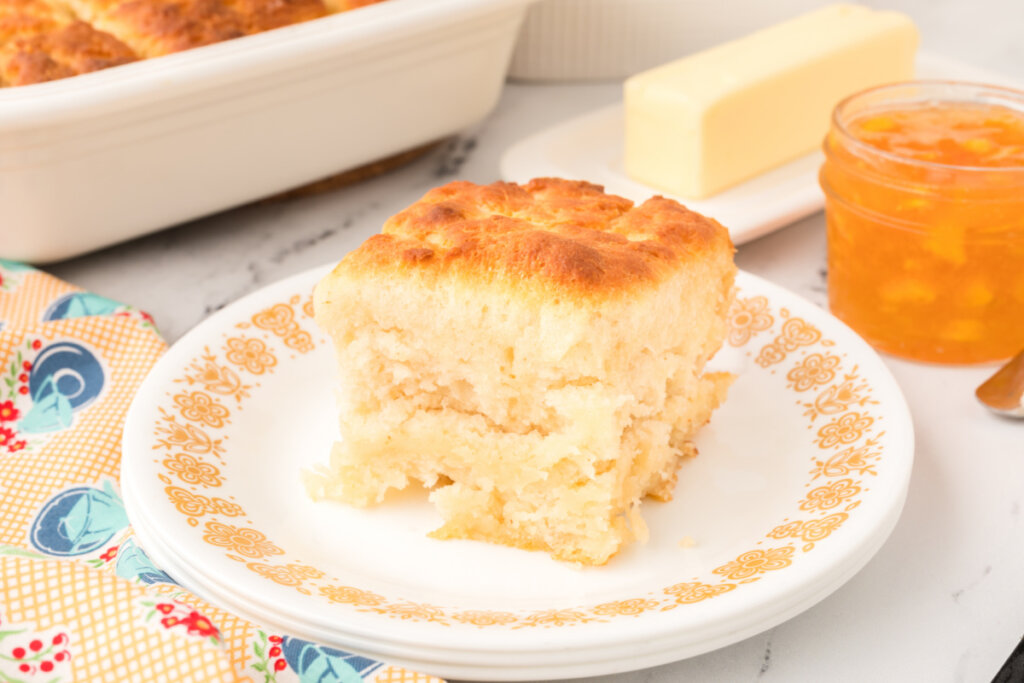
- salted butter – this is a brand of high-butterfat butter that really makes these biscuits come together. Of course, you can use any brand you like, especially if this butter isn’t available to you!!
- all-purpose flour, sugar, baking powder, salt, and milk – I’m grouping all of these together because they’re standard baking supplies!! These are probably all familiar if you’ve ever baked anything before or seen anyone bake anything before.

How to make Butter Dip Biscuits
First, prepare your supplies. Preheat your oven to 450°F. Then place your butter in an 8×8 baking dish and throw that in the oven to melt the butter while you make the dough!
Next, combine your ingredients. Get a separate bowl and mix your flour, sugar, baking powder, and salt with a whisk or fork. Add the buttermilk and stir with a spatula until a batter forms. It will be sticky!
Would you like to save this?
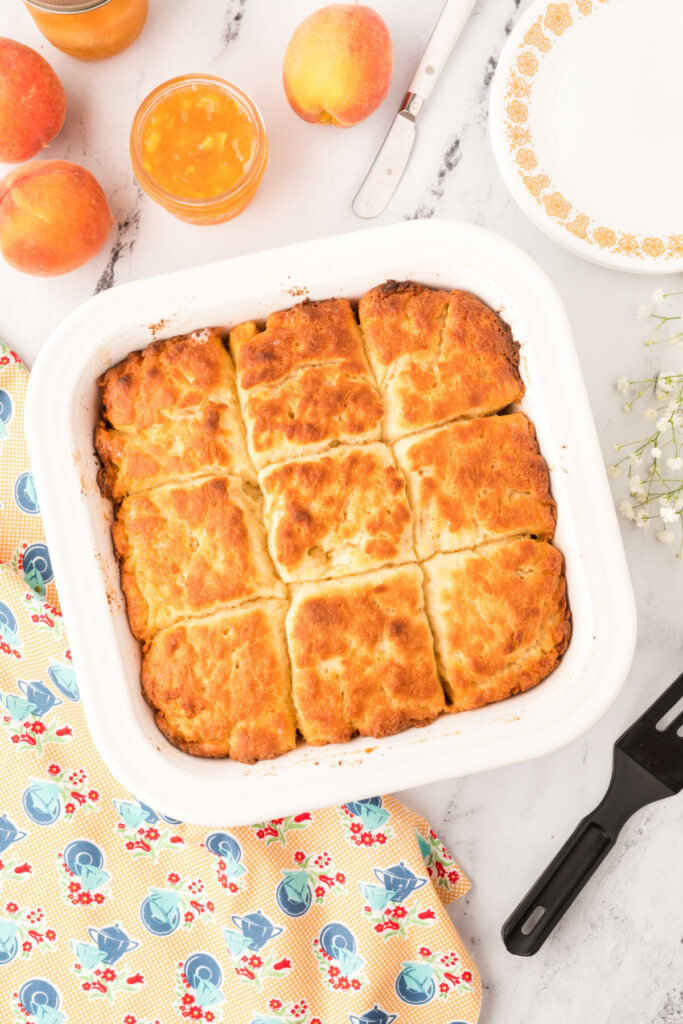
Finally, bake your biscuits! Remember that baking dish you put in the oven? Grab that! Pour the biscuit batter over top of the butter. (It’s OK if the butter runs over the batter.) Cut the biscuits into 9 squares with a sharp knife, then bake for 22-25 minutes. They’ll be done when they’re cooked through and golden brown. Tasty!!
Easy Butter Biscuit Recipe: FAQ
You’ll cut the batter into 9 pieces, so, 9 biscuits! Of course, you could probably divvy it out in another way if you wanted. (Like 3 giant biscuits or something! Ha!!)
You’ll only need 10 minutes to prep the ingredients and 20-25 minutes to bake them up.
Yes! If you use any kind of unsalted butter in this recipe, increase the salt you use to ½ tsp.
For each cup of buttermilk, you can use 1 tablespoon of white vinegar or lemon juice plus enough milk to measure 1 cup. Stir it together, then let it stand for 5 minutes. Measure out what you need and proceed with the recipe!
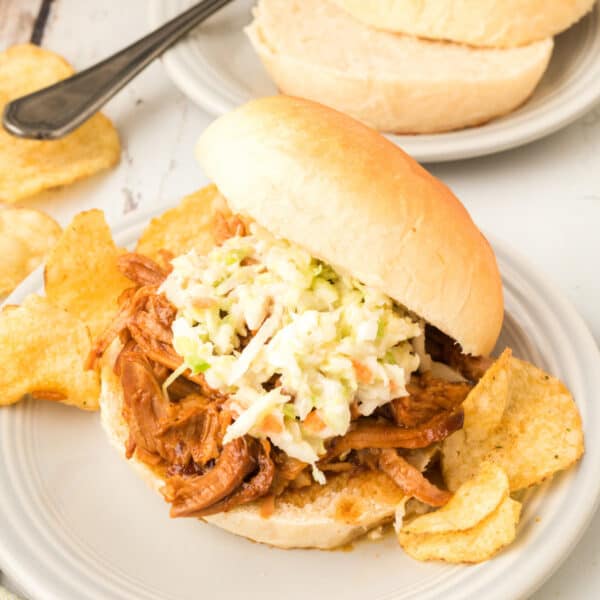
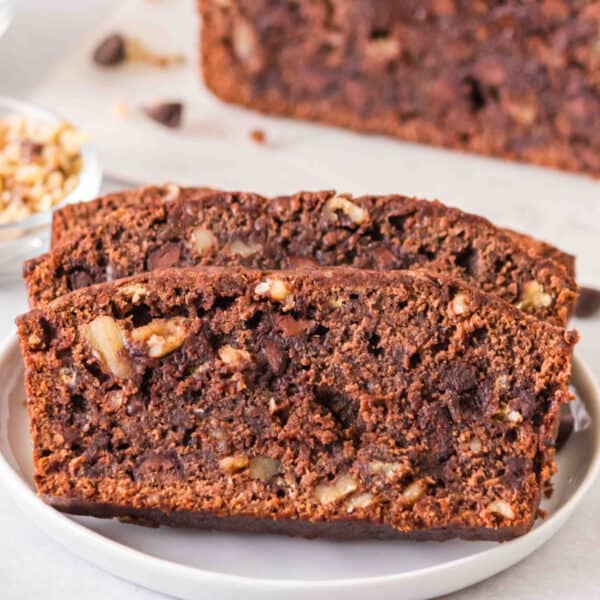
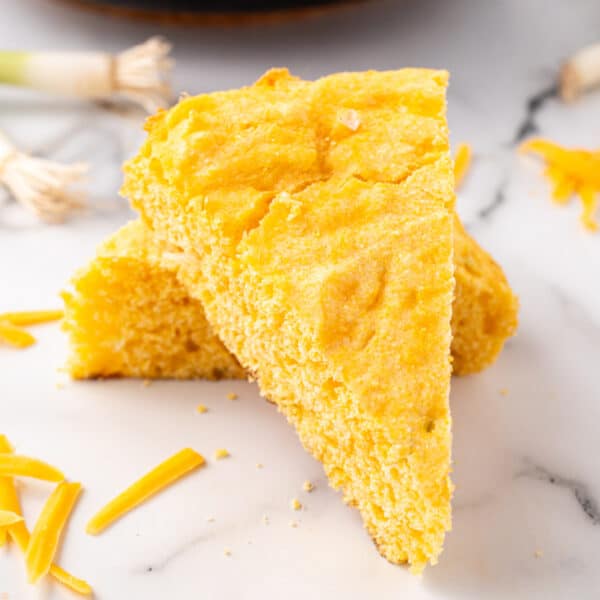
Other recipes you may enjoy
Butter Dip Biscuits
Would you like to save this?
Equipment
Ingredients
- ½ cup salted butter, 1 stick
- 2 ½ cups all-purpose flour
- 1 ½ tablespoons granulated sugar
- 1 ½ tablespoons baking powder
- ¼ teaspoon salt
- 1 ¾ cups buttermilk
Instructions
- Preheat oven to 450°F.
- Place butter in an 8×8-inch baking dish. Place the baking dish in the oven to melt the butter while preparing the biscuit dough.
- Meanwhile, in a mixing bowl, combine flour, sugar, baking powder, and salt with a whisk or fork. Add the buttermilk and stir with a spatula until a batter forms. It will be sticky.
- Remove the baking dish from the oven. Pour the biscuit batter over the top of the butter, spreading it into the pan with a spatula. It’s okay if some of the butter runs over the batter. Using a sharp knife, cut the biscuits into 9 squares.
- Bake for 22-25 minutes or until the biscuits are cooked through and golden brown.
Notes
- If you use unsalted butter in this recipe, increase the salt to 1/2 teaspoon.
- For each cup of buttermilk, you can use 1 tablespoon of white vinegar or lemon juice plus enough milk to measure 1 cup. Stir, then let stand for 5 minutes. Measure out what you need and proceed with the recipe.
Nutrition
Nutrition information is automatically calculated, so should only be used as an approximation.
Recipe adapted from The Country Cook
Originally published on June 3, 2018. Updated on January 4, 2022.
I didn’t know there was a difference. Love this info, now I know what it is called whenever I make butter biscuits. Thanks for sharing!