This post may contain affiliate links. As an amazon associate, I earn from qualifying purchases. See my full Disclosure Policy for details.

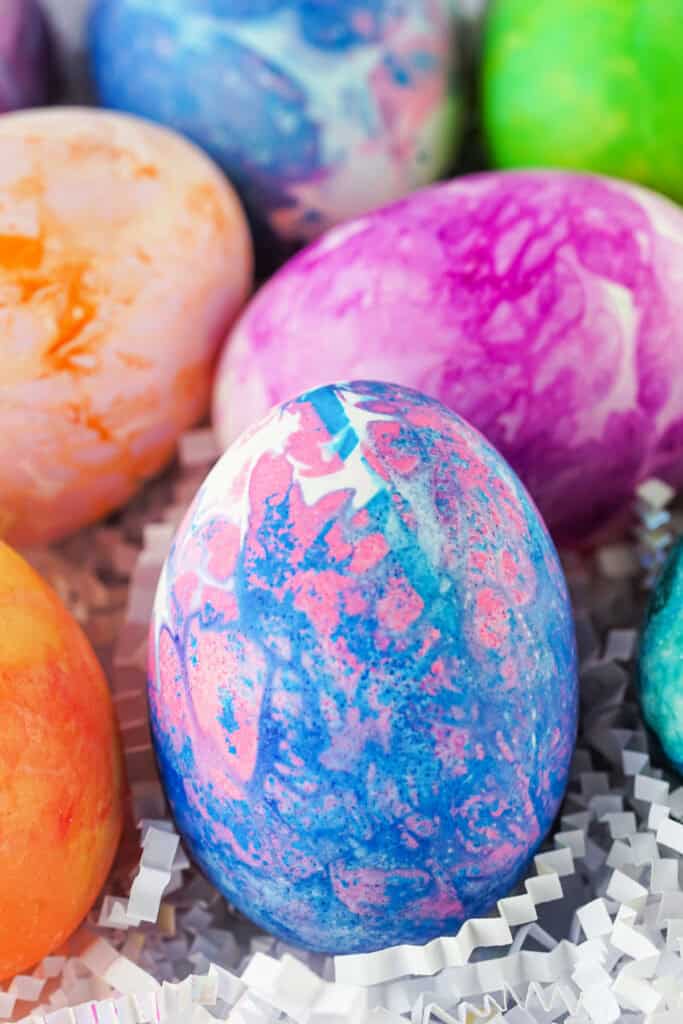
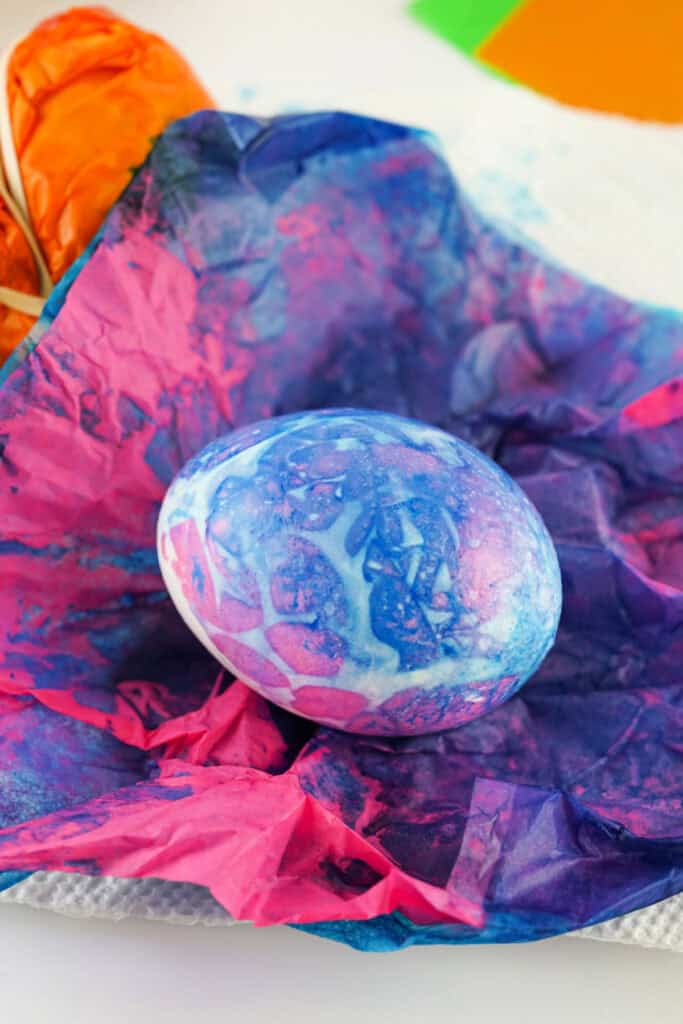
Make stunning Tissue Paper Dyed Easter Eggs with this fun and easy DIY craft! Just use bleeding tissue paper, vinegar, and boiled eggs for vibrant results. Perfect for kids and a great way to add color to your Easter celebration! 🐣🌈
Pin this now to find it later
Pin ItDIY Easter Egg Dye
Looking for a fun and mess-free Easter activity? These Tissue Paper Dyed Easter Eggs are bright, beautiful, and super easy to make! If you’re looking for creative ways on how to dye Easter Eggs, all you need is a few supplies and some creativity. It’s the perfect project for kids (and adults!) to enjoy together.
⭐ Why You’ll Love This Recipe
- Kid-Friendly: Safe and simple for all ages
- Low Mess: No dye cups or spills
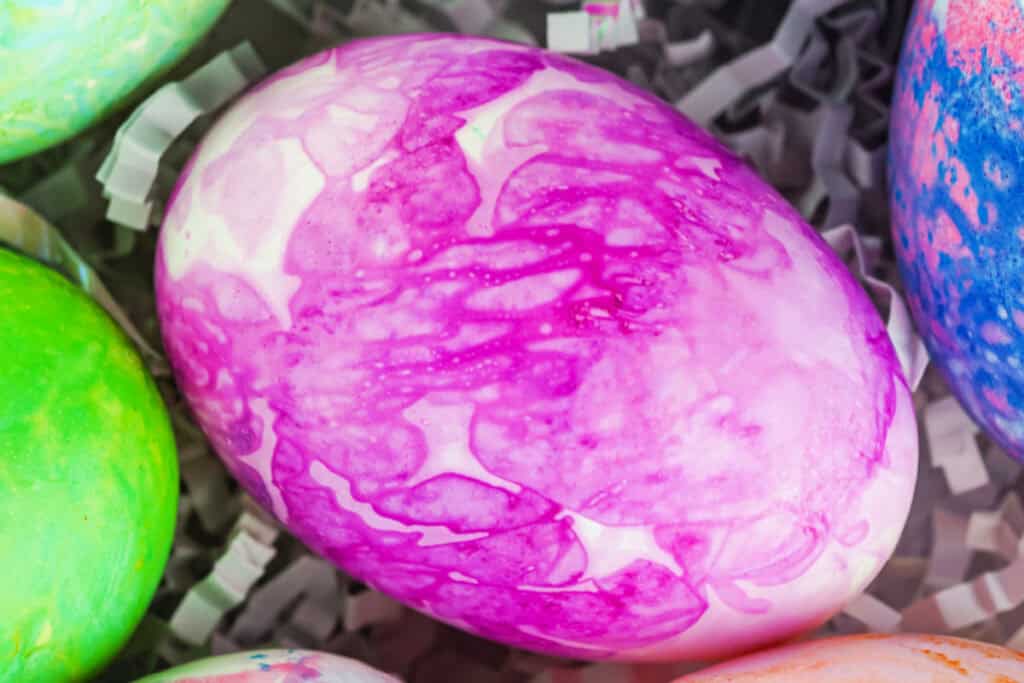
- Creative Fun: Endless color combos and patterns
- Fast & Easy: Done in just minutes
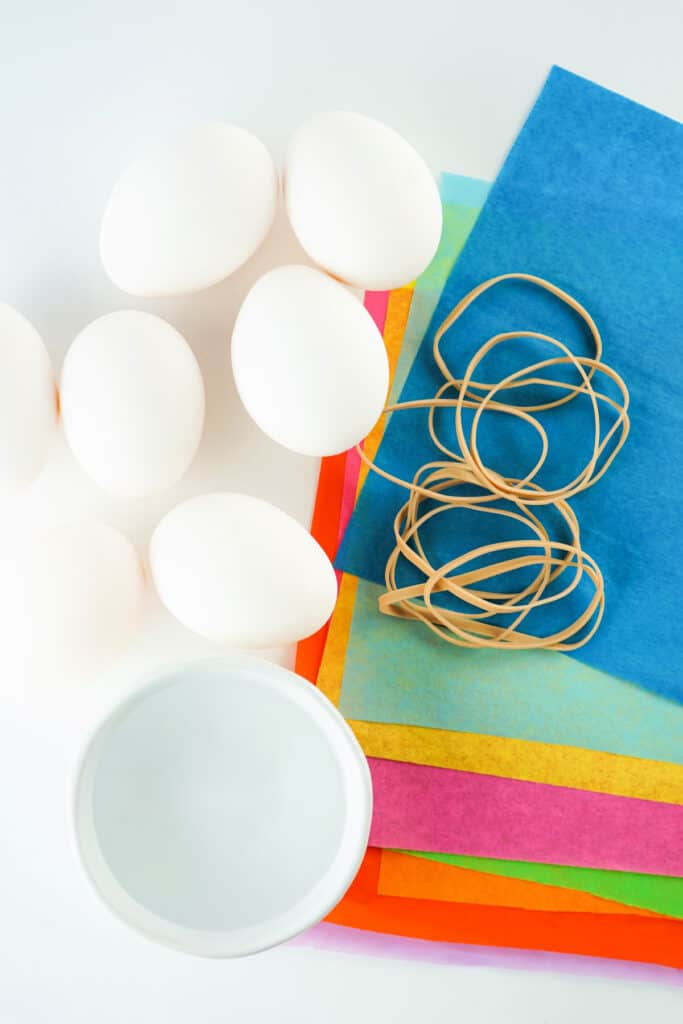
🛒 Ingredients & Substitutions
- hard-boiled eggs – Although white eggs are preferred, brown eggs work too! Just note that the colors may appear a bit darker.
- bleeding tissue paper – Regular tissue paper won’t work. Look for “bleeding” on the label. No substitute for this one!
- distilled white vinegar
- rubber bands
- paper towels
- rubber gloves – optional
✨ Variations
- Torn Paper Method: Let kids tear small pieces of tissue paper and press them onto vinegar-dampened eggs. Spray more vinegar if needed.
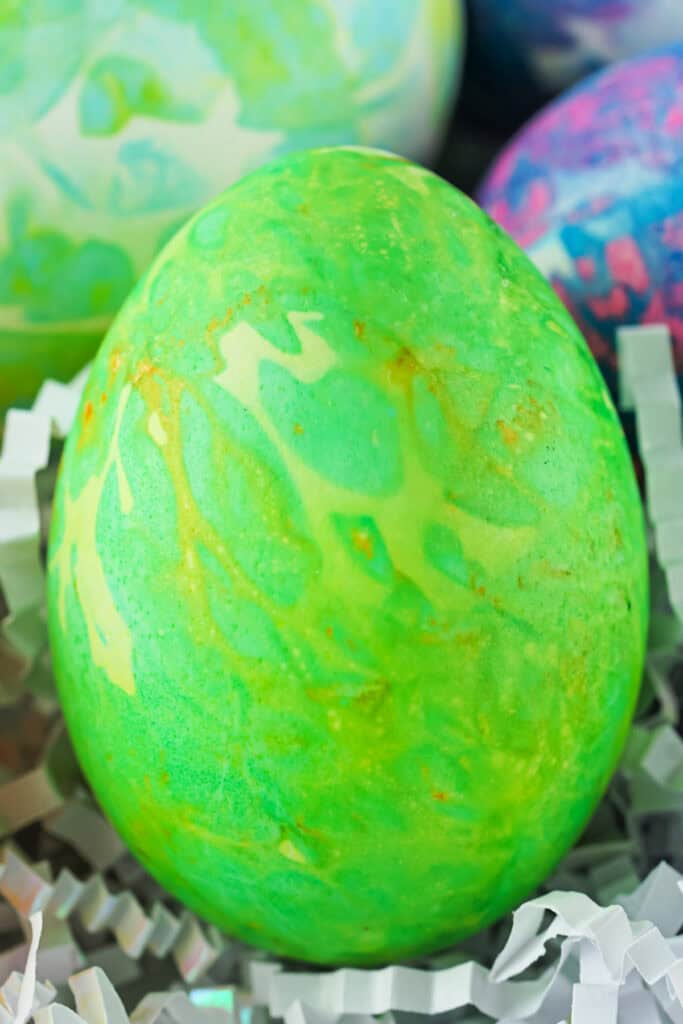
- Single Color Eggs: Use two layers of one color for bold, even coverage.
- Ombre Effect: Use light and dark shades of the same color tissue paper.
Would you like to save this?

🔥 Tips & Tricks
- Use the Right Paper: Make sure the tissue paper says “bleeding” on the package. Most dollar-store brands don’t work.
- No Fancy Wrap Needed: How you wrap the egg doesnt matter – as long as the tissue touches the shell.
- Don’t Over-Soak: Too long in vinegar can dull the colors. 30 seconds is usually perfect.
- Color Won’t Mix: The vinegar may change color, but it won’t affect the next egg.
- Brown Eggs Work Too: The dye works on brown or farm-fresh eggs, but the colors will be a bit deeper.
- One Color or Many: You can use just one color, but use two layers for brighter results.
- Longer Rest = Bolder Color: Letting eggs sit longer after soaking helps deepen the color.
❓ FAQs
Yes, as long as they were stored properly and you didn’t use non-food-safe materials beyond vinegar and paper.
Spray with vinegar to re-wet the surface before applying.
No, this only works with real, boiled eggs since the dye transfers better on the shell.
You can find bleeding tissue paper at craft stores or online. Look for brands that clearly say “bleeding” on the packaging. Regular tissue paper won’t transfer color.
Yes! Cracked eggs will still take on color and look great. Just be gentle when wrapping and handling them.
Yes, let the eggs cool to room temperature before wrapping them. Hot eggs can make the tissue tear or bleed too quickly.
Yes! The vinegar will change color, but it still works. As long as there’s no debris or broken tissue in it, you’re good to go.
If you keep them refrigerated, they’ll last up to a week. Just remember, these are real eggs!
It can! Use gloves to protect your hands, and lay down paper towels or parchment to protect your table.
Nope! You can also twist and tuck the paper, or use string or clips. Rubber bands are just a quick and easy option.
🍽️ Other Recipes You May Enjoy

Tissue Paper Dyed Easter Eggs
Would you like to save this?
Materials
- 7×7-inch squares of bleeding tissue paper assorted colors
- rubber bands
- paper towels
- rubber gloves optional
Ingredients
- hard-boiled eggs
- distilled white vinegar
Instructions
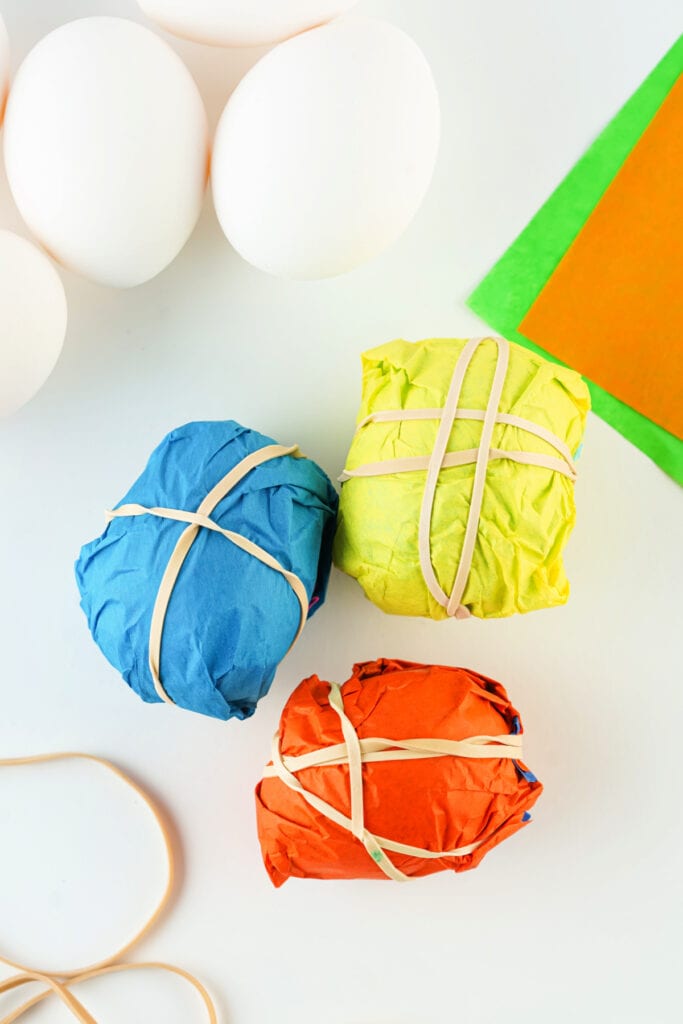
- Wrap the Egg: Take 2 pieces of tissue paper – same or different colors – and tightly wrap them around an egg.
- Secure It: Use 1–2 rubber bands to hold the tissue paper in place.
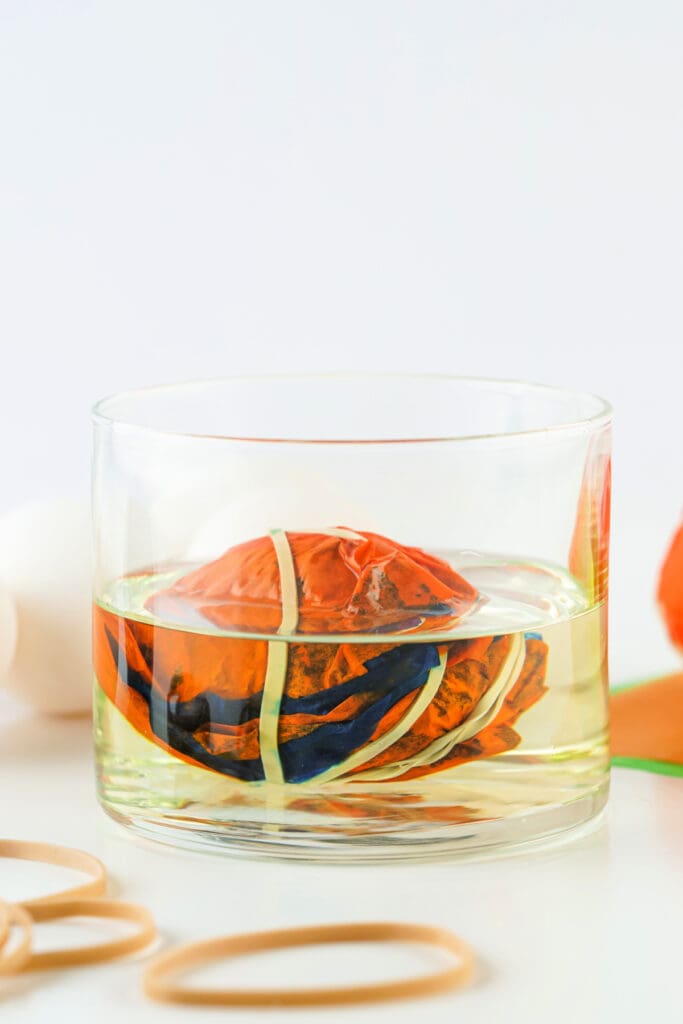
- Vinegar Dip: Pour vinegar into a cup or jar. Drop in the wrapped egg and let it soak for 30 seconds.
- Let It Rest: Remove the egg with a spoon and place it in an egg carton. Let it sit for 5 minutes.
- Unwrap and Dry: Use gloves (optional), unwrap the egg, and gently pat it dry with a paper towel.
- Final Dry: Set the egg back in a clean spot on the carton to dry for another 5 minutes. Done!
Notes
- Don’t leave the egg in the vinegar too long, or the colors may fade.
- Two layers of tissue = brighter colors.
- Vinegar will change color as you go but won’t affect the dye results.
- Use gloves to avoid stained hands (especially with kids!).
- You can eat these eggs if they are stored properly and you didn’t use non-food-safe materials beyond vinegar and paper.
🥚 Shelf Life of Dyed Boiled Eggs:
- Refrigerated: Up to 1 week after boiling.
- Room Temperature: 2 hours max (after that, they should be tossed).
🌡️ Storage Tips:
- Keep dyed eggs in the fridge if you’re planning to eat them later.
- If they’ve been left out for an egg hunt or display for more than two hours, don’t eat them – just enjoy the colors!