This post may contain affiliate links. As an amazon associate, I earn from qualifying purchases. See my full Disclosure Policy for details.
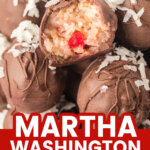
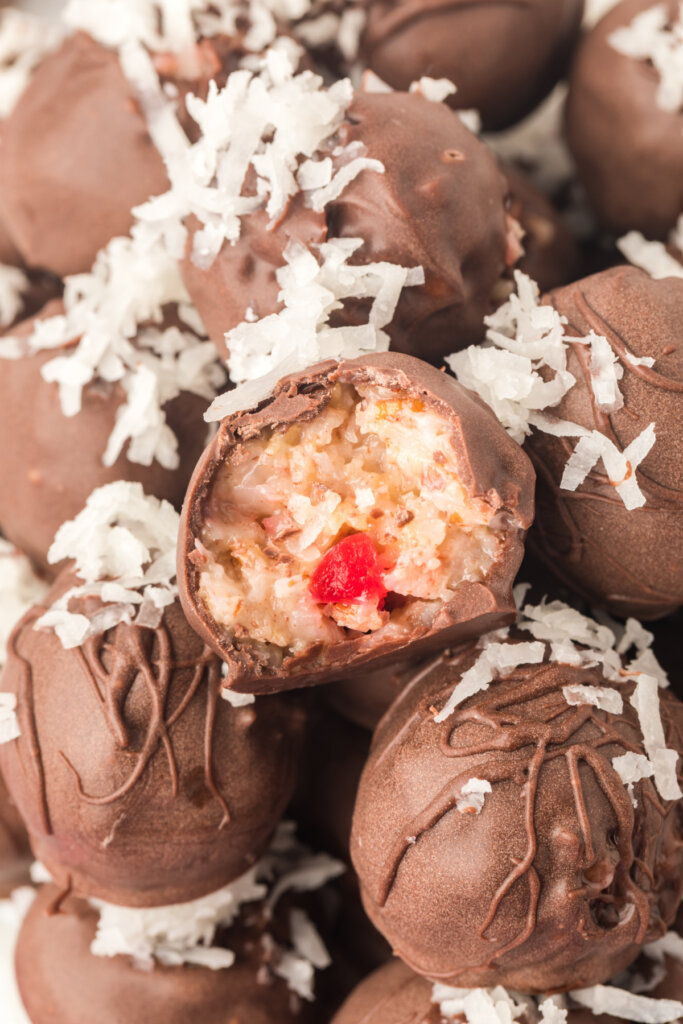
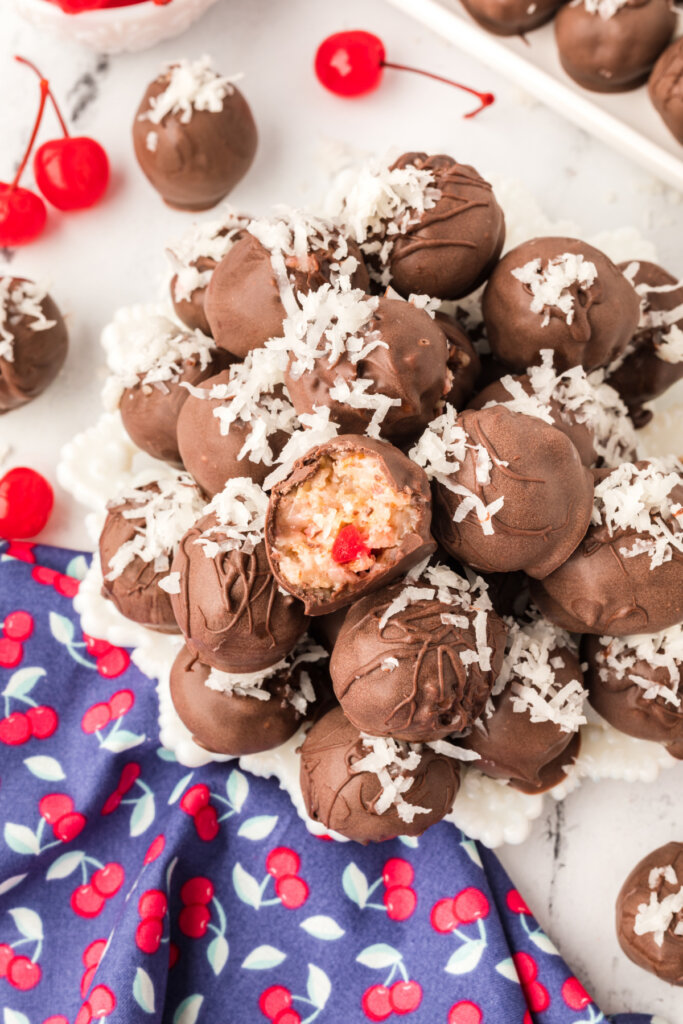
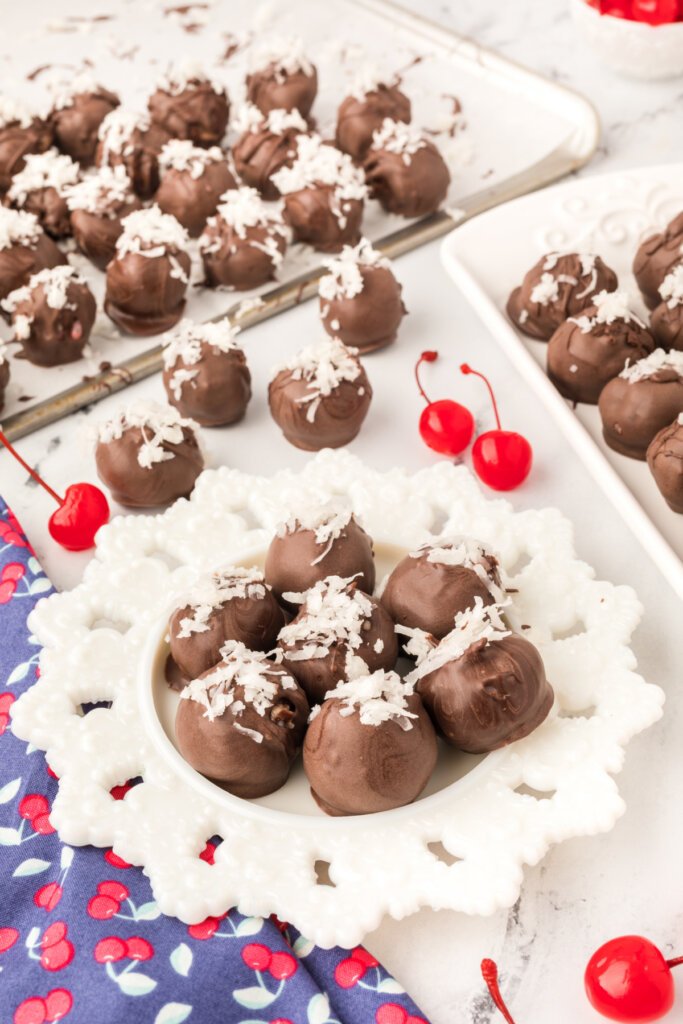
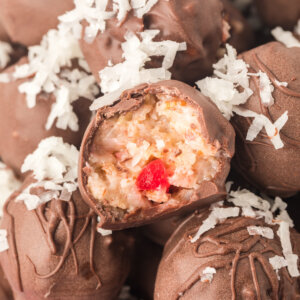
These Martha Washington Candies are tasty chocolate-coated treats with pecans, coconut, and cherry flavors inside! They’re a wonderful addition to holiday trays and make great gifts.
Pin this now to find it later
Pin ItMartha Washington Candy
When it comes to Martha Washington Candy, I know only two kinds of people. The first has never heard of it in their lives, and the second remembers it as a Christmas tradition from when they were kids. Something their grandparents or parents liked to eat and to give to them, in fact…
I’ve never met anyone who just thought they were okay or tried them once and never again!! Strange! But I can definitely say after making them at home. You’ll want to turn Martha Washington Candies into a holiday tradition! If you enjoy coconut, pecans, chocolate, and/or cherries, “Martha Washingtons” are absolutely your new fave.
This is a super easy recipe, with very little active cooking or prep time. Most of it is waiting for the candies to harden in the fridge, which means this is a perfect recipe for a busy Christmas season.
Have you ever had these Christmas candies before? They’re new to many people, but making them seems like an excellent Christmas tradition!! I hope you enjoy them!!
Martha Washington Candy: Ingredients & Substitutions
For this Martha Washington Candy recipe, you will need …
Ingredients
- butter, powdered sugar, vanilla extract, and condensed milk – these four ingredients form the base of your candy filling.
- maraschino cherries – these provide a touch of sweet-tartness. I recommend draining and drying them before adding them to your filling.
- sweetened coconut – shredded. More sweetness and texture in the candy.
- chopped pecans – for the crunch!
- chocolate candy coating – what you’ll use to coat your candies!
How to make Martha Washington Candy
First, refrigerate your filling ingredients. Combine all your ingredients (except the candy coating) in a large mixing bowl, then cover it with plastic wrap. Throw it in the fridge for at least two hours.
Would you like to save this?
Second, form the filling balls. After it’s done in the fridge, scoop the filling and shape them into 1-inch balls, then place them on a baking sheet lined with wax paper. After, place them in the fridge for 30 minutes.
Third, add your candy coating! Melt your candy coating, then dip the balls one at a time into it. (I recommend using a dipping tool or fork.) Place them on a baking sheet lined with wax paper and repeat until all the filling balls have candy coats.
Finally, enjoy your Martha Washington Candy! Once the candy coating has firmed up, chow down on your candy! Yum!!
Martha Washington Candy: FAQs
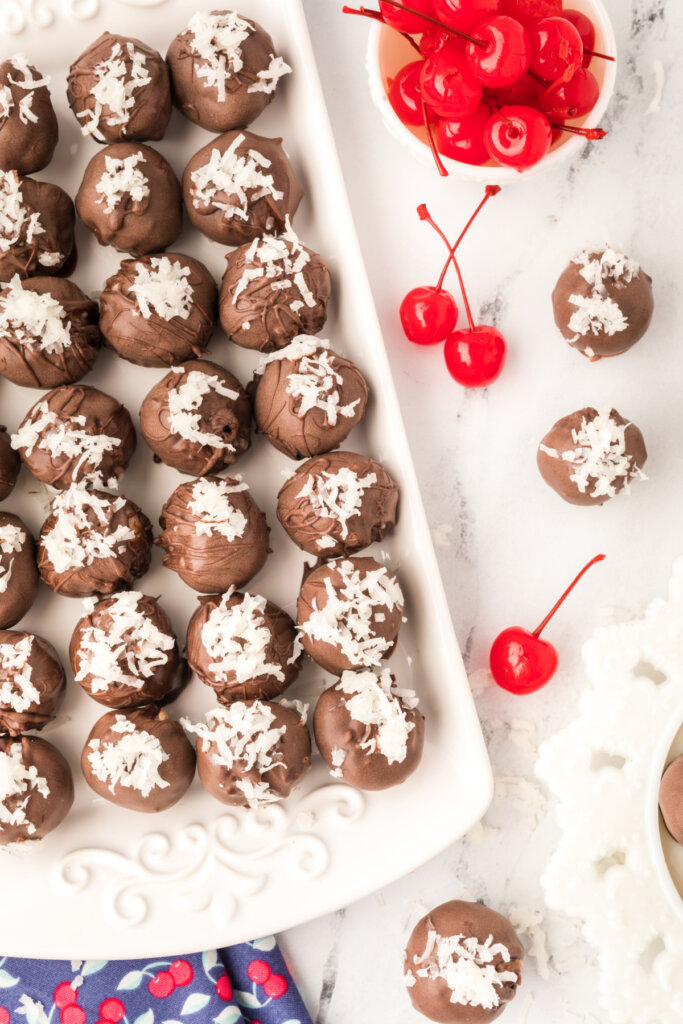
It should make about 60 candies, more or less!
The prep time is only about 10-15 minutes, but you’ll need an extra few hours to wait for various ingredients to refrigerate. Still, it’s a very easy, very passive recipe.
You can keep them in an airtight container at room temperature for a week or two. No need to refrigerate them after they’re done!!
Absolutely! Freeze them on a baking sheet for 30 minutes, then remove them, put them in an airtight bag, and put them back in the freezer. They’ll stay “good” for about 3 months. When you’re ready to eat them, thaw them out in the fridge or on the counter.

Other recipes you may enjoy
Martha Washington Candy
Would you like to save this?
Equipment
Ingredients
- 1 cup butter, melted
- 1 pound powdered sugar
- 1 tablespoon vanilla extract
- 14 ounces shredded sweetened coconut
- 1 can sweetened condensed milk, 14 oz.
- 1 jar maraschino cherries, drained and chopped (see note below), 10 oz.
- 3 cups finely chopped pecans
- 1 lb. chocolate candy coating
Instructions
- Combine all of the ingredients except the candy coating in a large mixing bowl. Cover the bowl with plastic wrap and place it in the refrigerator for at least two hours.
- Scoop and roll the filling into 1-inch balls. Place the balls on a wax paper-lined baking sheet.
- Once all of the balls are rolled, place the baking sheet with the balls into the refrigerator for 30 minutes.
- Melt the candy coating according to the package directions.
- Using a candy dipping tool or fork, dip the balls one at a time into the candy coating, shaking off any excess coating and placing them on another baking sheet lined with wax paper. Repeat until all of the balls are coated.
- Allow the candy coating to firm up before serving.
Notes
- Before starting this recipe, drain the chopped cherries on layers of paper towels. Blot them dry with additional paper towels.
- These candies can be kept in an airtight container at room temperature for up to 10-14 days.
- You can freeze these candies! Start by placing the finished candies on a wax paper-lined baking sheet and placing them in the freezer for about 30 minutes. Once the balls are frozen, transfer them to an airtight container or zip-top bag. They can be frozen for up to 3 months. When you’re ready to eat them, allow them to thaw in the refrigerator or at room temperature.
- These candies make a delightful addition to holiday trays, or they make a great homemade gift idea!
Nutrition
Nutrition information is automatically calculated, so should only be used as an approximation.