This post may contain affiliate links. As an amazon associate, I earn from qualifying purchases. See my full Disclosure Policy for details.
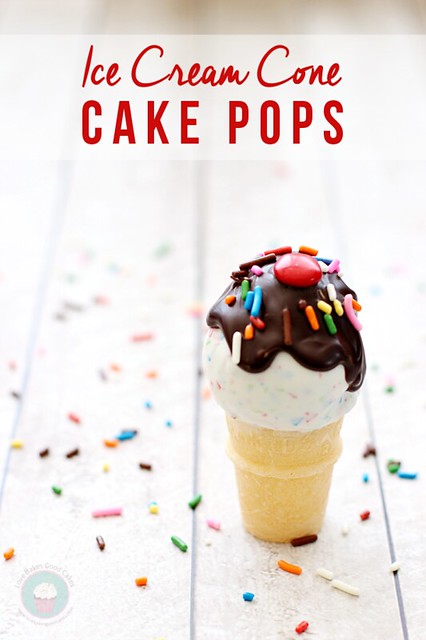
No need to worry about melting with these fun Ice Cream Cone Cake Pops! Fun for birthdays and Summer parties! #DoveTastemaker #cakepops
Pin this now to find it later
Pin ItIce Cream Cone Cake Pops
Compensation was provided by DOVE ® Dark Chocolate via MomTrends. The opinions expressed herein are those of the author and are not indicative of the opinions of Dove or Momtrends.
August is a busy month in the Love Bakes Good Cakes house. School will be resuming – which is always fun readjusting to schedules and routines (note the slight sarcasm) … and Elijah will be turning 18 years old. As I look back over 18 years, I can’t help but think how fast it has come and gone. They say don’t blink …… because it seems like life happens in a blink of an eye. Man, it does.
I really don’t want the lazy days of Summer to end. To be honest, I like sleeping in until 6 or 7 am. Y’all know 5 am comes too early.
Back to school
When thinking about back to school and Elijah’s birthday, I wanted to make something to help us hold onto Summer just a little bit longer. I had some leftover mini ice cream cones from our recent pool party and sure, I could have used them for ice cream …. but I wanted something more fun! Gotta squeeze that last little bit of Summer in, ya know?! Ok, well technically I still used them for ice cream … just not normal ice cream! 🙂
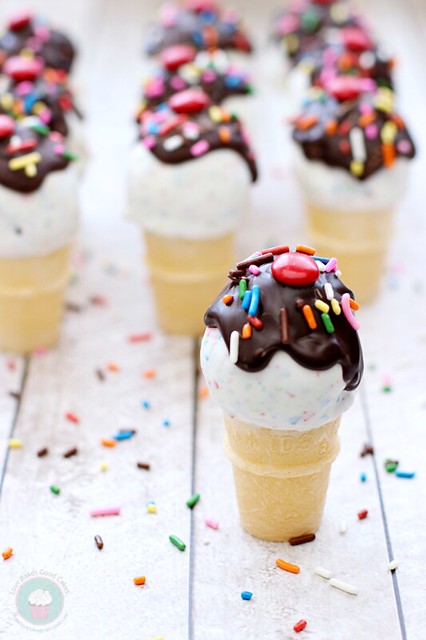
A few years ago, I had some Ice Cream Cone Cake Pops at a party so I thought I would try to recreate them! They’re perfect for birthdays and Summer parties … and best of all?! They don’t melt and drip all over your hands!! 🙂 Plus, people love to talk about them! They are kinda cute, don’t you think?!
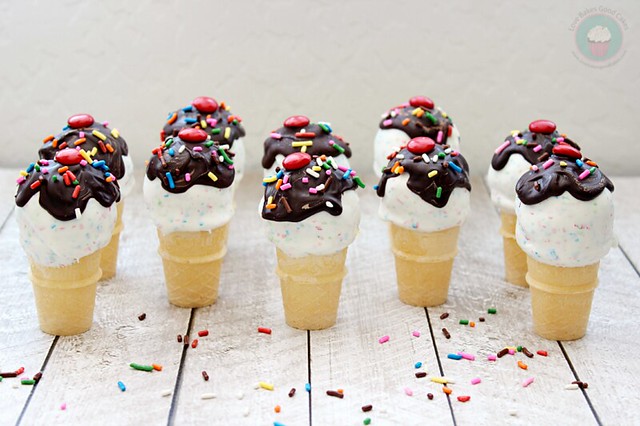
There you have it! Easy and super cute! 🙂
For more great Dove Dark Chocolate recipes, visit the Dove Chocolate website – or follow them on Facebook or Twitter.

Compensation was provided by DOVE ® Dark Chocolate via MomTrends. The opinions expressed herein are those of the author and are not indicative of the opinions of Dove or Momtrends.
Other Posts You May Enjoy:
Would you like to save this?


Ice Cream Cone Cake Pops
Would you like to save this?
Ingredients
- 1 box your favorite cake mix (I used dark chocolate), 15.25 oz. your favorite cake mix (I used dark chocolate)
- Ingredients listed on box to prepare the cake mix
- 1 can your favorite canned frosting (I used dark chocolate), 16 oz.
- 1 box mini ice cream cones (you will only need 15 from the box), 1.6 oz.
- 1 package Wilton candy melts (I used Colorburst Brights), 12 oz.
- 15 – 17 pieces DOVE Dark Chocolate Silky Smooth Promises, from a 9.5 oz. bag
- 15 red button-shaped candy-coated chocolate pieces
- Sprinkles
Instructions
- Prepare and bake the cake mix using the ingredients listed on the box. Allow cake to cool completely.
- Crumble the cake into a large bowl. Add about half of the can of frosting and mix well. You want the mixture to stick together without being "goopy." You may need to add more or less depending on your cake and preference. Using a small cookie scoop or rounded tablespoon, make 15 cake balls and place them on a wax paper-lined baking sheet and refrigerate for about an hour. With the remaining cake mix, stuff 15 ice cream cones and set aside.
- In a microwave-safe bowl, melt the candy melts according to package directions. Dip just the top of the open end of the cone into the melted candy (carefully, as not to lose any of the cake inside) and immediately dip the bottom of one of the cake balls into the candy melts. "Glue" the cake ball onto the top of the ice cream cone and set aside to completely set. Repeat with remaining cake pops.
- Once the cake pops have set completely, re-melt the candy melts in the bowl and dip the cake ball into the candy, completely covering the cake ball. Allow excess to drip off. Set upright and allow the candy to harden. Repeat with remaining cake pops.
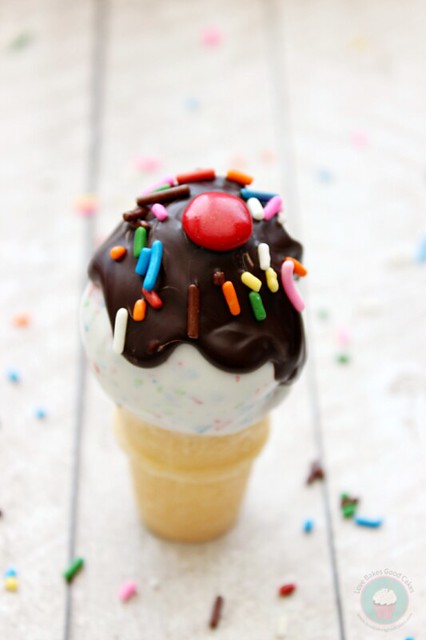
- Place the DOVE Dark Chocolates in a microwave safe dish and microwave for 30 seconds. Stir. Microwave in 10-15 second increments until the chocolate is smooth and completely melted. Spoon a small amount of the chocolate over the top of the cake pop. Using the back of the spoon, form the chocolate to look like chocolate syrup. Immediately insert a red button candy on the top and add a few sprinkles. Set upright and allow the candy to completely harden. Repeat with remaining cake pops.
Notes
- You can always make cake pops on sticks if you prefer.
Nutrition
Nutrition information is automatically calculated, so should only be used as an approximation.
Originally published on July 30, 2014. Updated on April 30, 2021.

Adorable! I don't think I've ever seen mini cones in the store. Where did you purchase yours? Thanks!
I found mine at Walmart – but they should be available in most larger grocery stores next to the regular size cones! I hope you find them – these little treats are awesome!! 🙂
Such a cute & clever idea. We have been inspired to include your cake pops in our blog post '10 Party Ideas Kids will Love'. Links back to this post and website mention have been included. You can find a copy of the blog post here – https://www.billylids.com.au/blog/item/38-10-party-ideas-kids-will-love.html Thank you.. Penny
Very cute! You've done a fantastic job decorating them, Jamie!I've always wanted to make these, but for some reason never have.Thanks for sharing with See Ya in the Gumbo. The party will resume tomorrow.
These are SO cute! I love the idea so much.
so so cute!! I love them!! YOU are featured today over at Nap-Time Creations for the party features.. come on over and check it out!!!
Just the cuties thing. Can't wait to share this with my little baker, she might want to make it for her birthday. Pinned.
Jamie, these are adorable! I know how you feel about summer coming to an end and turning 18…mine turns it in November! It really does fly by so fast. I'm sure everyone loved these at the party and made some special memories too. Thanks so much for sharing at Mix it up Monday 🙂
These adorable cake pops just scream "Summer"! What a great way to say goodbye to summer, and perfect for a party! I would love if you would share at my new link party, Celebrate it! It's all about celebrating everyday life! http://bit.ly/1pvB5kiHope to see you there!
Very nice, Jamie. Thanks for sharing at Foodie Friends Friday!
Way too cute! Pinned. Thank you~