This post may contain affiliate links. As an amazon associate, I earn from qualifying purchases. See my full Disclosure Policy for details.

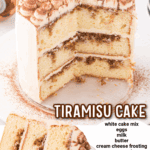
When you’re craving a show-stopping dessert, try this Tiramisu Cake layered with espresso-soaked cake, creamy frosting, and a touch of cocoa! 🎂✨
Pin this now to find it later
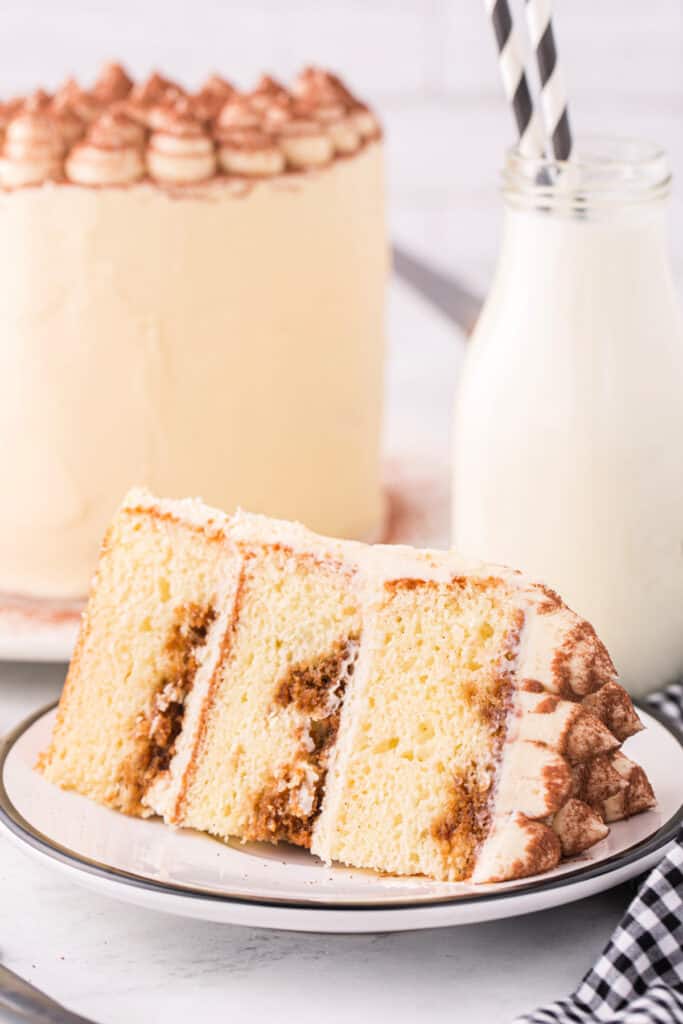
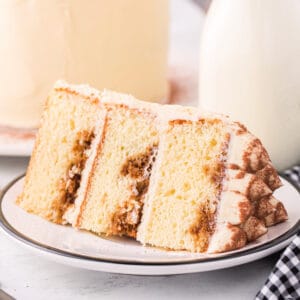
Pin ItTiramisu Cake Dessert
Looking for a dessert that combines the rich flavors of coffee and cream? This easy Tiramisu Cake recipe is the perfect twist on the classic Italian treat. With soft, espresso-soaked cake layers and creamy mascarpone frosting, this cake is a must-try for any dessert lover. If you have ever wondered what is in Tiramisu Cake, this version keeps it simple and delicious without sacrificing flavor.
⭐ Why You’ll Love This Recipe
- Classic tiramisu flavors in cake form
- Perfect for holidays, birthdays, or any special occasion
- Simple ingredients and easy steps
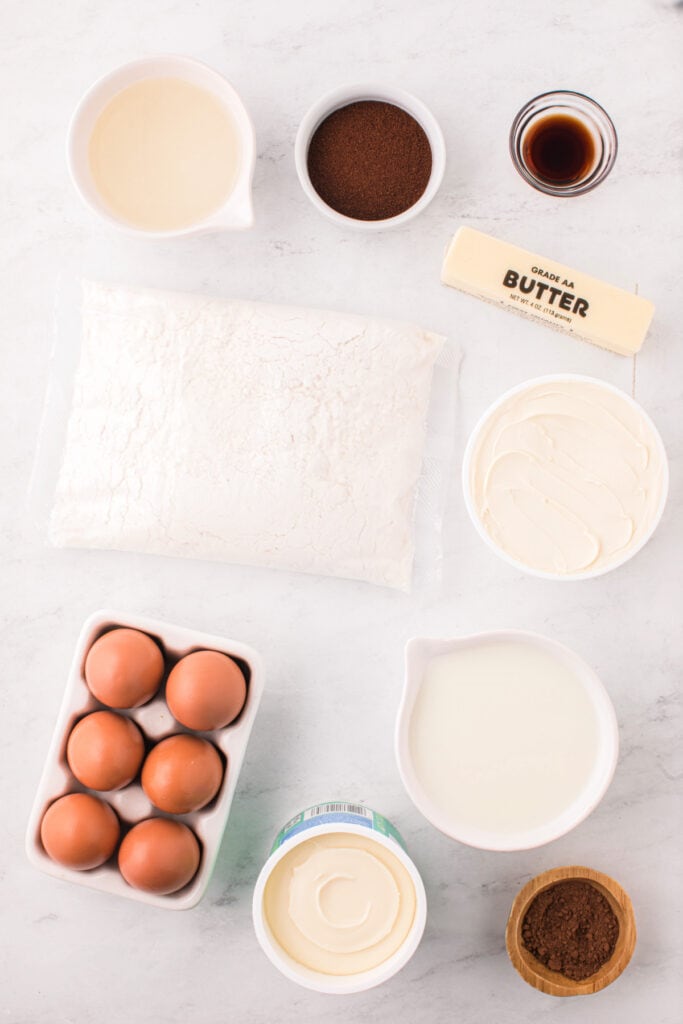
🛒 Ingredients & Substitutions
- white cake mix – substitute yellow or vanilla cake mix
- eggs
- milk – water can be used, but the cake will be less rich
- salted butter – use unsalted butter plus a pinch of salt if preferred
- cream cheese frosting – substitute vanilla or white frosting
- mascarpone cheese – cream cheese can be used, but it will taste tangier
- vanilla extract
- simple syrup
- espresso powder – instant coffee works, but the flavor will be milder
- cocoa powder
✨ Variations
- Add a splash of rum or coffee liqueur to the syrup for extra flavor.
- Top with chocolate curls or chocolate-covered coffee beans.
- Use gluten-free cake mix or dairy-free alternatives if needed.
Would you like to save this?
🍰 How to Make Tiramisu Cake
Start by baking your cake layers and letting them cool. Mix the espresso syrup and brush it over each cake layer. Then, layer the cakes with a rich mascarpone frosting. Finally, dust the top with cocoa powder and chill. That’s how to make Tiramisu Cake quickly and easily!


🔥 Tips
- Use room temperature eggs and milk for a smoother cake batter.
- Chill the frosting before assembling to help it hold its shape.
- Level the cake layers for a clean, professional look.
- For a stronger coffee flavor, add extra espresso powder to the syrup.
- Refrigerate the finished cake for at least 30 minutes before slicing for cleaner cuts.
❓ FAQs
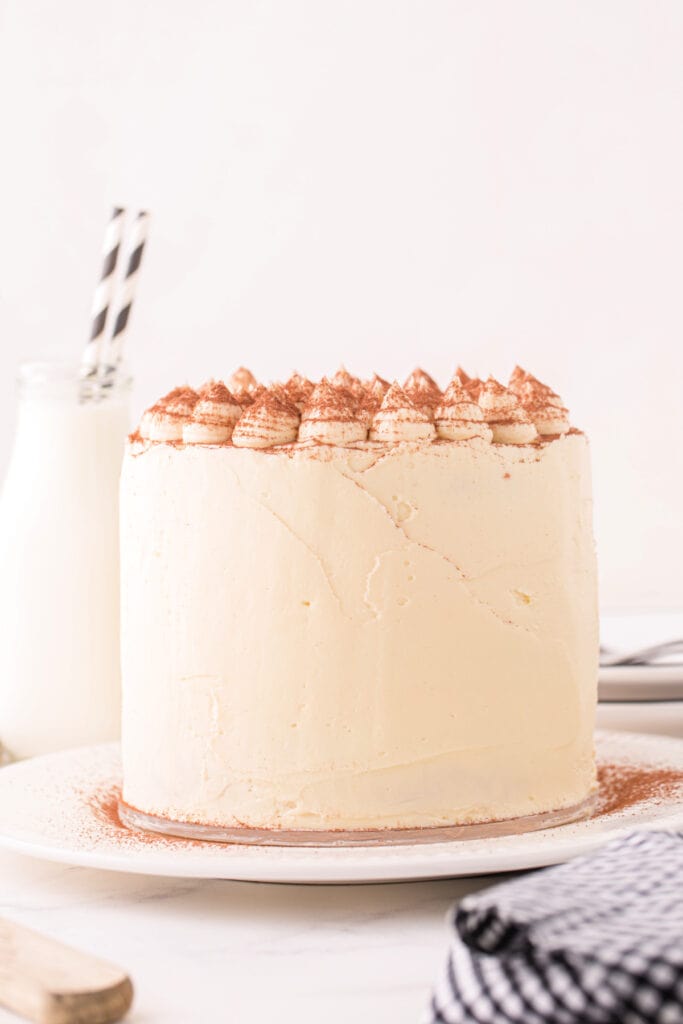
Tiramisu Cake includes soft cake layers soaked in espresso syrup, a creamy mascarpone frosting, and a dusting of cocoa powder.
Add more espresso powder to the syrup for a stronger coffee flavor or reduce it for a milder taste.
Yes, prepare it a day in advance and keep it refrigerated until ready to serve.
Yes, you can use instant coffee instead. The flavor will be milder, but it still adds a nice coffee taste.
Yes, this version contains no alcohol, making it perfect for kids. You can reduce the coffee flavor by using less espresso powder if desired.
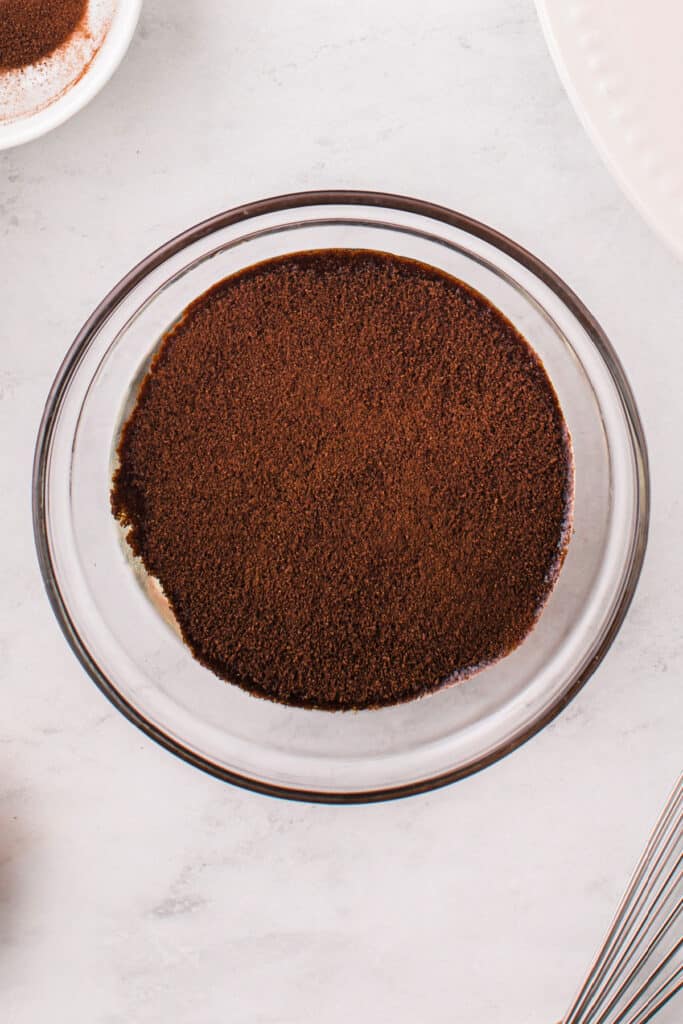
Brush the syrup generously over each layer until it looks well-moistened, but not soggy. About 2-3 tablespoons per layer usually works well.
Yes, store-bought simple syrup works great and saves time. You can also make your own using my Simple Syrup Recipe.
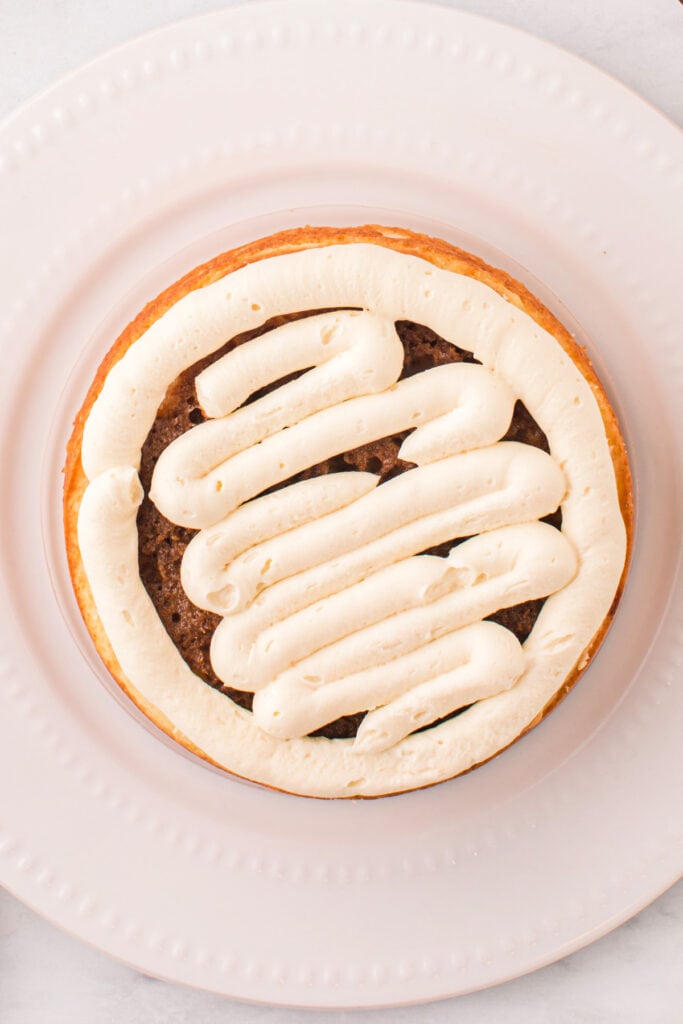
A 2A round tip is perfect for clean outlines and smooth spirals. You can also use a star tip for decorative swirls on top.
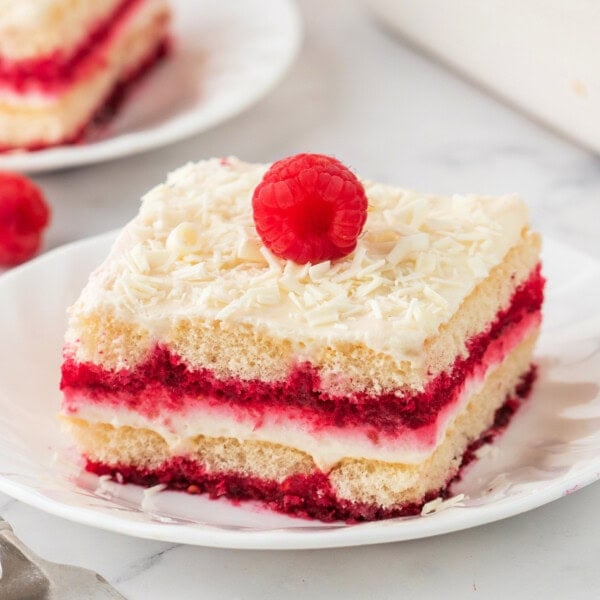
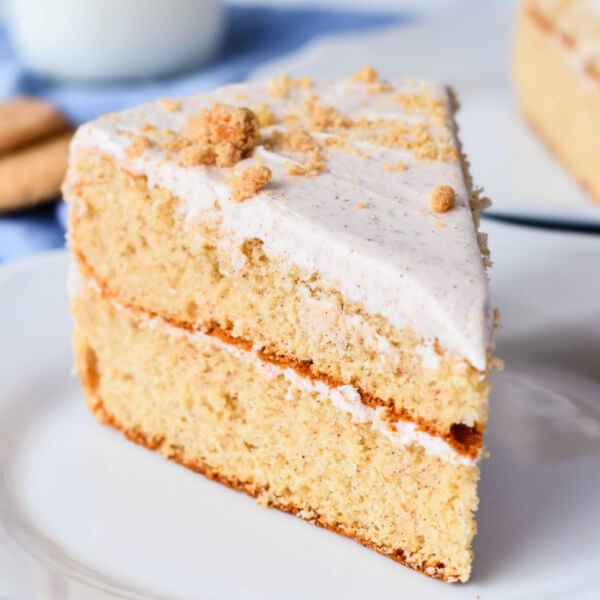
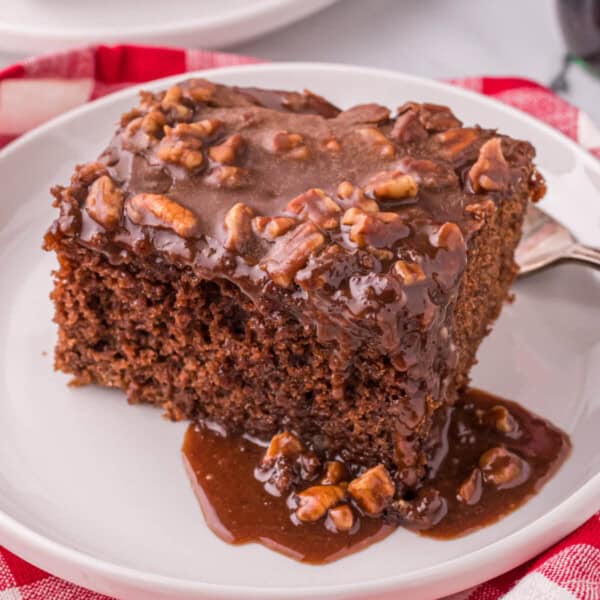
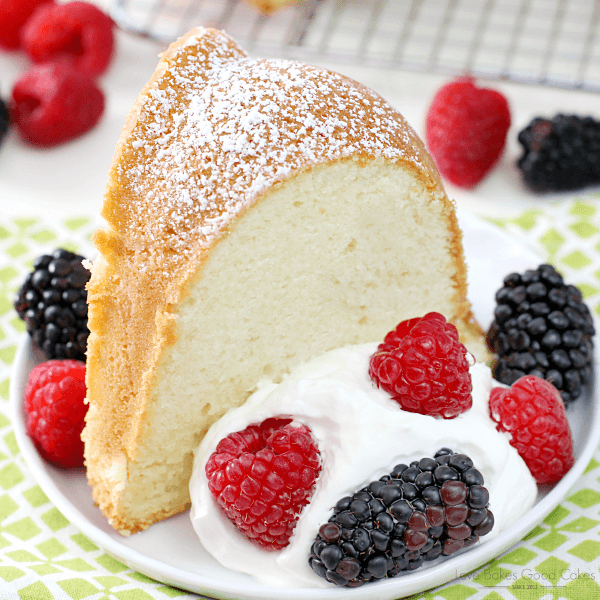
🍽️ Other Recipes You May Enjoy
Tiramisu Cake
Would you like to save this?
Equipment
- hand mixer or stand mixer
- piping tip (or similar)
Ingredients
- 1 box white cake mix, 15.25-ounce
- 3 large eggs, room temperature
- 1 cup milk, room temperature
- ½ cup salted butter, melted and cooled
- 1 tub cream cheese frosting, 16-ounce
- 2 packages mascarpone cheese, 8-ounces each
- 1 teaspoon vanilla extract
- ½ cup simple syrup
- 3 tablespoons espresso powder
- 1 tablespoon cocoa powder
Instructions
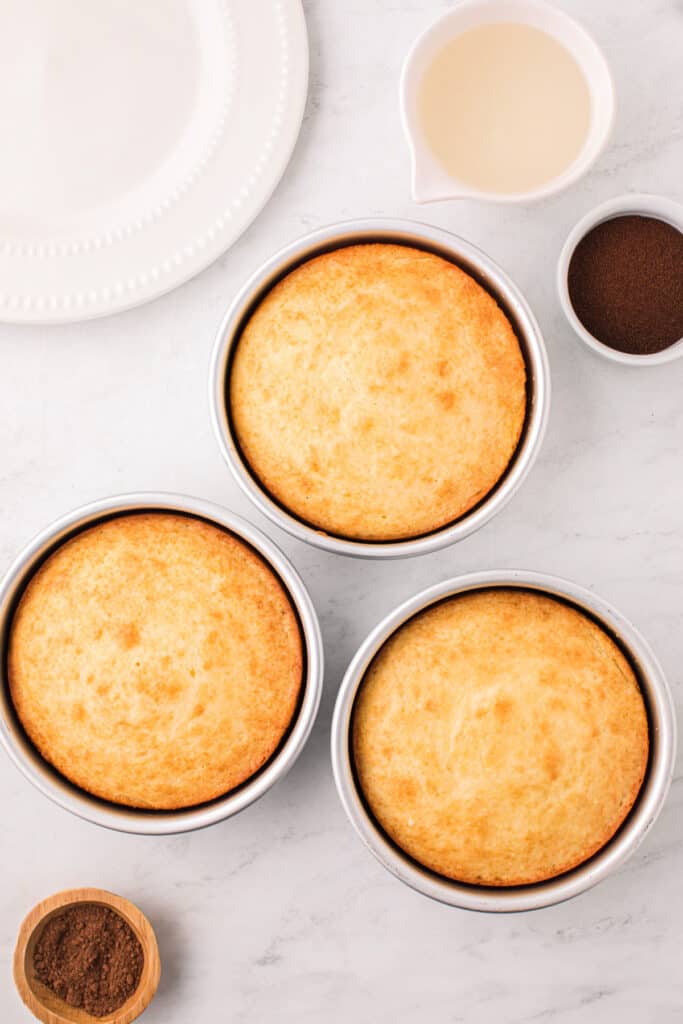
- Preheat oven to 350°F. Grease three 6-inch cake pans with baking spray.
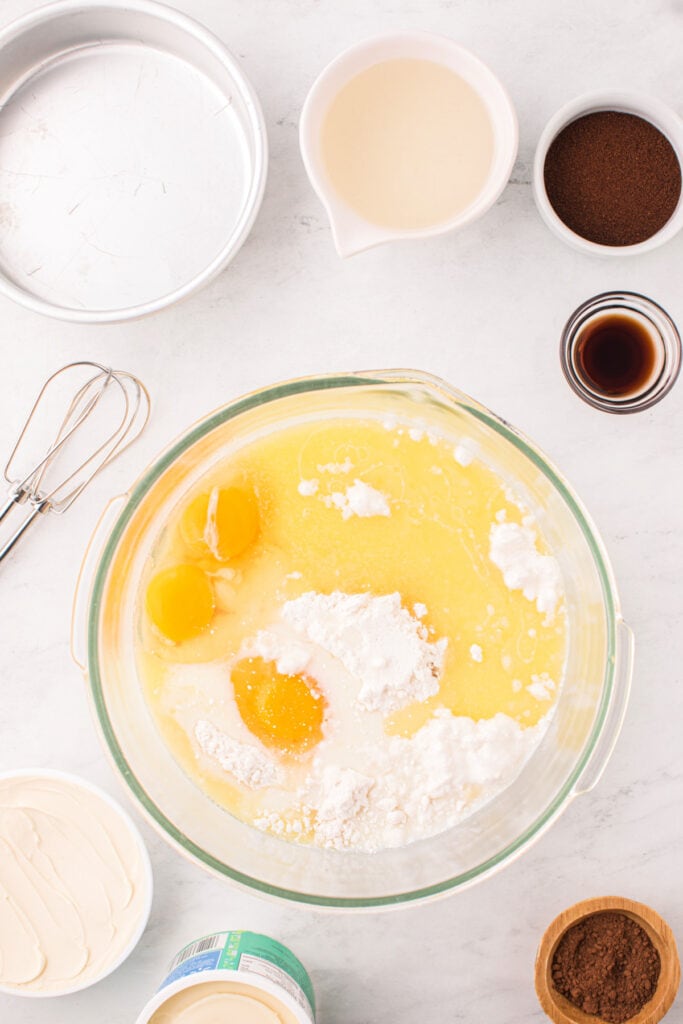
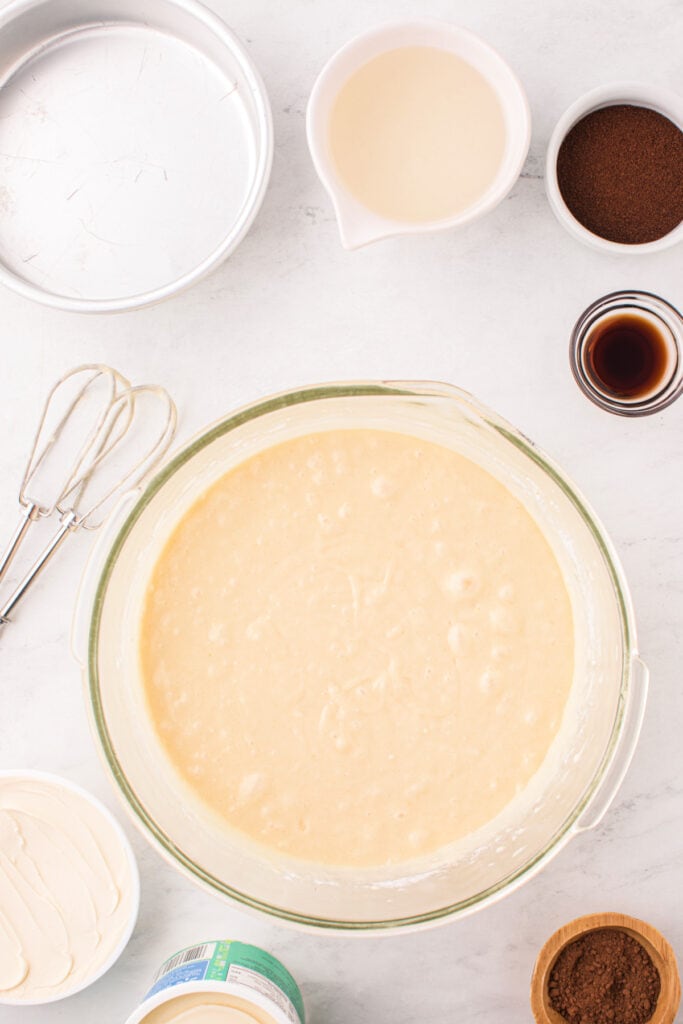
- In a large mixing bowl, beat cake mix, eggs, milk, and melted butter for 1-2 minutes until just combined. Do not overmix.
- Divide batter evenly among pans and bake for 18-25 minutes or until a toothpick comes out clean and the tops spring back when touched.
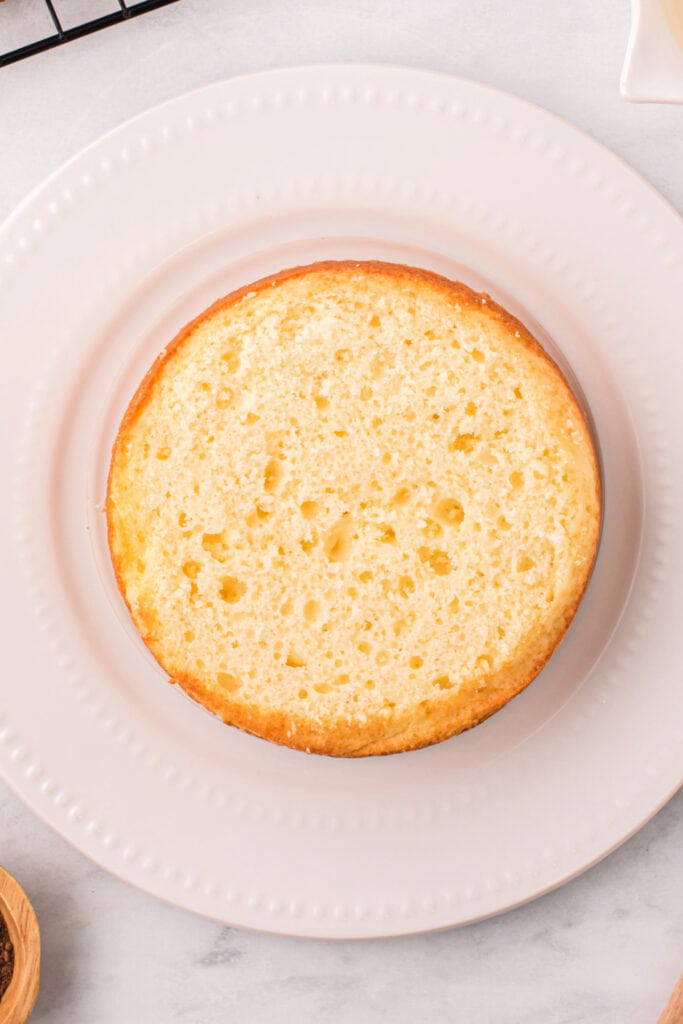
- Cool cakes in pans for 10 minutes, then transfer to a cooling rack to cool completely.
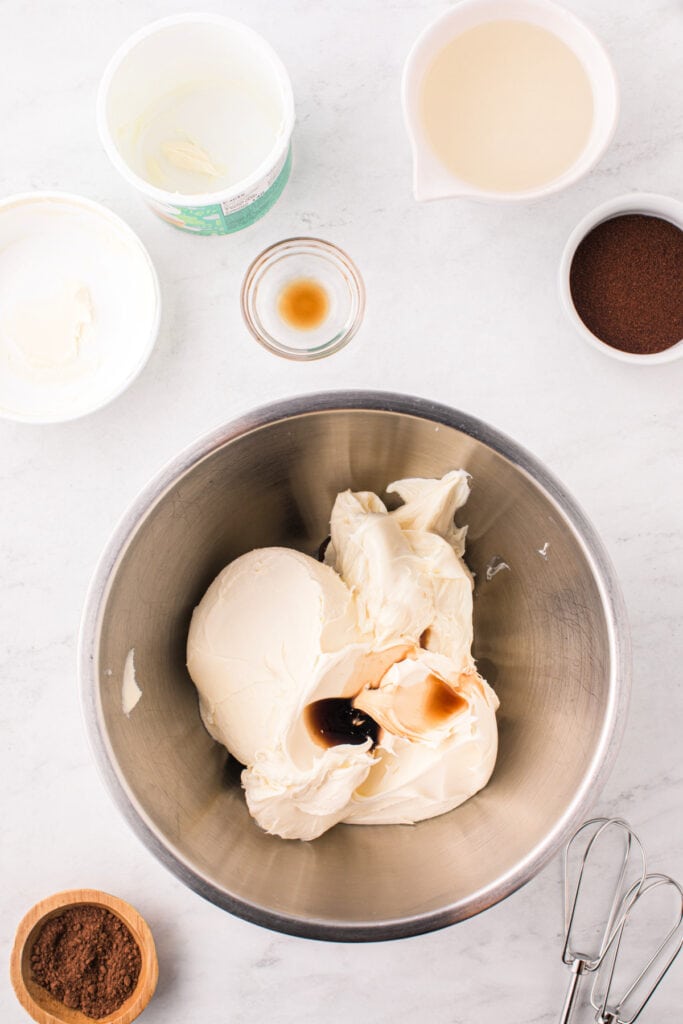
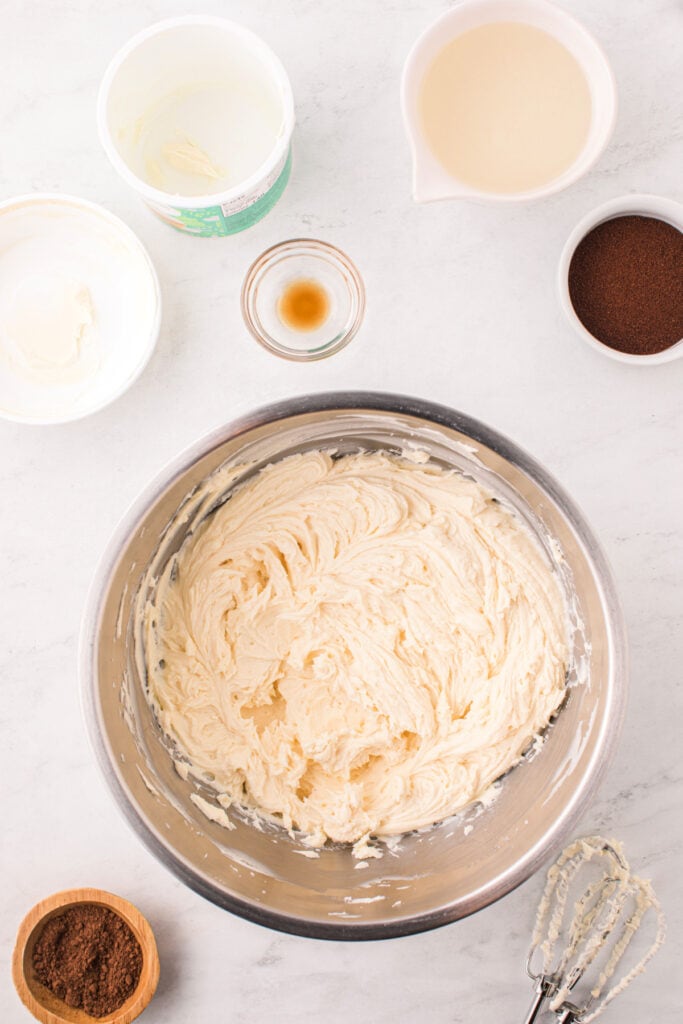
- While cakes cool, beat cream cheese frosting, mascarpone, and vanilla until light and creamy (1-2 minutes). Refrigerate until ready to use.
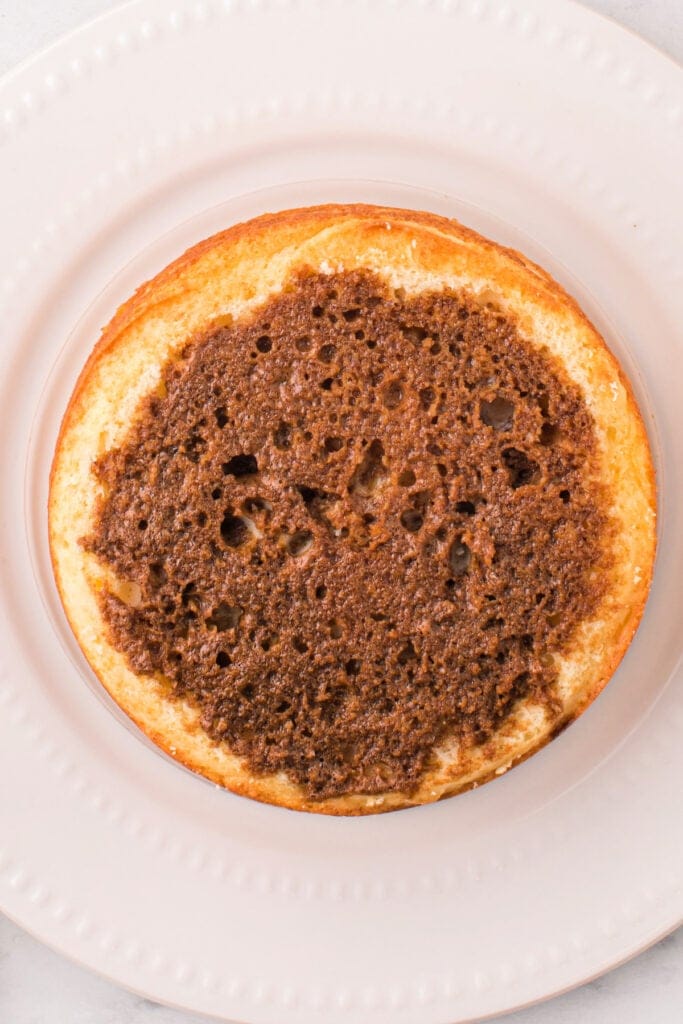
- To assemble, level the first cake layer if needed. Mix simple syrup and espresso powder in a small bowl. Microwave for 30 seconds and stir until dissolved.
- Brush espresso syrup generously over the cake layer. Using a piping bag fitted with a 2A tip, pipe a frosting border and fill the center. Smooth evenly.
- Repeat with remaining layers, soaking each with syrup and adding frosting before stacking.
- Frost the outside of the cake, smoothing it with a spatula. Optionally, pipe decorative dollops on top.
- Dust with cocoa powder. Refrigerate for 30-60 minutes before slicing and serving.
Notes
🥡 STORAGE
- Store the cake in the refrigerator, covered with plastic wrap or in an airtight container, for 3-4 days
- Use a cake container to protect the frosting and keep it fresh
♨️ REHEATING
- This cake is best served cold or at room temperature
- No reheating is needed
❄️ FREEZING
- Wrap unfrosted cake layers tightly in plastic wrap and freeze for up to 3 months
- Thaw in the refrigerator overnight before assembling
- Frosted cake can also be frozen, but may lose some texture
💡 TIPS FOR BEST RESULTS
- Use room temperature eggs and milk for smoother batter
- Chill the frosting before assembly to help it hold its shape
- Level cake layers for even stacking
- Adjust espresso powder to taste for more or less coffee flavor
- Refrigerate the finished cake for at least 30 minutes before slicing
🍳 ALTERNATE COOKING METHODS
- Oven only – no other alternate cooking methods are recommended for this cake
♻️ LEFTOVERS
- Store individual slices in airtight containers in the fridge
- Enjoy leftovers cold or let them sit at room temperature for 15-20 minutes before serving
Nutrition
Nutrition information is automatically calculated, so should only be used as an approximation.