This post may contain affiliate links. As an amazon associate, I earn from qualifying purchases. See my full Disclosure Policy for details.
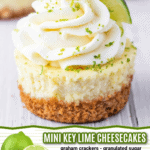
These Mini Key Lime Cheesecakes are creamy, tangy, and refreshing! Perfect for parties, summer desserts, or anytime you need a sweet treat.
Pin this now to find it later
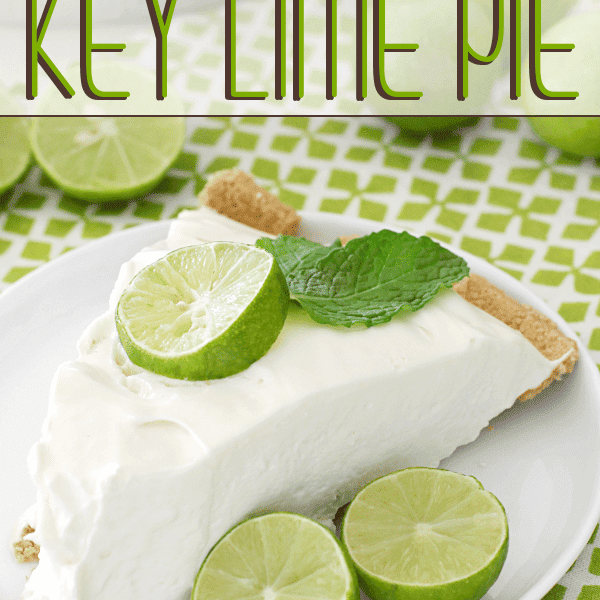
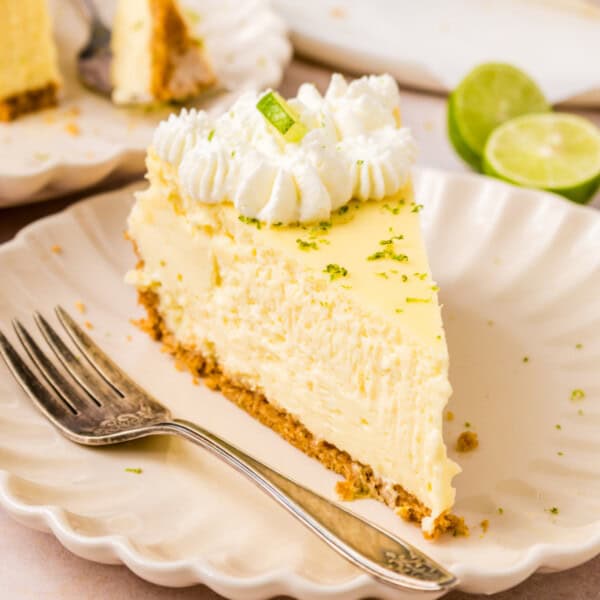
Pin ItKey Lime Pie Cheesecake
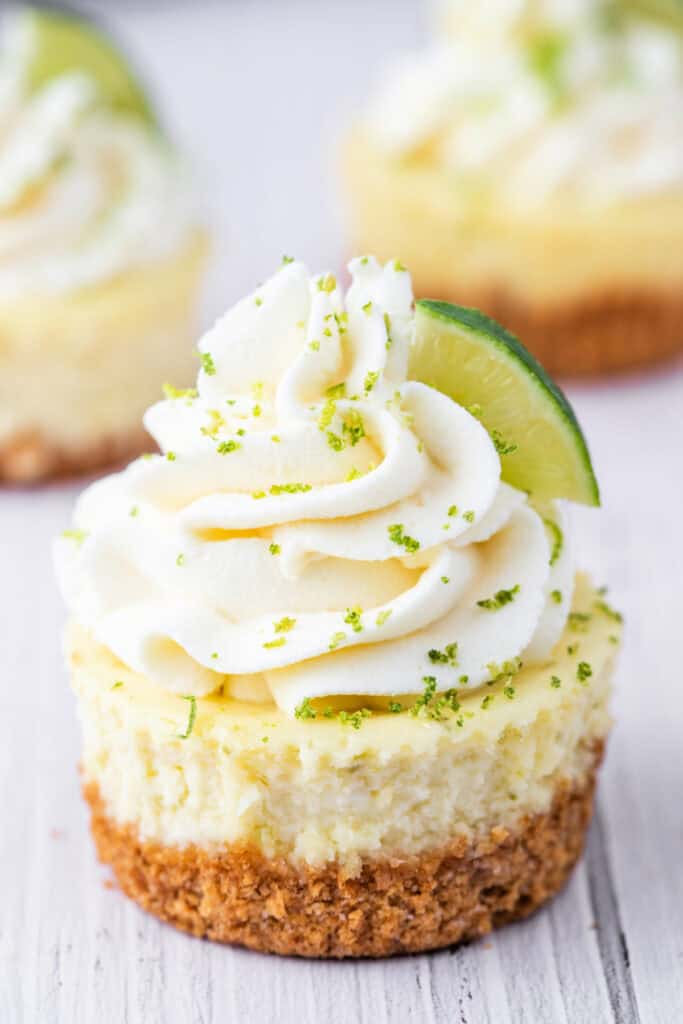
If you love a good key lime dessert but want something a little different, these Mini Key Lime Cheesecakes are the perfect treat. They are sweet, tangy, and creamy with a buttery graham cracker crust. Perfect for parties, summer gatherings, or just when you are craving key lime desserts that aren’t pie.
This key lime pie cheesecake recipe is a great option if you are looking for easy key lime desserts. They are simple to make, easy to serve, and sure to impress.
⭐ Why You’ll Love This Recipe
- Easy to make with simple ingredients
- Perfect portion size for parties and get-togethers
- Creamy, zesty, and refreshing
- Great for anyone who loves key lime desserts
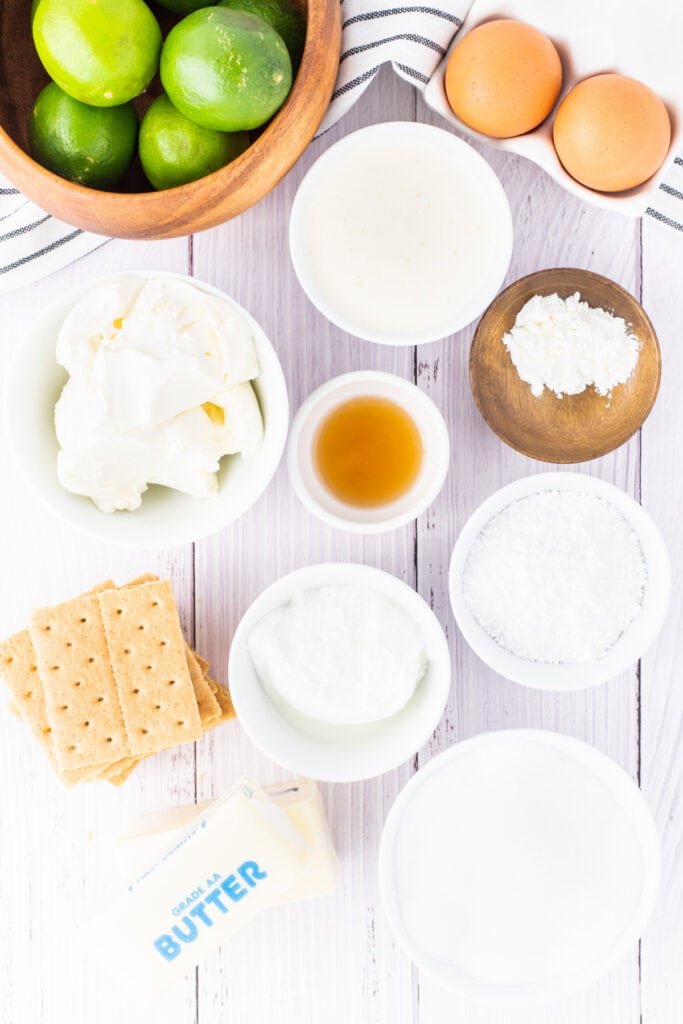
🛒 Ingredients & Substitutions
Crust
- graham crackers – use gluten-free graham crackers if needed. Vanilla wafers or gluten-free cookies are a great substitute.
- granulated sugar
- unsalted butter – substitute salted butter if preferred
Cheesecake Filling
- cream cheese – use full-fat for the creamiest texture
- granulated sugar
- plain Greek yogurt – sour cream can be used instead
- heavy cream
- cornstarch
- vanilla extract
- large eggs
- lime zest and lime juice – use Key limes or regular limes
Whipped Cream
- heavy whipping cream
- powdered sugar
✨ Variations
- Add a drop of green food coloring to the cheesecake filling for a pop of color.
- Swap the graham cracker crust for a cookie crust using vanilla wafers or shortbread cookies.
- Top with crushed graham crackers or coconut flakes instead of lime slices.
🔥 Tips
- Always use room temperature cream cheese and eggs for a smooth batter.
- Do not overbake. The centers should still jiggle slightly when done.
- Chill completely before removing the cupcake liners for a clean look.
❓ FAQs
Freshly squeezed juice is best for flavor, but bottled Key lime juice will work if needed.
Yes. Freeze without the whipped cream topping. Thaw in the fridge before serving and top with fresh whipped cream.
Key limes are smaller, more aromatic, and slightly sweeter. Either type works in this recipe.
Yes. They can be made up to two days in advance. Add the whipped cream just before serving.
Yes. You can crush the graham crackers in a zip-top bag using a rolling pin until fine crumbs form.
You can lightly grease the cupcake pan with nonstick spray instead, but liners make removal and cleanup much easier.
No. Because they are smaller, mini cheesecakes bake evenly without needing a water bath.
Cracks typically occur due to overmixing or overbaking. Be sure to mix just until combined and remove from the oven when the centers still jiggle slightly.
Yes. You can bake it in an 8- or 9-inch springform pan. Adjust the bake time to about 45-50 minutes and check for doneness.
🍽️ Other Recipes You May Enjoy

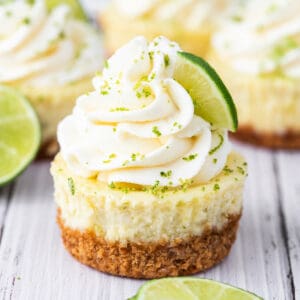
Mini Key Lime Cheesecakes
Would you like to save this?
Equipment
- food processor (or zip-top bag and rolling pin)
- mixing bowl (large and small)
- hand mixer or stand mixer
- shot glasses (for pressing crust)
- cookie scoop or large spoon
- citrus juicer (optional)
Ingredients
Crust
- 1 package graham crackers, 9 full sheets
- 2 tablespoons granulated sugar
- 3 tablespoons unsalted butter – melted
Cheesecake Filling
- 16 oz cream cheese, room temperature
- 1 cup granulated sugar
- ½ cup plain Greek yogurt
- ½ cup heavy cream
- 1 tablespoon cornstarch
- 1 teaspoon vanilla extract
- 2 large eggs, room temperature
- 2 teaspoons lime zest, from about 3 Key limes or 2 regular limes
- 3 tablespoons lime juice
Whipped Cream
- 2 cups heavy whipping cream
- ½ cup powdered sugar
Instructions
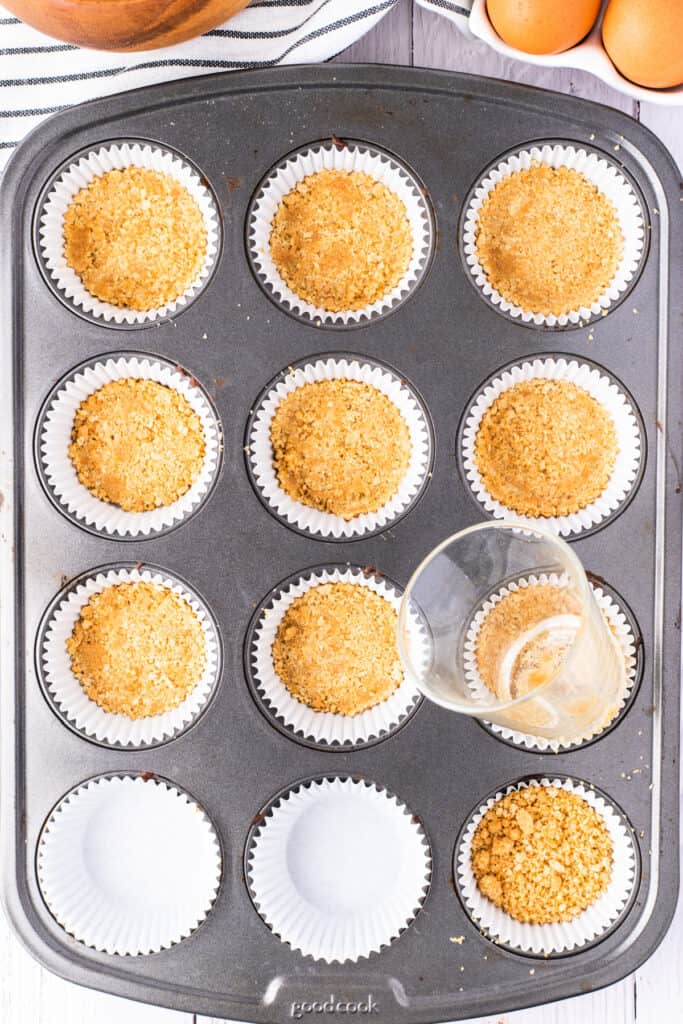
Make the Crust
- Preheat the oven to 350°F. Line a cupcake pan with 12 liners.
- Crush the graham crackers into fine crumbs using a food processor or a zip-top bag and rolling pin.
- In a bowl, mix the crumbs with sugar and melted butter until combined.
- Divide the crust mixture evenly among the liners and press firmly into the bottoms using the back of a tablespoon or small glass.
- Bake for 8 minutes, then set aside to cool.
Make the Cheesecake Filling
- In a large bowl, beat the cream cheese and sugar together on low speed until smooth and creamy.
- Add the Greek yogurt, heavy cream, cornstarch, vanilla extract, eggs, lime juice, and lime zest. Beat on low speed until fully combined, scraping down the sides of the bowl as needed.
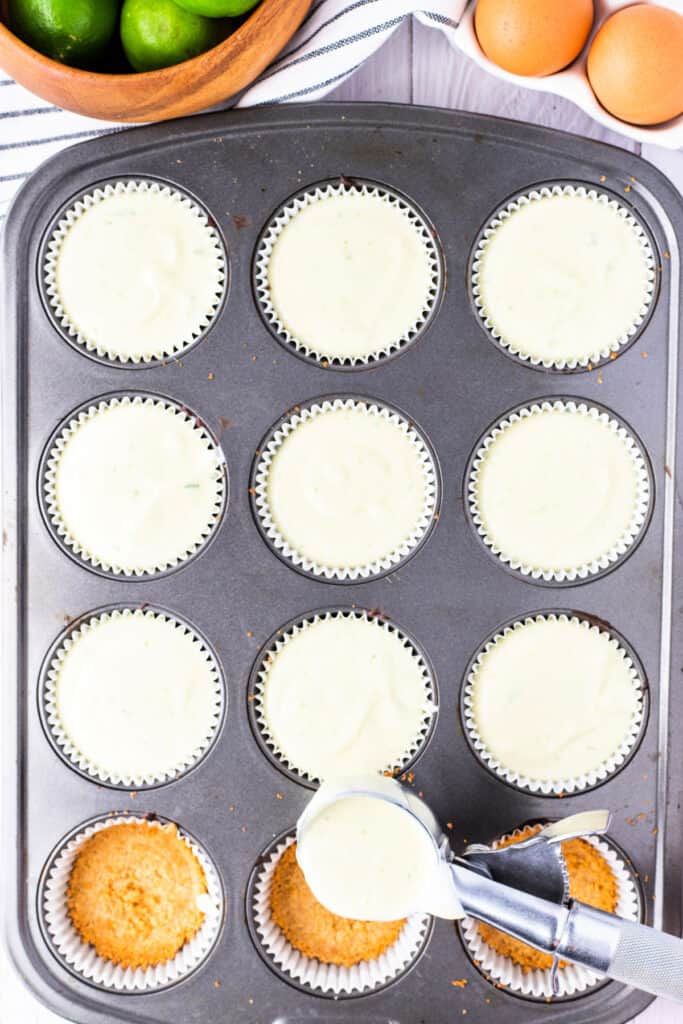
- Divide the filling evenly over the crusts.
- Bake for 18-22 minutes, or until the edges are set but the centers still jiggle slightly.
- Let the cheesecakes cool in the pan at room temperature for 20 minutes, then transfer to the refrigerator to chill for at least 1 hour.
- Once chilled, remove the cupcake liners.
Make the Whipped Cream
- In a clean mixing bowl, beat the heavy whipping cream on medium-high speed for 1-2 minutes.
- Gradually add the powdered sugar and continue whipping until stiff peaks form.
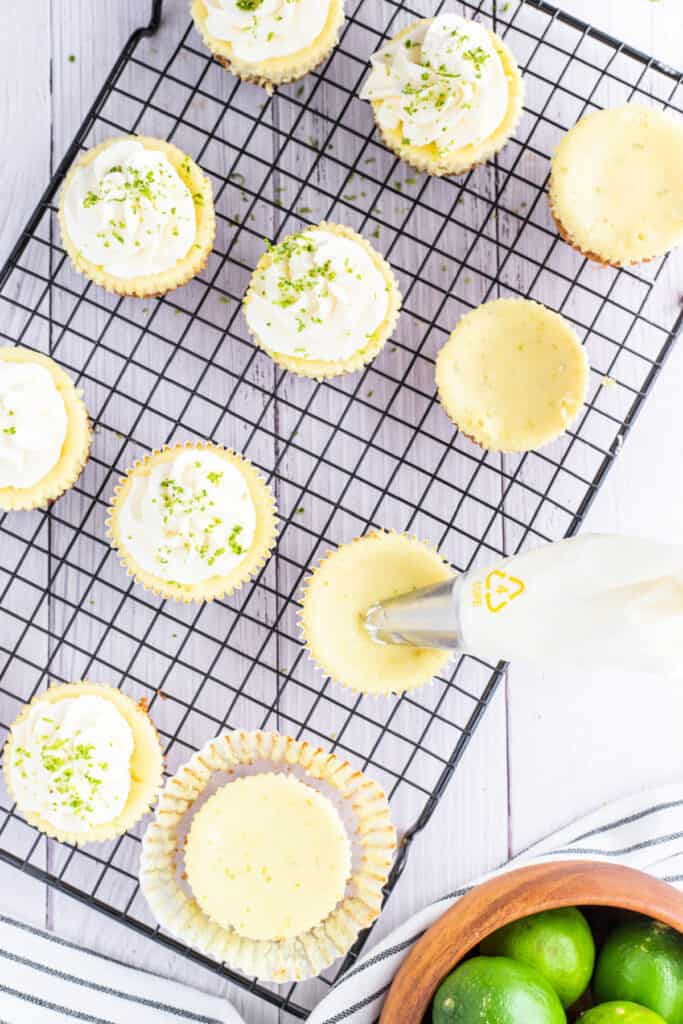
- Transfer the whipped cream to a piping bag fitted with your favorite tip.
Assemble
- Pipe whipped cream onto each mini cheesecake.
- Garnish with extra lime zest and a small lime wedge.
Notes
🥡 STORAGE
- Store mini cheesecakes in an airtight container in the refrigerator for up to 4 days.
- Keep them chilled until ready to serve.
♨️ REHEATING
- Reheating is not recommended. These cheesecakes are best enjoyed cold, straight from the fridge.
❄️ FREEZING
- Freeze without the whipped cream topping. Wrap each cheesecake in plastic wrap and place in a freezer-safe container.
- Freeze for up to 2 months. Thaw in the refrigerator before serving.
💡 TIPS FOR BEST RESULTS
- Use room temperature cream cheese and eggs for a smooth filling.
- Do not overmix or overbake to prevent cracks.
- Let them cool fully before removing liners or topping with whipped cream.
- Fresh lime juice and zest provide the best flavor.
🍳 ALTERNATE COOKING METHODS
- No alternate cooking methods are recommended for this recipe.
♻️ LEFTOVERS
- Store any leftovers in the refrigerator and enjoy within a few days.
- Leftovers can also be frozen and served chilled straight from the freezer for a refreshing treat.
Nutrition
Nutrition information is automatically calculated, so should only be used as an approximation.